ECOR FHD 4F / 8F / 16F Full HD DVR
35
3.3.4
Audio Selection
In order to utilize the audio function, please follow the instructions below before switching on
the audio function.
1.
Connect the audio source and/or audio output amplifier to the DVR. Note that both of the
audio input and output devices require a (built-in) amplifier and external power supply.
2.
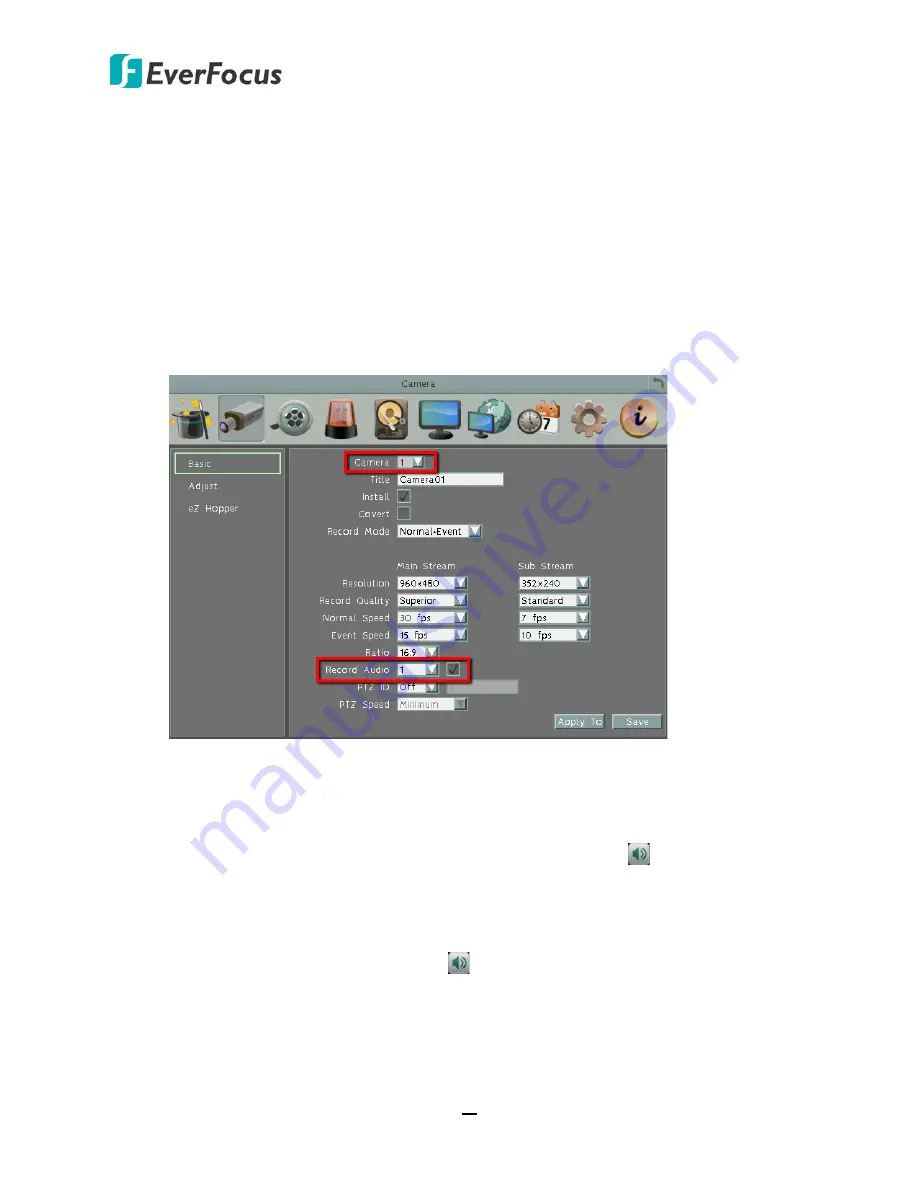
Go to Camera setting menu (OSD Root Menu > System > Camera > Basic).
3.
Select a camera in the drop down list.
4.
Enable the
Record Audio
option and select an audio input device. You can select multiple
cameras to one single audio input device (there are four audio input devices).
Note that the DVR only provide one channel audio output. You can switch the Audio Output
function to either one from the cameras. To switch the Audio Output function to the desired
camera by:
Using a mouse:
On the bottom of the screen, click the Audio icon
to switch the Audio
Output function to the desired camera or disable the Audio Output function.
Using the front panel buttons:
1.
Use the arrow keys to select Camera.
2.
Press the
Enter
button. An Audio icon
will be displayed on the upper-left corner on
the selected camera. To display function icons on the Live View window, please refer to
4.4
Display
.
3.
If you want to disable the Audio Output function on the selected camera, press the
Enter
button again, the Audio icon will disappear.


