2019-04-05
EN0000000368V.006X.45.00193532-004
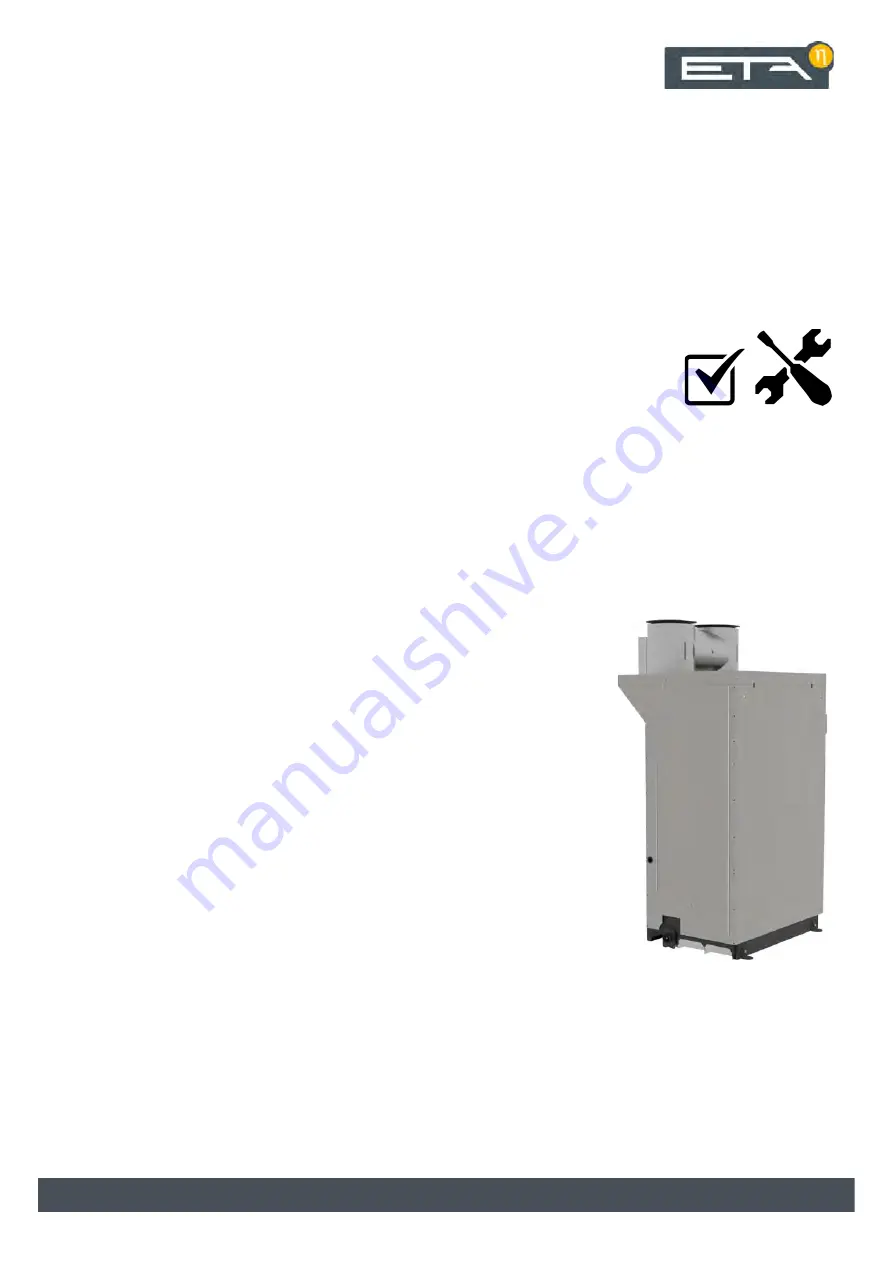
Precipitator
EEP 250 - 500
Service Manual
Page 1: ...2019 04 05 EN 0000000368 V 006 X 45 0 01 93532 004 Precipitator EEP 250 500 Service Manual ...
Page 2: ...ETA Heiztechnik Gewerbepark 1 A 4716 Hofkirchen an der Trattnach Tel 43 0 7734 22 88 0 Fax 43 0 7734 22 88 22 info eta co at www eta co at ...
Page 3: ... this document are property of ETA Heiztechnik GmbH and are protected by copyright Any reproduction transfer to third parties or use for other purposes is prohibited without written permission from the owner Subject to technical changes We reserve the right to make technical modifications without notice Printing and typesetting errors or changes of any kind made in the interim are not cause for cl...
Page 4: ...as children may not operate clean or maintain the product Clean and maintain the precipitator together with the boiler The intervals for cleaning and maintaining the precipi tator correspond to those for the boiler Therefore clean and upkeep the precipitator in the course of cleaning and upkeeping the boiler Clean the precipitator before the emission measurement We recommend cleaning the precipita...
Page 5: ...the EEP 250 precipitator Affix a seal The required cross section and sealing material are given at each step Do not use compressed air to clean the components Do not use cleaning brushes to clean the components Do not use an ash vacuum or vacuum cleaner Do not lubricate the components No water or moisture in this area No leaks in the components for example screw connection or maintenance cover ...
Page 6: ...nce openings and components 1 Drive and position switch for the flaps in the bypass 2 Maintenance covers for the flaps in the bypass 3 Maintenance cover for the precipitator 4 Drive and position switch for the electrode dedusting 5 Flushing air fan 6 Drive and position switch for the sliding rake ...
Page 7: ... air opening Clean and inspect the electrode holder Check the alignment of the electrodes Check maintenance cover seal X X Customer or specialist Check flaps Check the drive chain of the flaps Check the positions of the flaps and position switch Check the seals on the flaps X Specialist Check the electrode cleaning Check the drive chains and position switches of the electrode dedusting Check idle ...
Page 8: ...f there is not enough ash in the pre cipitator and the flaps in the bypass do not close properly flue gas could escape from the boiler into the room where the precipitator is installed DANGER Flue gas outlet without ash bin During prolonged operation without an ash bin or ash container the flue gas from the boiler can reach the room where the precipitator is installed Operation is only permitted w...
Page 9: ...urface in the boiler Inspect the seal to ensure it is in good order replace it if necessary Fig 2 4 Seal and sealing surface in the boiler Then fasten the floor of the ash bin again with the locking lever Make sure the lever engages properly Unhook the connection unit place it onto the ash bin and lock it with the screw cap Fig 2 5 Screw cap Check the function of the posi tion switch for the ash b...
Page 10: ... via the mains switch This prevents injuries caused by switching the boiler on inadvertently 2 5 2 Clean piping Clean the piping between the boiler precipitator and chimney Open the maintenance cover in the piping between the boiler precipitator and chimney Fig 2 7 Maintenance cover Clean out the entire piping with an ash vacuum only Do not brush the ash into the boiler or precipitator Fig 2 8 Cle...
Page 11: ... Maintenance cover 2 5 3 Clean precipitator Remove maintenance cover and panels Remove the panel next to the flue gas connections Fig 2 10 Panel Remove the panel from the top and remove the insulating cover Fig 2 11 Panels and insulating cover Remove both maintenance covers Fig 2 12 Maintenance cover ...
Page 12: ...Use the cleaning brush to carefully scrape the ash ac cumulations from the inner walls Especially the area above the sliding rakes Fig 2 14 Clean the inner walls Do not damage or bend the electrodes during cleaning Fig 2 15 Electrode Clean the flushing air opening Vacuum out the opening for the electrode flushing air on the isolator on the inside of the precipitator Fig 2 16 Flushing air opening o...
Page 13: ...ue gas can be optimally cleaned Therefore check the clearance from the electrodes to the inner walls Fig 2 18 Electrodes If the clearance is uneven check the electrodes They may have been bent during cleaning Reinserting the inlay sheets Reinsert the inlay sheets in the precipitator Fig 2 19 Inlay sheets Check maintenance cover seal Clean both maintenance covers Inspect the seal on the maintenance...
Page 14: ...lace the insulating cover and re attach the panels Fig 2 22 Panels and insulating cover Re install the panel next to the flue gas connections Fig 2 23 Panel 2 5 4 Establish operational readiness Switch the boiler on via the mains switch and start de ashing Restore the boiler s power supply from the mains switch Start de ashing so that the boiler can perform de ashing Switch the boiler back on with...
Page 15: ... burnout and then changes to the Switched off operating mode Then start de ashing so that the boiler can perform a final de ashing WARNING Switch off the electricity to the boiler via the mains switch Switch off the electricity to the boiler via the mains switch This prevents injuries caused by switching the boiler on inadvertently DANGER Caution high voltage The electrode inside the precipitator ...
Page 16: ... drive wheels Fig 2 26 Position of the flaps when switched off When in operation the bypass flap is closed and the flaps in the inlet and outlet opening are open Fig 2 27 Position of the flaps during operation Check whether the position switches are actuated Fig 2 28 Position switch Check the seals on the flaps Remove both maintenance covers from the bypass Fig 2 29 Maintenance cover Inspect the i...
Page 17: ...ensure they are in good order and replace if necessary Then re install the maintenance covers Tighten the screws evenly and cross wise Fig 2 32 Seal Re install both maintenance covers on the bypass Fig 2 33 Maintenance cover Installing the panels Re install the panel over the drive of the flaps Fig 2 34 Panel ...
Page 18: ... cover Remove both maintenance covers Fig 2 37 Maintenance cover Removing the panels Remove the panel over the electrode dedusting drive Fig 2 38 Panel Check the drive chains and position switches of the electrode dedusting Check the chain tension The chain may sag by 1 2 cm without effort The chain is tensioned by shifting the motor Lubricate the drive chain with chain spray Fig 2 39 Electrode de...
Page 19: ...g switch Switch off lag must be adjusted in the control system Fig 2 42 Idle position of the striking mechanisms Checking the ease of movement of the striking mechanisms Check the ease of movement of all striking mechanisms If there is resistance remove the striking mechanism clean the hole and reinstall Fig 2 43 Check the ease of movement CAUTION Do not lubricate the striking mechanisms Never lub...
Page 20: ...g 2 46 Panel Check the drive chains and the position switches of both sliding rakes Perform these steps on both sides of the precipitator Check the chain tension The chain may sag by 1 2 cm without effort The chain is tensioned by shifting the motor Lubricate the drive chains with chain spray Fig 2 47 Drive chain of the sliding rakes Fig 2 48 Drive chain of the sliding rakes Check whether the posi...
Page 21: ...uates the position switch for the idle position of the sliding rakes Fig 2 51 Screw for the position switch Through the maintenance opening on the top check whether the sliding rakes lie flush against the bottom stop in the idle position Fig 2 52 Idle position Installing the panels Reinstall the panels on both sides on the bottom of the precipitator Fig 2 53 Panel Fig 2 54 Panel ...
Page 22: ...safety switches for the maintenance cover Fig 2 55 Safety switch Check maintenance cover seal Clean both maintenance covers Inspect the seal on the maintenance cover to ensure it is in good order and replace if necessary Fig 2 56 Maintenance cover CAUTION Avoid operation with damaged seals Never operate the precipitator with damaged seals Otherwise leak air is sucked in disturbing the combustion p...
Page 23: ...Fig 2 57 Maintenance cover Finally place the insulating cover and re attach the panels Fig 2 58 Panels and insulating cover Re install the panel next to the flue gas connections Fig 2 59 Panel Checking the position switches for the ash bins Check the function of the ash bin position switch The switch must be actuated when locking the screw cap Fig 2 60 Position switch ...
Page 24: ... 2 6 7 Establish operational readiness Switch the boiler on via the mains switch and start de ashing Restore the boiler s power supply from the mains switch Start de ashing so that the boiler can perform de ashing Switch the boiler back on with the On Off switch ...
Page 25: ...Cleaning and maintenance Maintenance expert 25 ...
Page 26: ...ng ash bin Emptying ash bin Check the seals Clean the piping Clean the piping between the boiler precipitator and chimney Clean the precipitator Check and remove ash accumulations Clean the flushing air opening Clean and inspect the electrode holder Check the alignment of the electrodes Check maintenance cover seal performed on _________________________ performed by _________________________ ...
Page 27: ... maintenance cover seal Check flaps Check the drive chain of the flaps Check the positions of the flaps and position switch Check the seals on the flaps Check the electrode cleaning Check the drive chains and position switches of the electrode dedusting Check idle position of the electrode dedusting Checking the ease of movement of the striking mechanisms Check de ashing Check the drive chains and...
Page 28: ...h bin Emptying ash bin Check the seals Clean the piping Clean the piping between the boiler precipitator and chimney Clean the precipitator Check and remove ash accumulations Clean the flushing air opening Clean and inspect the electrode holder Check the alignment of the electrodes Check maintenance cover seal performed on _________________________ performed by _________________________ ...
Page 29: ... maintenance cover seal Check flaps Check the drive chain of the flaps Check the positions of the flaps and position switch Check the seals on the flaps Check the electrode cleaning Check the drive chains and position switches of the electrode dedusting Check idle position of the electrode dedusting Checking the ease of movement of the striking mechanisms Check de ashing Check the drive chains and...
Page 30: ...h bin Emptying ash bin Check the seals Clean the piping Clean the piping between the boiler precipitator and chimney Clean the precipitator Check and remove ash accumulations Clean the flushing air opening Clean and inspect the electrode holder Check the alignment of the electrodes Check maintenance cover seal performed on _________________________ performed by _________________________ ...
Page 31: ... maintenance cover seal Check flaps Check the drive chain of the flaps Check the positions of the flaps and position switch Check the seals on the flaps Check the electrode cleaning Check the drive chains and position switches of the electrode dedusting Check idle position of the electrode dedusting Checking the ease of movement of the striking mechanisms Check de ashing Check the drive chains and...
Page 32: ...h bin Emptying ash bin Check the seals Clean the piping Clean the piping between the boiler precipitator and chimney Clean the precipitator Check and remove ash accumulations Clean the flushing air opening Clean and inspect the electrode holder Check the alignment of the electrodes Check maintenance cover seal performed on _________________________ performed by _________________________ ...
Page 33: ... maintenance cover seal Check flaps Check the drive chain of the flaps Check the positions of the flaps and position switch Check the seals on the flaps Check the electrode cleaning Check the drive chains and position switches of the electrode dedusting Check idle position of the electrode dedusting Checking the ease of movement of the striking mechanisms Check de ashing Check the drive chains and...
Page 34: ...h bin Emptying ash bin Check the seals Clean the piping Clean the piping between the boiler precipitator and chimney Clean the precipitator Check and remove ash accumulations Clean the flushing air opening Clean and inspect the electrode holder Check the alignment of the electrodes Check maintenance cover seal performed on _________________________ performed by _________________________ ...
Page 35: ...k maintenance cover seal Check flaps Check the drive chain of the flaps Check the positions of the flaps and position switch Check the seals on the flaps Check the electrode cleaning Check the drive chains and position switches of the electrode dedusting Check idle position of the electrode dedusting Checking the ease of movement of the striking mechanisms Check de ashing Check the drive chains an...
Page 36: ...h bin Emptying ash bin Check the seals Clean the piping Clean the piping between the boiler precipitator and chimney Clean the precipitator Check and remove ash accumulations Clean the flushing air opening Clean and inspect the electrode holder Check the alignment of the electrodes Check maintenance cover seal performed on _________________________ performed by _________________________ ...
Page 37: ...k maintenance cover seal Check flaps Check the drive chain of the flaps Check the positions of the flaps and position switch Check the seals on the flaps Check the electrode cleaning Check the drive chains and position switches of the electrode dedusting Check idle position of the electrode dedusting Checking the ease of movement of the striking mechanisms Check de ashing Check the drive chains an...
Page 38: ...h bin Emptying ash bin Check the seals Clean the piping Clean the piping between the boiler precipitator and chimney Clean the precipitator Check and remove ash accumulations Clean the flushing air opening Clean and inspect the electrode holder Check the alignment of the electrodes Check maintenance cover seal performed on _________________________ performed by _________________________ ...
Page 39: ...k maintenance cover seal Check flaps Check the drive chain of the flaps Check the positions of the flaps and position switch Check the seals on the flaps Check the electrode cleaning Check the drive chains and position switches of the electrode dedusting Check idle position of the electrode dedusting Checking the ease of movement of the striking mechanisms Check de ashing Check the drive chains an...
Page 40: ...www eta co at www eta co at downloads DOWNLOAD ...