7
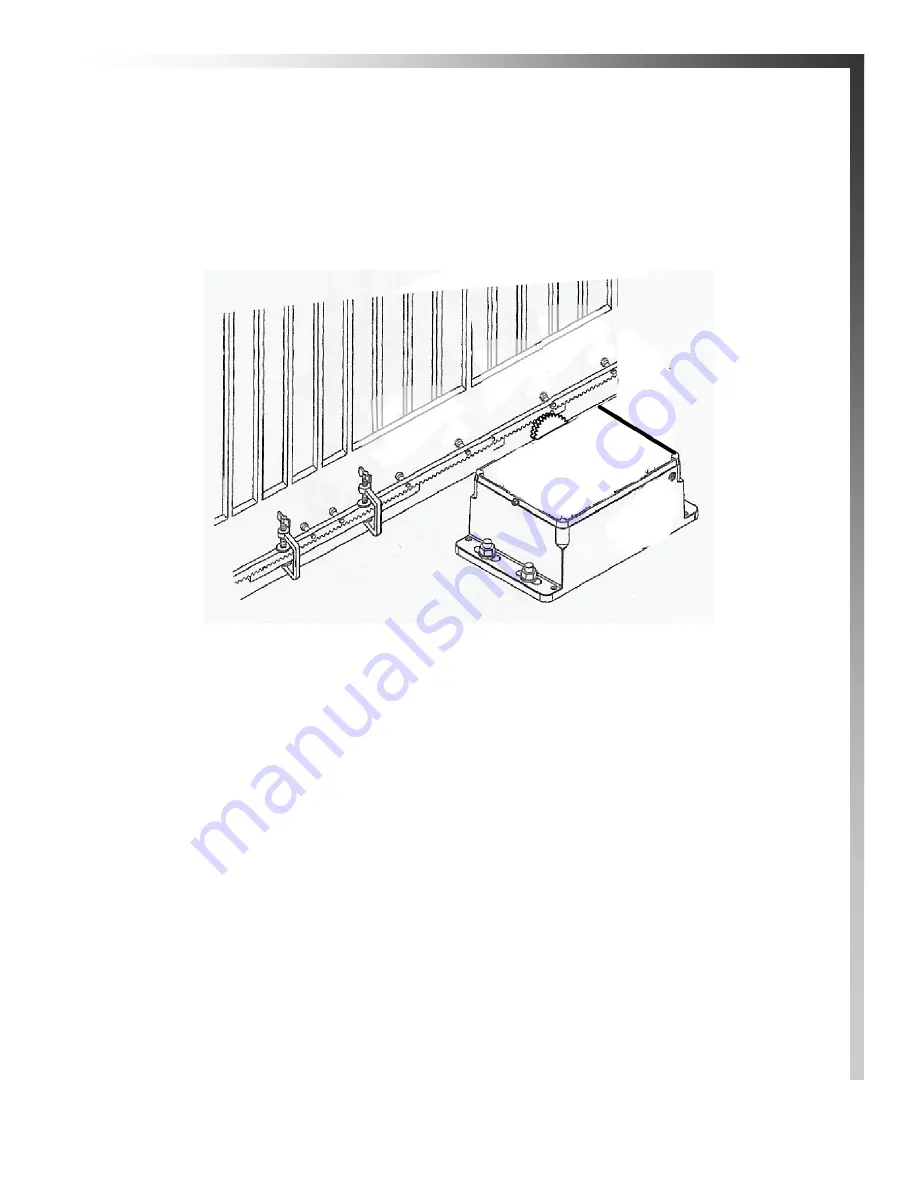
3. Move the gate manually, checking if the rack is resting on the pinion. Repeat at each hole.
4. Bring another rack element near the previous one, using a piece of rack (as shown below) to
synchronize the teeth of the two elements.
5. Move the gate manually and carry out the securing operations as far as the first element, pro-
ceeding until the gate is fully covered.
Notes on rack installation
Make sure that during the gate travel, all the rack elements mesh correctly with the pinion.
Do not, on any account, weld the rack elements either to the spacers or to each other.
When you have finished installing the rack, adjust the distance between the pinion teeth and
the rack groove. Check if the distance is .06” (below) along the entire travel using the rack
slots.
Manually check if the gate habitually reaches the travel limit mechanical stops and make sure
that there is no friction during gate travel.
Do not use grease or other lubricants between rack and pinion.


