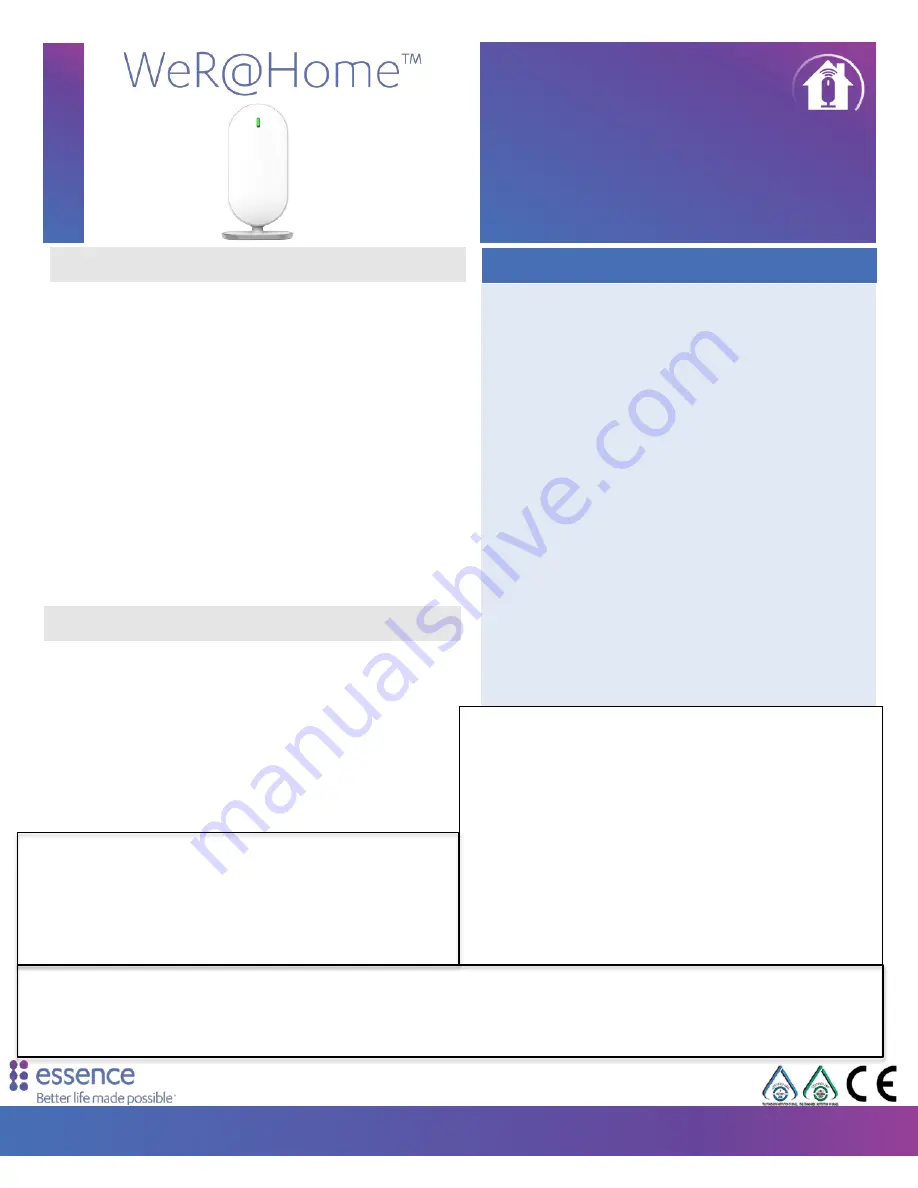
background image


WeR@Home

 Smart Living 


RF COMMUNICATIONS 


ECOP (Essence devices) 


Maximum RF range

: 600m (1968 ft.) open air 


Proprietary bi-directional radio protocol 


Modulation and Frequency

: DSSS, 2.4 GHz 


Data Security

: 128-bit AES encryption 

CLOUD (Internet) CONNECTIVITY 


LAN / Ethernet port 


Optional 2G/3G support 

POWER CONSUMPTION 


100-240VAC to 5VDC Power Adapter/Charger and 3.7V 1.4Ah Li-polymer 

rechargeable backup battery (providing up to 3 hours) 

DIMENSIONS 


Size

: H: 40.8 mm (1. 61 in), L: 141 mm (5.55 in), W: 74.8 mm (2.94 in) 


Weight

: 125 grams (0.27 lbs.) + 35 grams (0.08 lbs.) backup battery 

ENVIRONMENT 


Storage Ambient Temperature range:

 -20

o

C – +60

o

C (-4

o

F – +140

o

F) 


Operating Ambient Temperature range with battery

-5

o

C – +50

o

C (23

o

F – +122

o

F) 


RF Operating Humidity

: Up to 95% non-condensing 

SOFTWARE VERSION: 

04.01.04.02


The WeR@Home

 suite allows living life fully through smart connected 

homes 


Home security and safety at the core 


Notifications of security events and remote management of the home in real 
time 


Modular and expandable - manage connected home devices with Z-Wave® 
expansion 


Scenarios and rules for automation – decide which device, condition, or event 
will trigger which actions and at what time 


Live HD video – anytime, on any screen 


Save energy and money by ensuring that lights and air conditioning are turned 

off when not at home 

Product 


For more information, go to: 

http://www.essence-grp.com/smart-living/wer-at-home


Specifications 


ESDSCERT001 Rev 1.4 

The WeR@Home

 Hub is an intelligent, home control panel for 

managing and communicating with the on-site WeR@Home

 System 

peripherals. The Hub is the central gateway that connects to both the 

Web and Mobile Applications and to the WeR@Home

 Servers. It 

features: 


User remote control and management access to the system, via the cloud, using 
smartphones, tablets, and PCs 


User interface software applications available for iOS

 and Android

 operating 

systems and Windows

®

-based browsers 


Optional built-in 2G/3G modem with automatic APN setting and support for 

850/900/1800/1900 MHz bands 


Support of up to 64 security peripherals, 24 safety peripherals and up to 32 users, 

including two Master Users 


Home Automation functionality, from the Z-Wave

®

 Network, that can be added to 

the WeR@Home

 System, by connecting the Z-Wave

®

 Extender to the 

WeR@Home

 Hub. 


Support of automatic over-the-air software programming and configuration 
upgrade (RSU) 


Accessories included: 

o


Rechargeable backup battery 

o


Ethernet LAN cable 

o


Universal Power Adapter/Charger 

WeR@Home

 Hub 

ES8000WG 

Plug & Play Wireless Gateway 

© 2015 Essence Security International (E.S.I.) Ltd. Information contained within this document may change without notice 


This device complies with FCC Rules Part 15 and with Industry Canada license-exempt 

RSS standard(s). Operation is subject to the following two conditions: 

(1)


This device may not cause harmful interference, and 

(2)


This device must accept any interference received, including interference that 
may cause undesired operation 

WARNING! To comply with FCC and IC RF exposure compliance  requirements, the 

device should be located at a distance of at least  20 cm from all persons during 
normal operation. The antennas used  for this product must not be co-located or 

operated in conjunction  with any other antenna or transmitter. 


Le dispositif doit être placé à une distance d'au moins 20 cm à partir de toutes les 

personnes au cours de son fonctionnement normal. Les antennes utilisées pour ce 
produit ne doivent pas être situés ou exploités conjointement avec une autre 
antenne ou transmetteur. 

NOTE:    This equipment has been tested and found to  comply with the limits for a 

Class B digital device, pursuant to  part 15 of the FCC Rules. These limits are 

designed to provide  reasonable protection against harmful interference in a 
residential installation. This equipment generates, uses and  can radiate radio 

frequency energy and, if not installed and  used in accordance with the instructions, 

may cause harmful  interference to radio communications. However, there is no 

guarantee that interference will not occur in a particular  installation. If this 

equipment does cause harmful interference  to radio or television reception, which 
can be determined by  turning the equipment off and on, the user is encouraged to 

try to correct the interference by one or more of the following  measures: 


Reorient or relocate the receiving antenna. 


Increase the separation between the equipment and receiver. 


Connect the equipment into an outlet on a circuit different from that to which 

the receiver is connected. 


Consult the dealer or an experienced radio/TV technician for help. 

Changes or modifications to this equipment not expressly  approved by the party 

responsible for compliance (Essence  Ltd.) could void the user’s authority to operate 

the  equipment. 

Le présent appareil est conforme aux CNR d'Industrie Canada  applicables aux 

appareils radio exempts de licence. L'exploitation est  autorisée aux deux conditions 

suivantes: 

(1)


l'appareil ne doit pas produire de brouillage, et 

(2)


l'utilisateur de l'appareil doit accepter tout brouillage  radioélectrique subi, 

même si le brouillage est susceptible d'en  compromettre le fonctionnement. 

Summary of Contents for WeR@Home

Page 1: ...Quick Setup Guide...

Page 2: ...rranties or the exclusion or limitation of certain damages If these laws apply to you some or all of the above disclaimers exclusions or limitations may not apply to you By using the information conta...

Page 3: ...o monitor and manage your home from remote locations using mobile devices With the Z Wave Extender and Smart Rules you will be able to fully automate your home and enjoy an integrated Connected Home E...

Page 4: ...ility in connection with this product is limited in any event to direct damages in an amount not exceeding the amount you actually paid for the product See your EULA for terms and Conditions Please ad...

Page 5: ...sor Inspect Kit Contents Materials and Tools Make sure you have a free LAN port for the Internet connection such as a router with a RJ 45 connector Ten 1 5v AA size alkaline batteries for the peripher...

Page 6: ...ne of the following as your external communications channel to the Internet Home network Requires an Ethernet LAN cable 7 A Cellular Channel Requires a SIM card Essence recommends the Ethernet channel...

Page 7: ...rnet modem or router NOTE If you choose to install both the SIM card and LAN cable the cellular channel is used as backup 3 Insert the backup battery 10 over the SIM card with the contacts facing down...

Page 8: ...sing the web browser on your PC 2 Click the button for the First Time Registration procedure 3 Click the Go to first time registration option 4 Enter the Hub s 8 digit serial number You can locate the...

Page 9: ...e sensitive to use during Login Confirm Password Re enter the same Password from the previous field Name Enter your name or the name with which to identify the Hub case sensitive Mobile Enter your mob...

Page 10: ...add a user perform the following procedure 1 Log in to the WeR Home Web Application 2 Click the tab to access the Users module and click the button 3 Enter the new user s personal information in the...

Page 11: ...n Language Select the language in which the notifications are written Mobile Enter the mobile number for notifications User can view comfort video Mark checkbox to allow user to view comfort videos Cu...

Page 12: ...slot and turning the cover counter clockwise until the two small bumps align Figure 2 Select User for Remote Control Figure 1 Add Device for Remote Control Device 5 Register the Remote Control Key Fob...

Page 13: ...e name of the user to assign to the Remote Control and click the button Figure 2 The Assigned User name appears in the Add Device window and the timer starts a 3 minute count down to pair the device F...

Page 14: ...artment remove the back cover on the device Remove the wall mounting base where necessary Insert AA size batteries as required according to the polarity markings on the device and re assemble the cove...

Page 15: ...a flat vertical surface that is clean dry and smooth Install the Camera IPD and the Motion Detectors PIR Perform the following procedure to install the mounting base of the IPD or PIR devices 1 Peel o...

Page 16: ...and apply pressure 4 Re insert the Transmitter into the base 5 4 Assigning Device Names All devices in the WeR Home Kit are assigned default names except for the Remote Control The Remote Control is a...

Page 17: ...device detects an activity The device sends an event report to the Hub The device LED turns Red The device switches to a 2 minute hibernation period The IPD or PIR device does not transmit events to...

Page 18: ...the security and automation functionality of your system from your smartphone or tablet The WeR Home Mobile Application provides you with the following capabilities Arm and Disarm your WeR Home System...

Page 19: ...e OS version 4 1 2 or higher Download the WeR Home Mobile Application from the Google Play Store NOTE Contact your Service Provider for the name of your Service Provider s customized WeR Home Mobile A...

Page 20: ...Time Registration 4 Tap the Login button The WeR Home Mobile Application Home screen appears To change your DNS perform the following procedure 1 Tap the Change DNS prompt on the upper left hand corn...

Page 21: ...itional security to disarm your WeR Home System Application Additional security for overall access to the WeR Home Mobile Application The first time you log in to the WeR Home Mobile Application your...

Page 22: ...7 4 The Dashboard displays the following status information Main Menu System Notification Messages press to view messages if there is a RED number Current temperature of the room where the default te...

Page 23: ...e System NOTE In the current WeR Home Mobile Application versions the arming mode for a fully armed system is called either Full Arm or Arm Away Disarmed System Disarmed Full Arm Arm Away System Fully...

Page 24: ...ll security alert scenario Night Arm Activates the arming mode for the devices configured for the Night Arm security alert scenario The current security alarm scenario of your WeR Home System is repre...

Page 25: ...ugh the Main Menu HISTORY The History module reports the history of events reported by the devices installed in your WeR Home System CONTROL The Control module provides you with the tools to manage th...

Page 26: ...es in your WeR Home System The list is reloaded when you tap the refresh icon at the top right of the History screen History Module The History Filters The History module provides you with data filter...

Page 27: ...d Z Wave controlled devices from a remote location The list displays The Name of the Z Wave device in the WeR Home System The Type of Z Wave device The Status of the Device When you tap the on the Z W...

Page 28: ...our Camera Detectors The Video screen has two 2 displays Cameras Allows you to initiate an immediate instant comfort video Gallery Allows you to view both security and comfort videos that appear in th...

Page 29: ...ules module There are three 3 types of Rules Scheduled Rules Rules triggered by a specific date and time or period frequency Device Rules Rules triggered by an event issued by a device Arming Rules Ru...

Page 30: ...ernatives are defined by the type of Rule selected Remember Any action trigger can be accompanied by a time related trigger that is not defined by a specific date and time Choose one or more actions R...

Page 31: ...a Devices rule is used to explain the process 1 Tap the on the Smart Rules option on the main menu The Smart Rules screen appears 2 Tap the Add a new Smart Rule button to add a new Rule A screen appe...

Page 32: ...hat defines the Rule being created 4 Tap add trigger to add a trigger to the Rule A screen appears prompting you to choose the type of trigger you need for the Rule 5 Tap the button for the type of Ru...

Page 33: ...t select the specific device for which the trigger is being set In this case the Front Door 7 Set the device trigger action according to the action you want to use as the trigger for the Rule The Open...

Page 34: ...is displayed The list reflects only those devices installed in your WeR Home System 9 Tap the on the row of the device action you want to use For the purposes of the exercise we want to use the Camer...

Page 35: ...ars that defines the Rule being created Note that the add action option is available so that you may add another action to the Rule Repeat steps 8 10 to add another action Note that the screens that a...

Page 36: ...ssive installed base with over 10 million products deployed and used by Tier 1 service providers worldwide Essence is committed to developing and supporting solutions that both enhance partners busine...

Page 37: ...Home Hub ES8000WG Plug Play Wireless Gateway 2015 Essence Security International E S I Ltd Information contained within this document may change without notice This device complies with FCC Rules Par...

Reviews: