5
Network Setup
Configure the LAN setup for the NVR to properly function with Ethernet connection. The default ID
of the
Premium H.264 NVR
must be changed to avoid network conflicts.
From OSD main menu, select <
System Setup
>
<
Network Setup
>, set the <
LAN Select
>
item to <
LAN
> or <
PPPoE
> according to the network application, and enter <
LAN Setup
>.
For DHCP users, set the DHCP to <
ON
>. The IP address, Netmask, Gateway and DNS settings
are retrieved from network servers. DHCP is dynamic that the settings change from time to time.
For Non-DHCP users, set the DHCP to <
OFF
>. IP address, Netmask, Gateway and DNS
settings must be set. Please obtain the information from the network service provider.
To change the IP address, Netmask, Gateway and DNS value, press
UP/DOWN
keys to move
the cursor to the item. Use
LEFT/RIGHT
keys to access each section of the value and press
ENTER
, then change the value using
UP/DOWN
keys.
PPPoE users must set the <
PPPoE Account
>, <
PPPoE Password
> and <
PPPoE Max Idle
>
as well.
When the settings are complete, press
ENTER
to confirm and save the settings; or
ESC
to
abort.
Dome Camera Control
Dome Camera Connection:
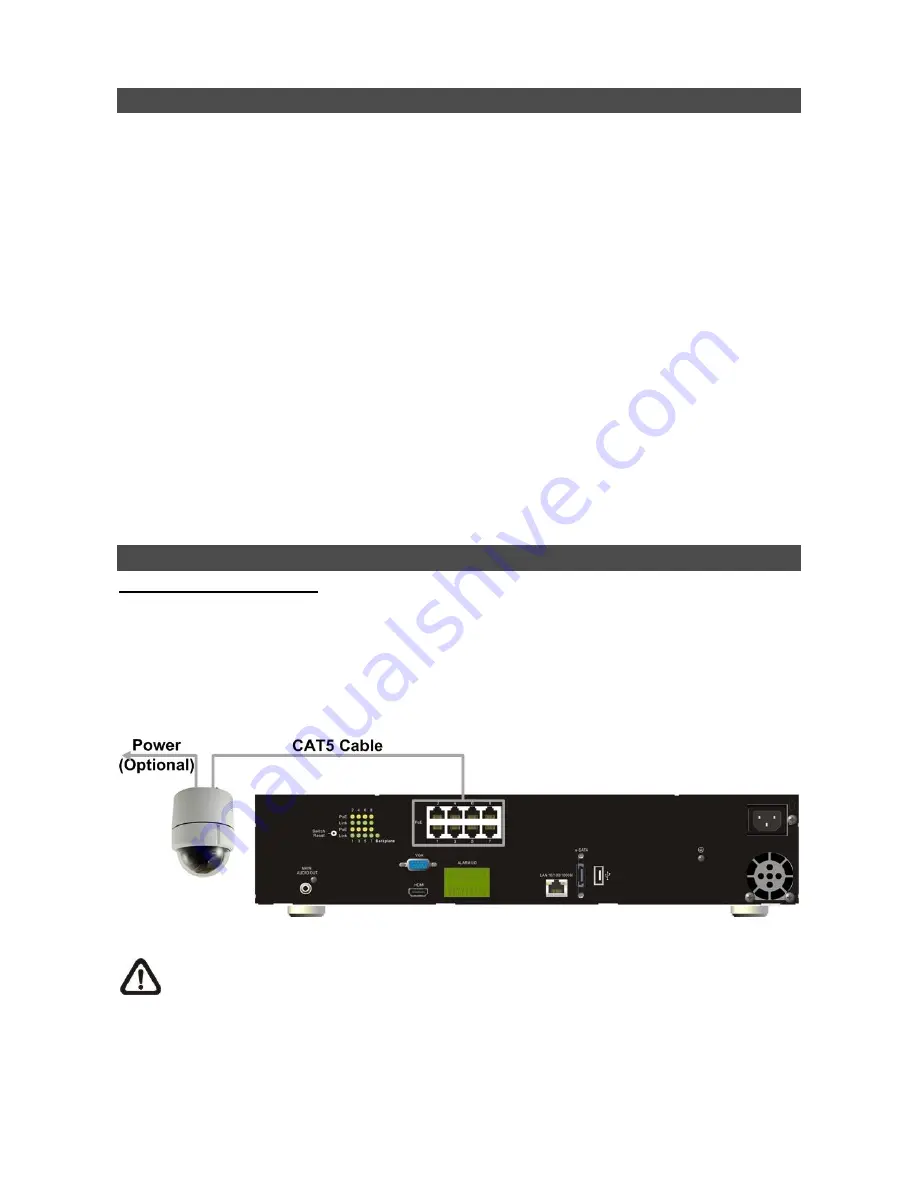
Refer to the following figure. Connect the dome camera to any of the NVR
’s PoE port via a CAT5
cable. The PoE ports supply a total of 100W power source, with each port limited to 30W at most. If
the connecting dome camera requires power exceeding the limited power source, please connect
an additional power source.
NOTE:
The 100W power is shared by all ports, but not equally shared. For example, if the
first three ports used up to each port
’s maximum 30W and the fourth port used 10W, the
remaining ports will not have power supply. Instead, they will just be network connection
ports.


