


137
You see a screen like this:
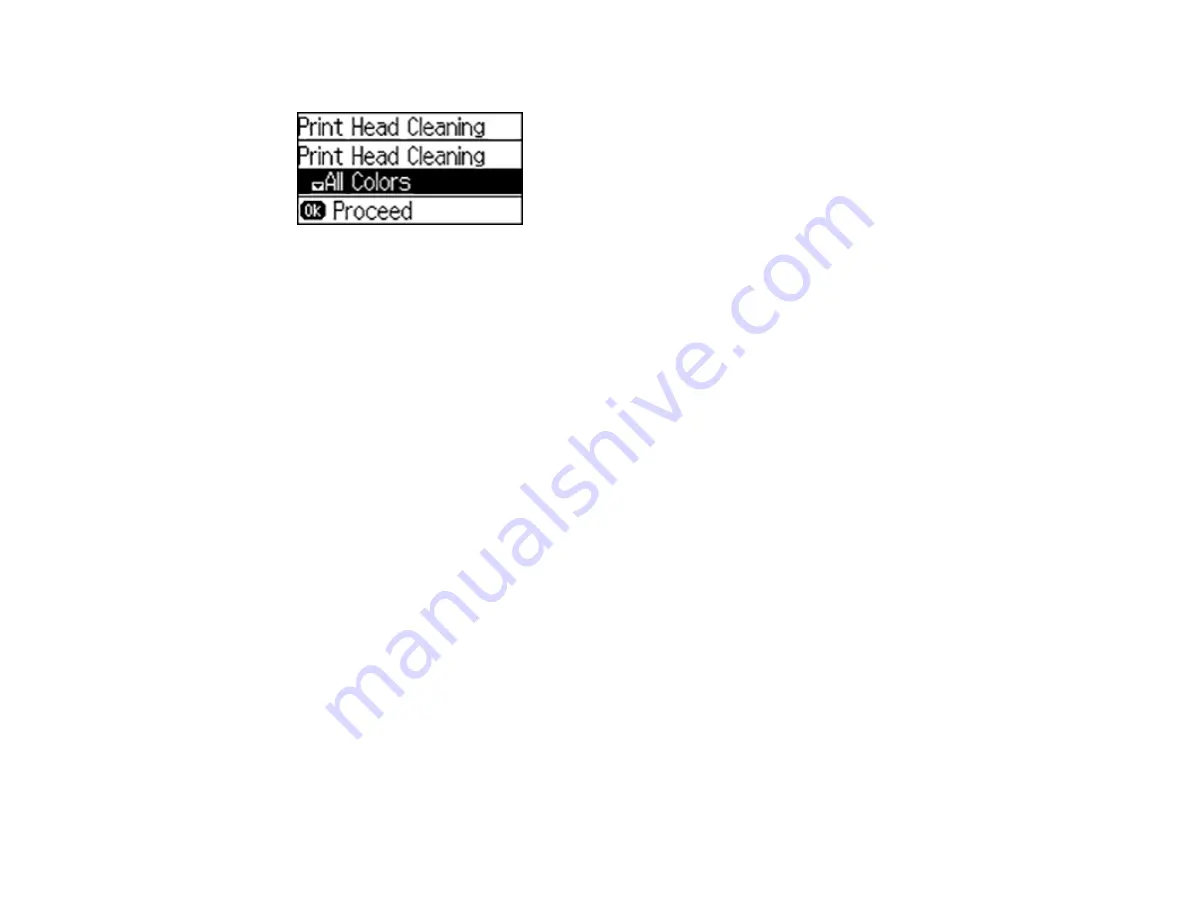
6.
Press the up or down arrow button to select the cleaning cycle you want to run, and press the
OK
button.
Note:
Use the nozzle check pattern to determine which colors need cleaning. You can save ink by
cleaning only selected colors.
When the cleaning cycle is finished, you see a message on the screen.
Caution:
Never turn off the product during a cleaning cycle or you may damage it.
7.
Select
Print Nozzle Check Pattern
and press the
OK
button.
8.
Press the up arrow button.
The nozzle pattern prints.
9.
Press the down arrow button, select
Finish
, and press the
OK
button to confirm that the print head is
clean.
If you don’t see any improvement after cleaning the print head up to 4 times, wait at least 6 hours. Then
try cleaning the print head again. If quality still does not improve, one of the ink cartridges may be old or
damaged and needs to be replaced.
Parent topic:
Related tasks
Cleaning the Print Head Using a Computer Utility
Checking the Nozzles Using the Product Control Panel
Removing and Installing Ink Cartridges
Related topics
Summary of Contents for WF-7210 series
Page 1: ...WF 7210 User s Guide ...
Page 2: ......
Page 49: ...49 3 Slide the edge guides outward 4 Slide the edge guide to your paper size ...
Page 57: ...57 3 Open the rear paper feed slot and push it back 4 Slide out the edge guides ...
Page 70: ...70 Parent topic Selecting Universal Print Settings ...
Page 145: ...145 Related concepts Print Head Nozzle Check Print Head Alignment Print Head Cleaning ...


