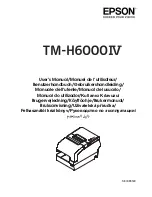
TM-H6000IV User’s Manual
11
English
Installing and Replacing the Ribbon Cartridge
Note:
Use the EPSON ERC-32 ribbon cartridge.
1.
Turn on the printer.
2.
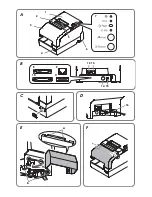
Open the front cover using the tabs on both sides of the front cover. (See
illustration
F
.)
3.
Remove the used ribbon cartridge, if there is one.
4.
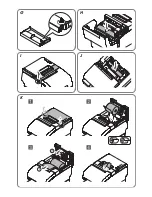
Turn the knob on the ribbon cartridge a little in the direction of the arrow
marked on the cartridge to remove any slack in the ribbon. (See
illustration
G
.)
CAUTION:
Make sure to note the direction of the arrow marked on the ribbon
cartridge when turning the knob. If it is turned in the reverse direction, the
cartridge may be damaged.
5.
Insert a new ribbon cartridge until it clicks into place. (See illustration
H
.)
6.
Turn the knob on the cartridge in the marked direction again to remove any
slack in the ribbon.
7.
Close the front cover.
Installing and Replacing the Ribbon Cartridge for Endorsement Printing
If your printer is equipped with an endorsement printer, endorsement printing on
slip paper is available.
Follow the steps below to install/replace the ribbon cartridge for the endorsement
printer.
Note:
Use the EPSON ERC-43 ribbon cartridge for the endorsement printer.
1.
Turn on the printer.
2.
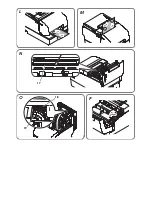
Pull the lever on the left side of the receipt unit to open the receipt unit. (See
illustration
I
.)
3.
Follow steps 3 to 6 in "Installing and Replacing the Ribbon Cartridge" on
page 11 to install the ribbon cartridge. (See illustration
J
.)
4.
Close the receipt unit.
Loading Paper
CAUTION:
Be sure to use the specified roll paper.
Do not insert any paper that has clips or staples. This may cause paper jams
and damage.
Make sure the slip/validation paper is flat, without curls, folds, or wrinkles.
Note:
Use personal checks of 12 cm {4.7”} long or more.
Installing and Replacing the Roll Paper
Follow the steps below to install/replace the roll paper. (See illustration
K
.)
1.
Turn on the printer.

