Aligning the Print Head Using the Product Control Panel
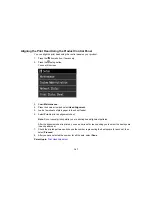
You can align the print head using the control panel on your product.
1.
Press the
home button, if necessary.
2.
Press the
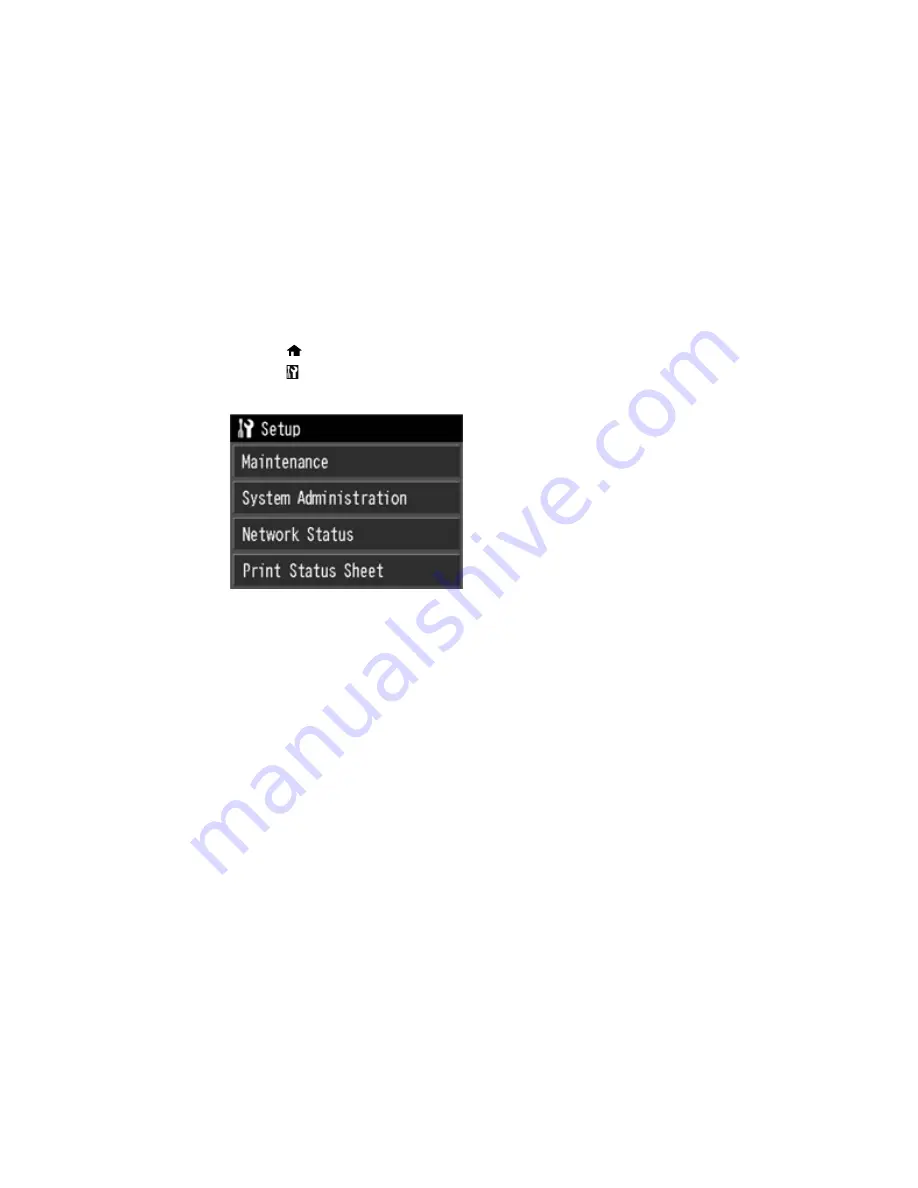
setup button.
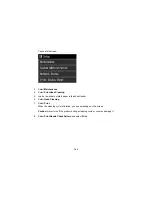
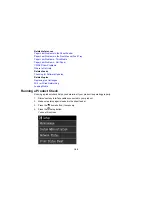
You see this screen:
3.
Select
Maintenance
.
4.
Press the down arrow and select
Head Alignment
.
5.
Load a few sheets of plain paper in the sheet feeder.
6.
Select
to print an alignment sheet.
Note:
Do not cancel printing while you are printing head alignment patterns.
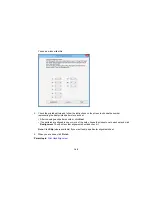
After the alignment sheet is printed, you see a series of screens asking you to select the best square
in each pattern set.
7.
Check the printed patterns and choose the number representing the best square for each set, then
select
Proceed
.
8.
After you have selected the number for all the sets, select
Done
.
Parent topic:
Print Head Alignment
147
Summary of Contents for SureColor P600 Series
Page 1: ...Epson SureColor P600 User s Guide ...
Page 2: ......
Page 10: ......
Page 42: ...3 Open the front cover 4 Extend the output tray 42 ...
Page 82: ...You can also place the same print data multiple times as shown here 82 ...
Page 211: ...Parent topic Copyright Notice 211 ...

