90
• To resize the scan area, place your cursor over the edge or corner of the marquee, then click and
drag the edge where you want it.
Note:
Manually adjusting the marquee will not change the target size of the scanned file. The
marquee only indicates the area of the image that will be scanned.
4.
To create a scanned image size that is not available in the Target Size list, click the
Customize
option.
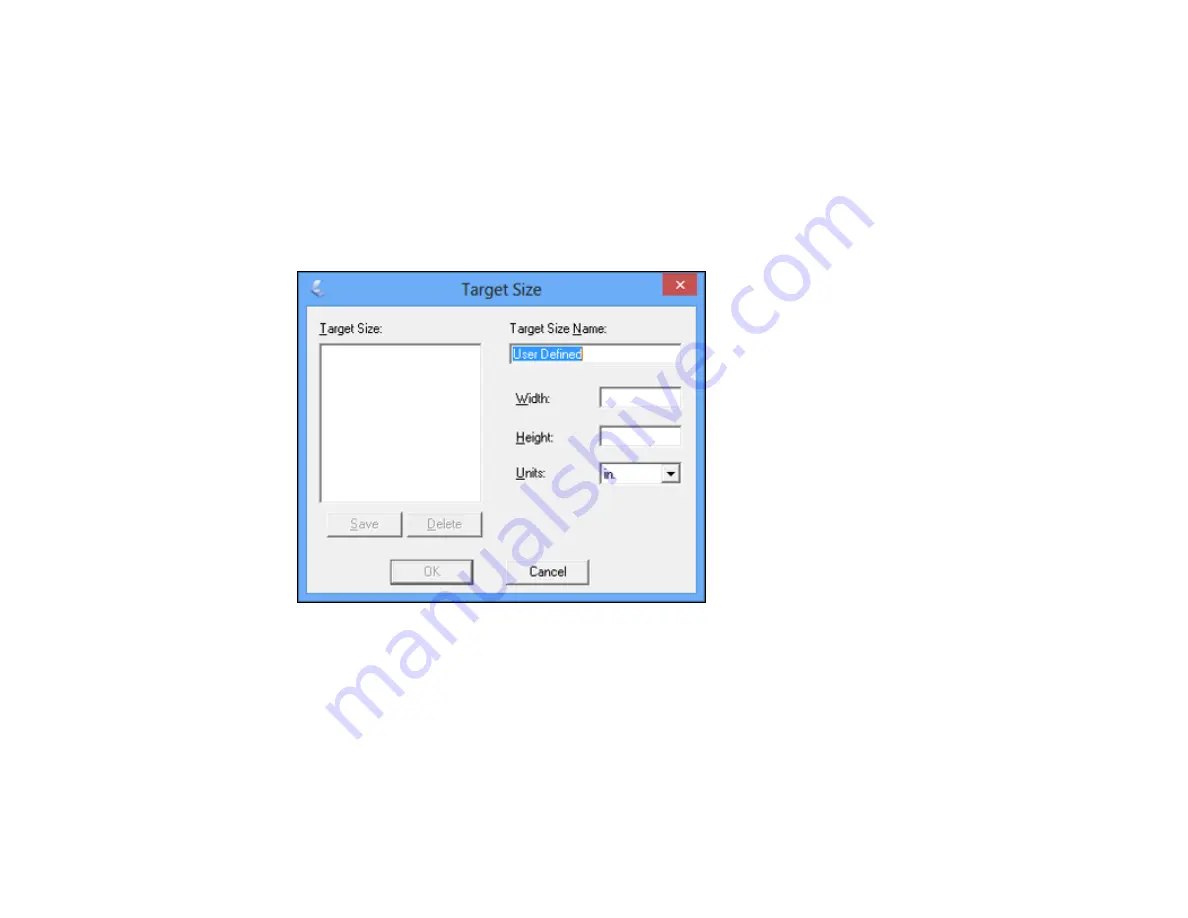
You see this window:
5.
Name the custom size, enter the size, click
Save
, and click
OK
. Then adjust the marquee on the
preview image.
The marquee is automatically proportioned for your custom scan size.
Parent topic:
Summary of Contents for L365
Page 1: ...L365 User s Guide ...
Page 2: ......
Page 10: ......
Page 15: ...15 1 Document cover 2 Scanner glass Parent topic Product Parts Locations ...
Page 40: ...40 Placing Originals on the Product ...
Page 79: ...79 You see this window ...
Page 96: ...96 You see this window ...


