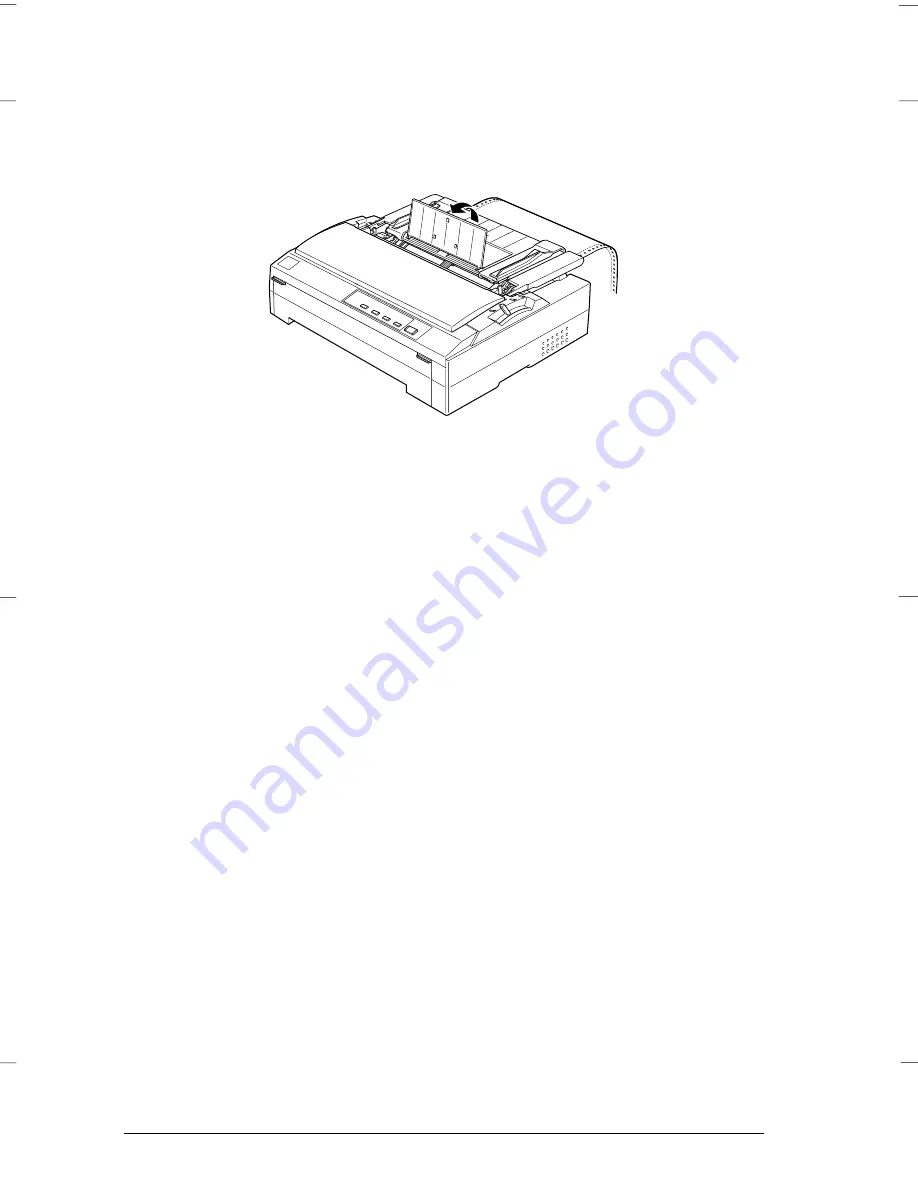
8.
Attach the paper guide and lay it flat on the printer. Open the
edge guides all the way to the left and right, then raise the
continuous paper support.
9.
Turn on the printer. When the printer receives data, it
automatically loads the paper and starts printing.
10. After you finish printing, press the
Tear Off/Bin
button to
advance the paper to the printer’s tear-off edge, and tear off
your printout.
If your paper’s perforation is not aligned with the tear-off edge,
you can use the micro adjust feature to move the perforation
to the correct tear-off position as described in “Adjusting the
tear-off position” on page 3-28.
If the first line on your page appears too high or low, you
can fix this using the micro adjust feature as described in
“Adjusting the Top-of-Form Position” on page 3-30.
c
Caution:
Never use the knob to adjust the top-of-form position; this may
damage the printer or cause it to lose the top-of-form position.
g3-17
L
Gentian
Rev.c
A5 size
Chapter 3
97/07/04
pass 2
3-16
Printing on Continuous Paper
Summary of Contents for FX-880 - Impact Printer
Page 1: ......
Page 120: ...4 24 Printing on Single Sheets ...
Page 130: ...5 10 Changing Printer Settings From the Printer s Control Panel ...
Page 162: ...8 18 Troubleshooting ...
Page 166: ...A 4 Cleaning and Transporting the Printer ...
Page 183: ...PC 437 USA Standard Europe PC 850 Multilingual PC 860 Portuguese A A B Specifications B 17 ...
Page 185: ...Abicomp Brazilian Portuguese ISO Latin 1 Roman 8 A A B Specifications B 19 ...
Page 186: ...PC 437 Greek Greek PC 869 Greek ISO 8859 7 Latin Greek PC 853 Turkish A A B 20 Specifications ...
Page 187: ...PC 857 Turkish ISO Latin 1T Turkish PC 855 Cyrillic PC 866 Russian A A B Specifications B 21 ...
Page 188: ...PC 852 East Europe MAZOWIA Poland Code MJK CSFR Bulgaria A B 22 Specifications ...
Page 189: ...Estonia PC 774 LST 1283 1993 ISO 8859 2 B Specifications B 23 ...
Page 192: ...B 26 Specifications ...
Page 211: ......


