


23
Selecting the Date and Time
Select the current date, time, and daylight saving phase in your area, and choose your preferred date
and time format.
1.
Press the
home button, if necessary.
2.
Select
Settings
and press the
OK
button.
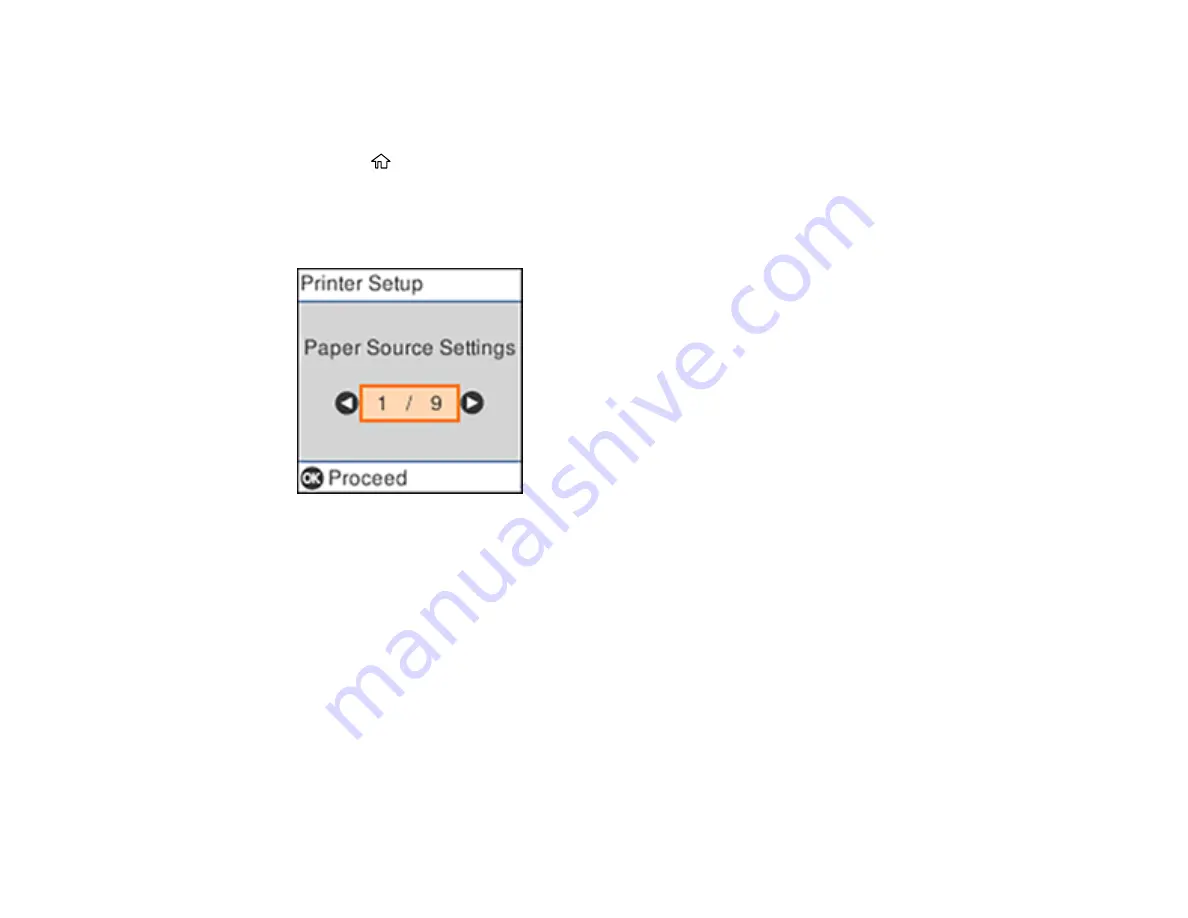
3.
Select
Printer Setup
and press the
OK
button.
You see a screen like this:
4.
Select
Date/Time Settings
and press the
OK
button.
5.
Select
Daylight Saving Time
and press the
OK
button.
6.
Select the setting that applies to your area and press the
OK
button:
•
Winter
: it is winter or your region does not use Daylight Saving Time (DST)
•
Summer
: it is spring or summer and your region uses Daylight Saving Time (DST)
Note:
If your region uses Daylight Saving Time (DST), you must change this setting to match the
season. When you change from
Winter
to
Summer
, your product automatically sets its clock ahead
one hour. When you change from
Summer
to
Winter
, it sets its clock back one hour.
7.
Select
Date/Time
and press the
OK
button.
8.
Select the date format you want to use and press the
OK
button.
Summary of Contents for ET-4800
Page 1: ...ET 4800 User s Guide ...
Page 2: ......
Page 128: ...128 You see an Epson Scan 2 window like this ...
Page 140: ...140 1 Click the Settings button You see a screen like this 2 Click the File Name Settings tab ...
Page 142: ...142 You see a screen like this 2 Click the Save Settings tab ...
Page 145: ...145 You see a screen like this 2 Click the Customize Actions tab ...
Page 147: ...147 You see this window ...
Page 212: ...212 You see a window like this 5 Click Print ...
Page 237: ...237 Related concepts Print Head Cleaning Print Head Alignment ...


