


f
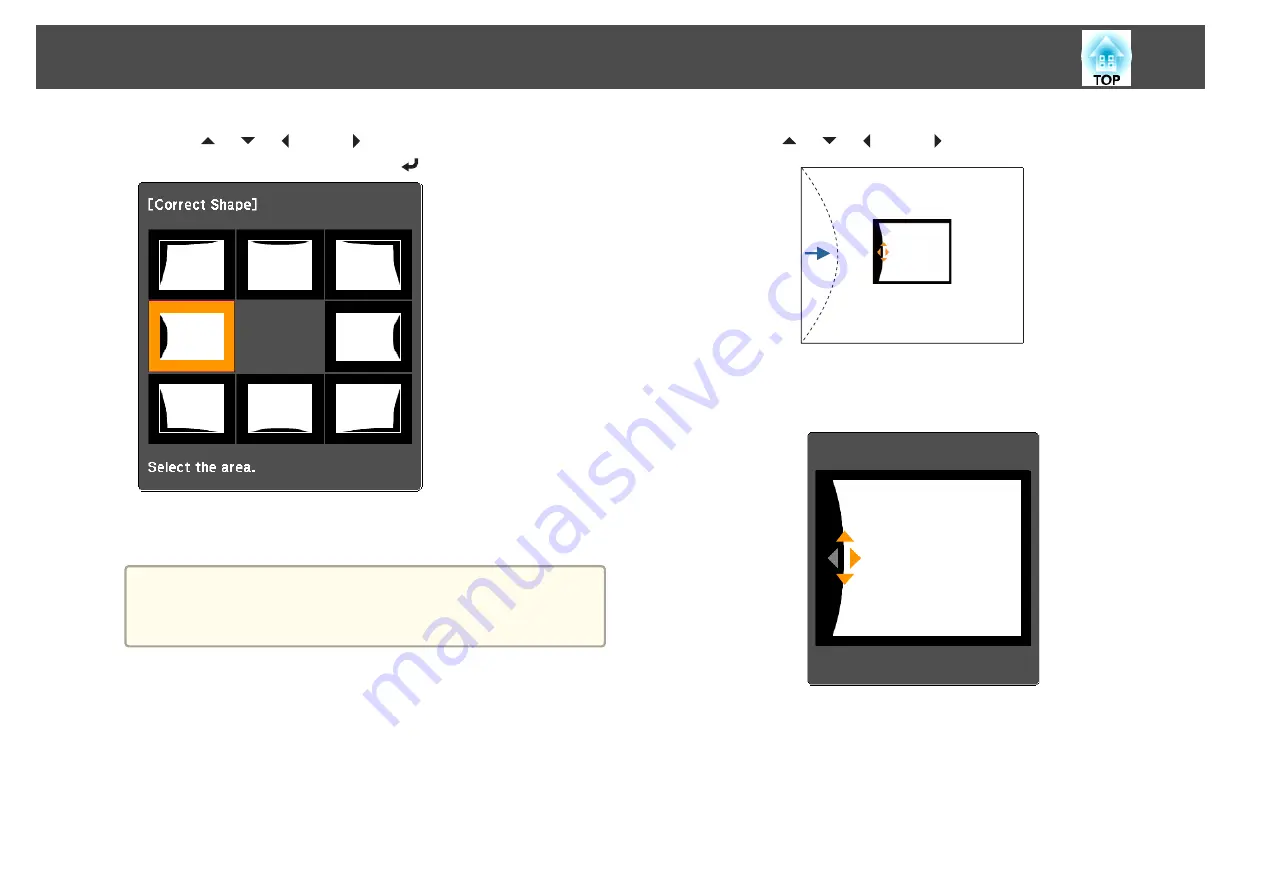
Use the [
], [
], [
], and [
] buttons to select the area you
want to adjust, and then press the [
] button.
When selecting a corner, you can adjust the two sides next to the
corner.
a
If the [Esc] button is pressed for approximately two seconds,
the confirm default reset screen is displayed.
Select
Yes
to reset the result of Curved Surface.
g
Use the [
], [
], [
], and [
] buttons to adjust the shape.
If the triangle in the direction you are adjusting the shape turns gray,
as shown in the screenshot below, you cannot adjust the shape any
further in that direction.
h
Press the [Esc] button to return to the previous screen.
i
Repeat steps from 6 to 8 as needed to adjust any remaining
parts.
If the image expands or contracts, go to the next step and adjust the
linearity.
Adjusting Projected Images
67
Summary of Contents for EB-L1100U
Page 1: ...User s Guide ...
Page 14: ...Introduction This chapter explains the names for each part ...
Page 55: ...Basic Usage This chapter explains how to project and adjust images ...
Page 123: ...Configuration Menu This chapter explains how to use the Configuration menu and its functions ...
Page 193: ...Appendix ...


