


96
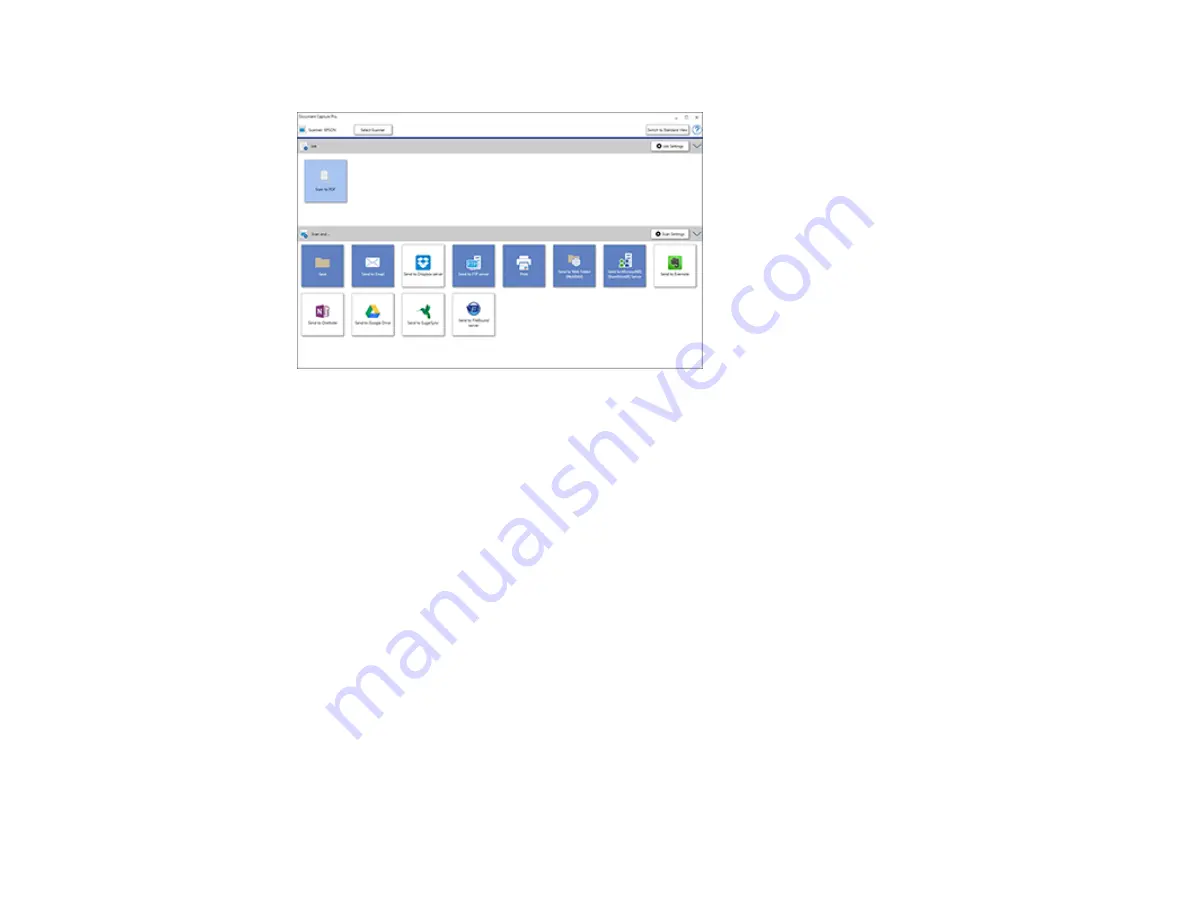
You see this window:
4.
Click the
Scan Settings
button.
5.
Enter detailed settings as necessary and click
OK
.
Note:
See the Help information in Document Capture Pro for details.
6.
Click one of the Destination icons to choose where to send your scanned files.
You see the Transfer Settings window.
7.
Select the Office format file you want to use from the
File Type
drop-down list.
8.
Click
Option
to display a new window with additional settings.
9.
Select any additional settings as necessary and click
OK
.
10. Confirm your settings and click
OK
.
Your originals are saved in the Office file format you selected.
Parent topic:
Scanning to a SharePoint Server or Cloud Service - Windows
You can use Document Capture Pro (Windows) to upload scanned images to a SharePoint server or a
cloud service.
Summary of Contents for DS-780N
Page 1: ...DS 780N User s Guide ...
Page 2: ......
Page 29: ...29 ...
Page 31: ...31 7 Slide the edge guides against the edges of the original ...
Page 34: ...34 3 Slide the input tray edge guides all the way out ...
Page 40: ...40 Note Do not load plastic cards vertically ...
Page 47: ...47 Photo or irregularly shaped original ...
Page 63: ...63 You see an Epson Scan 2 window like this ...
Page 65: ...65 You see an Epson Scan 2 window like this ...
Page 74: ...74 You see this window ...


