


60
5.
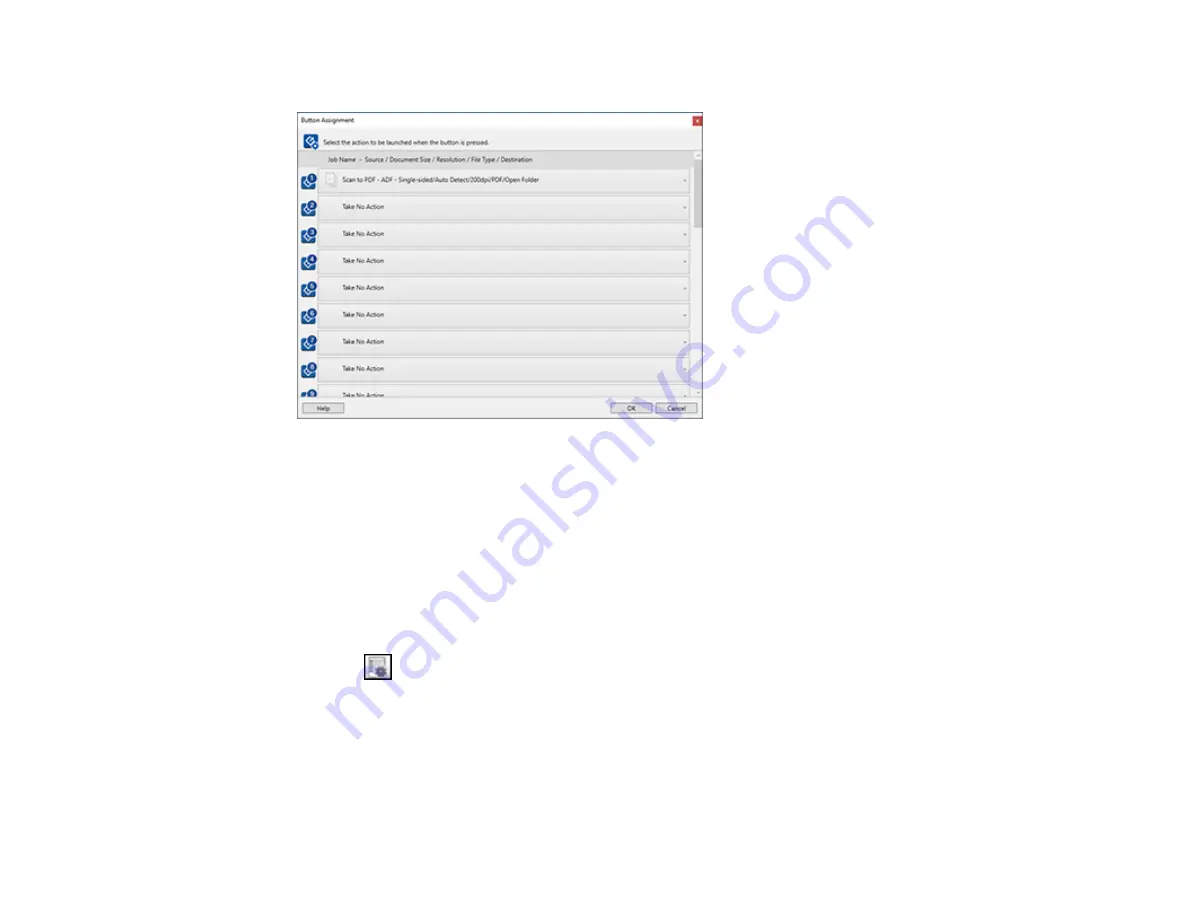
Select the jobs that you want to assign using any of the pull-down menus.
You can now use the added scan jobs when you scan from the product control panel.
6.
Click
OK
, then click
OK
again.
Parent topic:
Starting a Scan Using the Product Control Panel
Adding and Assigning Scan Jobs with Document Capture - Mac
You can view, change, or add available default scan settings when you scan using the Document
Capture Pro option on the product control panel. You do this by accessing the scan jobs in the Document
Capture program.
1.
Start Document Capture on a computer connected to the product.
2.
Click the
Manage Job icon from the toolbar at the top of the window.
You see a window showing the current scan job list.
3.
To add a scan job, click the
+
icon, enter a name for the new job, select settings as necessary, and
click
OK
.
You can now use the new scan job when you scan with Document Capture.
Note:
See the Help information in Document Capture for details.
Summary of Contents for DS-780N
Page 1: ...DS 780N User s Guide ...
Page 2: ......
Page 29: ...29 ...
Page 31: ...31 7 Slide the edge guides against the edges of the original ...
Page 34: ...34 3 Slide the input tray edge guides all the way out ...
Page 40: ...40 Note Do not load plastic cards vertically ...
Page 47: ...47 Photo or irregularly shaped original ...
Page 63: ...63 You see an Epson Scan 2 window like this ...
Page 65: ...65 You see an Epson Scan 2 window like this ...
Page 74: ...74 You see this window ...


