


35
4.
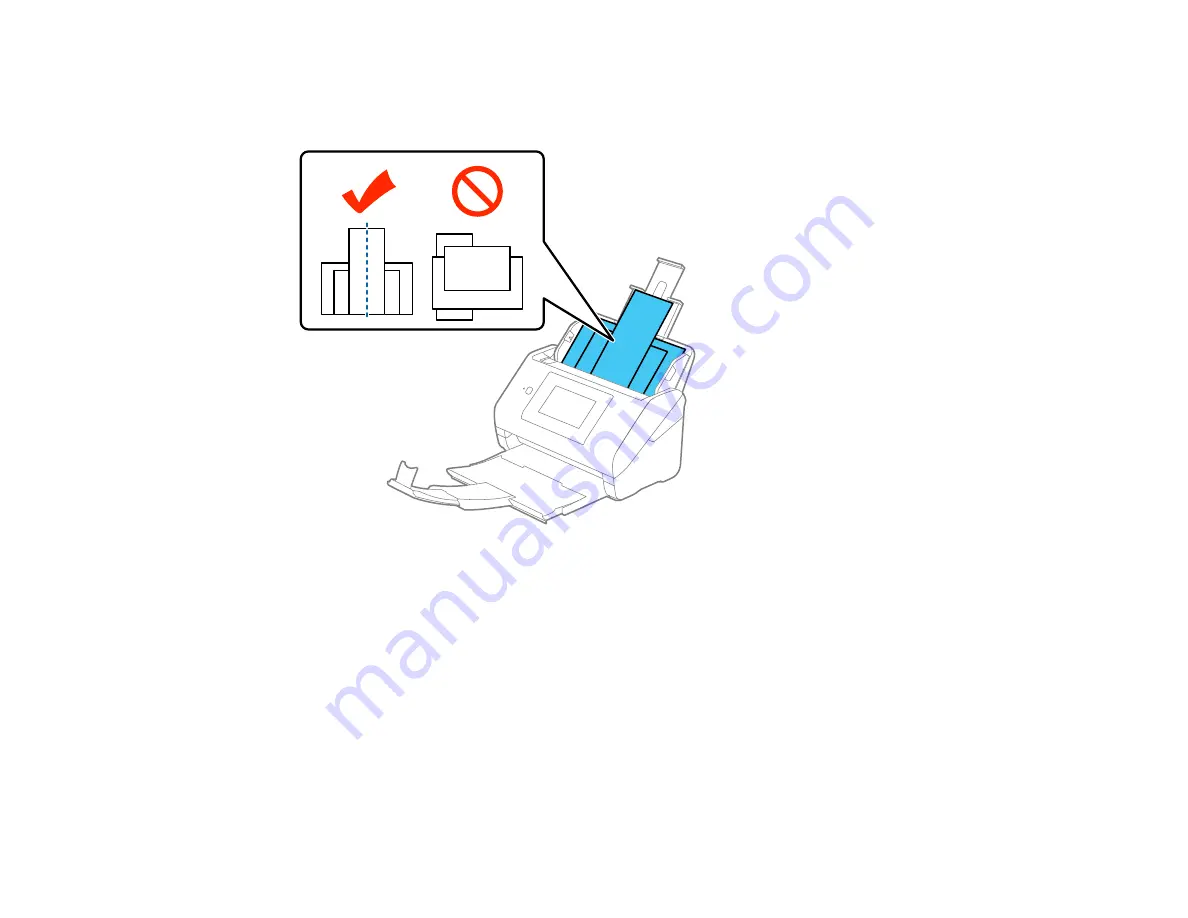
Load the originals in the input tray in descending order of paper size with the widest at the back and
the narrowest at the front. Slide them in until they meet resistance. Make sure the printed sides are
facedown and the top edges are slightly angled in the input tray.
5.
Slide the edge guides against the edges of the widest original.
6.
If necessary during scanning, adjust the position of the stopper on the output tray extension to fit the
ejected originals.
Note:
If thicker paper does not eject properly or falls from the output tray, push in the output tray and
allow the originals to eject freely onto the surface below the scanner. If the scanned images are
affected by the originals ejecting below the scanner, try placing the scanner on the edge of a table
where the ejected originals can drop freely.
If scanning thin or wrinkled paper causes paper jams, slow down the feeding speed by selecting
Settings
>
External Scan Settings
>
Slow
>
On
on the LCD screen.
Parent topic:
Summary of Contents for DS-780N
Page 1: ...DS 780N User s Guide ...
Page 2: ......
Page 29: ...29 ...
Page 31: ...31 7 Slide the edge guides against the edges of the original ...
Page 34: ...34 3 Slide the input tray edge guides all the way out ...
Page 40: ...40 Note Do not load plastic cards vertically ...
Page 47: ...47 Photo or irregularly shaped original ...
Page 63: ...63 You see an Epson Scan 2 window like this ...
Page 65: ...65 You see an Epson Scan 2 window like this ...
Page 74: ...74 You see this window ...


