164
4.
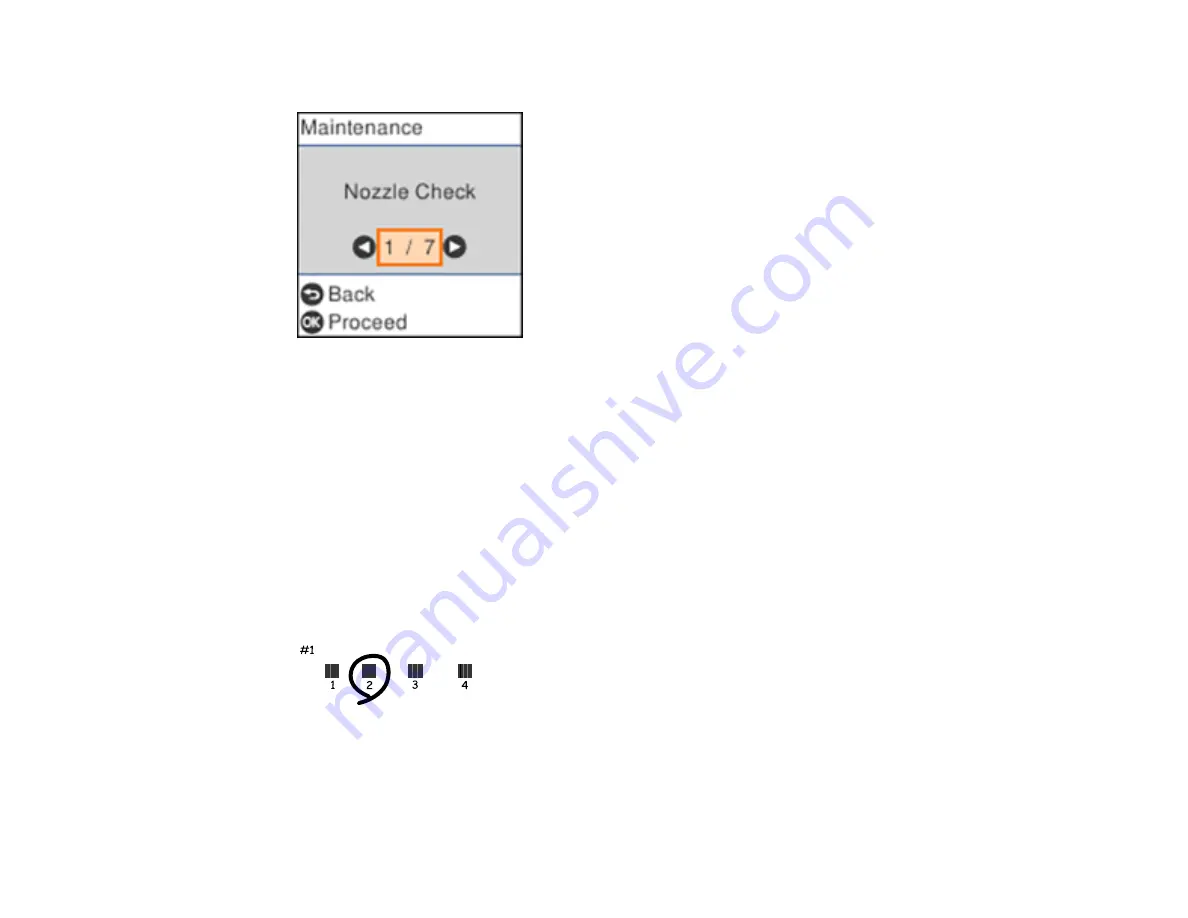
Select
Maintenance
and press the
OK
button.
5.
Select
Print Head Alignment
and press the
OK
button.
6.
Do one of the following:
• Select
Vertical Alignment
and press the
OK
button.
• Select
Horizontal Alignment
and press the
OK
button.
7.
Press the
OK
button to print an alignment sheet.
Note:
Do not cancel printing while you are printing a head alignment pattern.
8.
Check the printed pattern and select the number representing the most solid printed pattern for each
set on the LCD screen.
Vertical Alignment
Horizontal Alignment
Summary of Contents for C11CH43401
Page 1: ...ET M2170 User s Guide ...
Page 2: ......
Page 32: ...32 Related topics Wi Fi or Wired Networking ...
Page 121: ...121 You see an Epson Scan 2 window like this ...
Page 123: ...123 You see an Epson Scan 2 window like this ...
Page 125: ...125 You see this window ...
Page 147: ...147 Parent topic Refilling Ink and Replacing the Maintenance Box ...
Page 150: ...150 You see this screen 6 Press the start button to print The nozzle check pattern is printed ...
Page 153: ...153 You see a window like this 5 Click Print ...
Page 194: ...194 2 Open the front cover 3 Lower the output selector ...
Page 196: ...196 2 Lift the printer cover until it clicks into place and remove any jammed paper inside ...


