


Quick
Start
Guide
www.ensembledesigns.com
Page 9
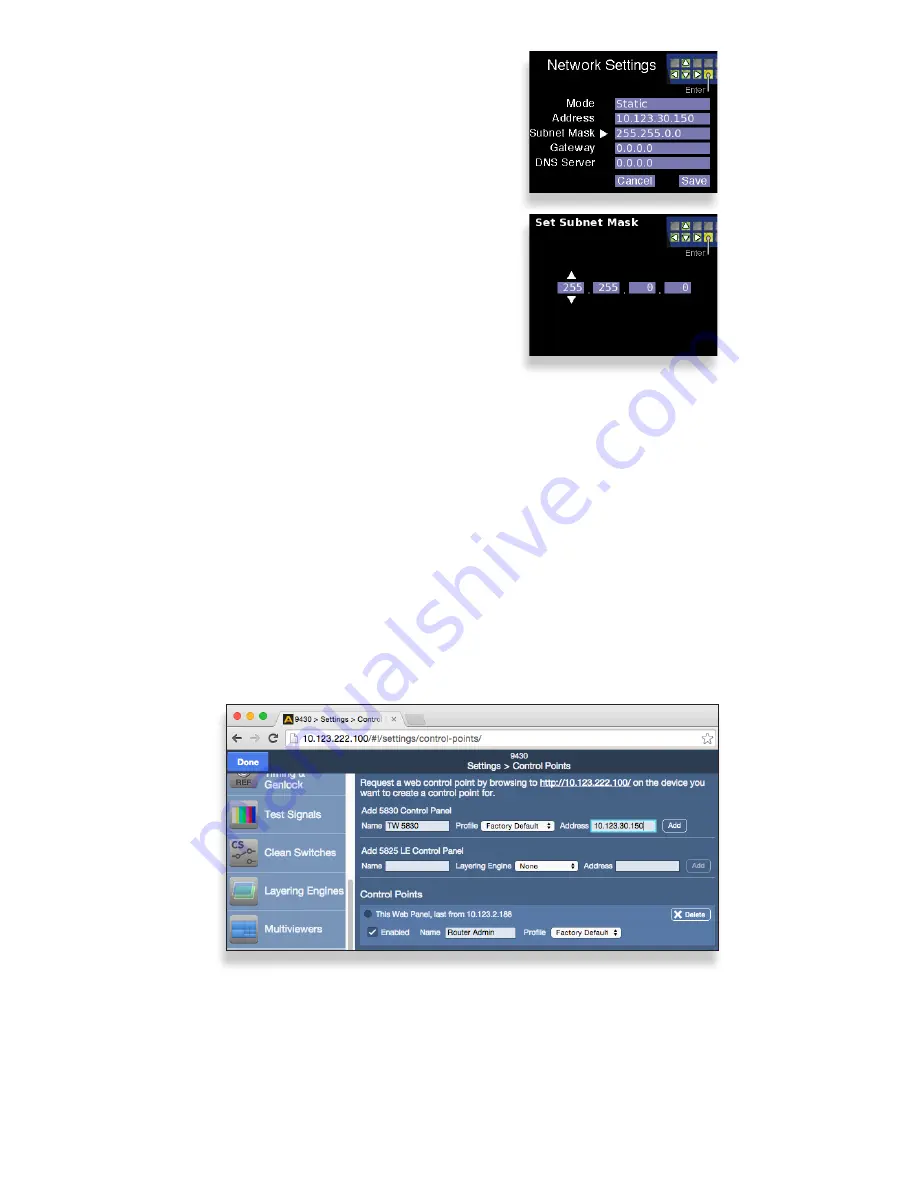
Subnet Mask
1. Use the navigation buttons to select the
Subnet Mask menu.
2. Press Enter. The Set Subnet Mask screen
displays.
3. Use the Up and Down navigation buttons
to change values. Use the Left and Right
navigation buttons to move to the
different segments of the Subnet Mask
menu.
4. Press Enter to exit the menu and return to
the Network Settings screen.
5. Once finished modifying the control
panel’s network settings, select Save to
save your changes, or select Cancel to
cancel all changes.
6. Press Enter. The LCD Display returns to
operational mode, displaying the currently
selected Background.
Creating a Control Point for the 5830 Control Panel
1. Navigate to the 9430’s IP address with your web browser. The Router Control page
displays.
2. Click Settings from the drop-down menu. The Settings > General window displays.
3. From the left navigation panel, click Control Points. The Control Points page displays.
4. Under the heading “Add 5830 Control Panel,” enter a name for the 5830 Control Panel
in the Name field. Enter the 5830’s IP address in the Address field. Click Add. The 5830
Panel is added to the list of Control Points.
5. Click Done.
At this point, now that you have assigned a compatible IP address to the Control Panel and
you have added it as a Control Point to the Router, it will now connect to the Router.
The 9430 Settings > Control Points window showing the process of
adding the 5830 Control Panel as a Control Point