


1592028000 XWEB300D_500_500D opr GB r2.2.0 2013.08.01.docx XWEB500/300 58/114
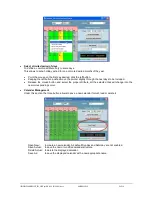
controllers.
In the first step you are required to make a complete setup regarding both standard and advanced
section.
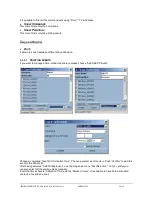
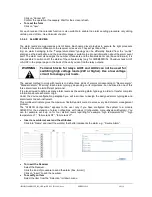
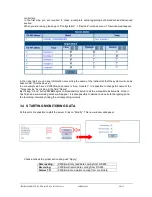
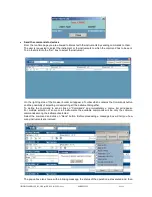
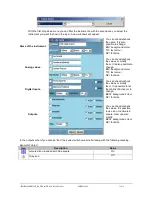
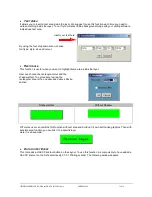
When you are ready, please go to “Configuration” -> “Devices” roll-down menu. This window will appear:
In the upper part you can see information concerning the name of the instrument that the system will use as
base model (“Source device”).
In our example we have a XJP60D whose name is “Acq. module 1”. It is possible to change the name of the
“Target device” by clicking in the field “Name”.
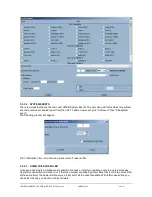
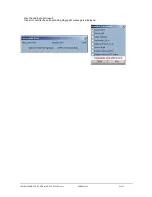
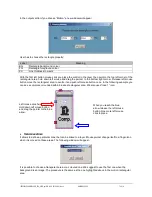
By clicking “Clone” button XWEB begins to broadcast this setup to all the compatible instruments. Once it
has finished a summarising window will appear. It is also possible to decide to clone both the typology and
the recording interval by ticking the corresponding columns.
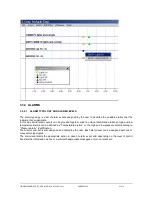
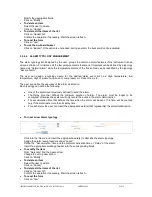
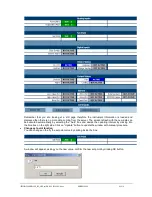
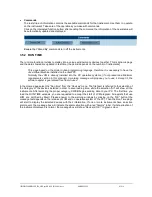
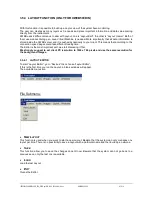
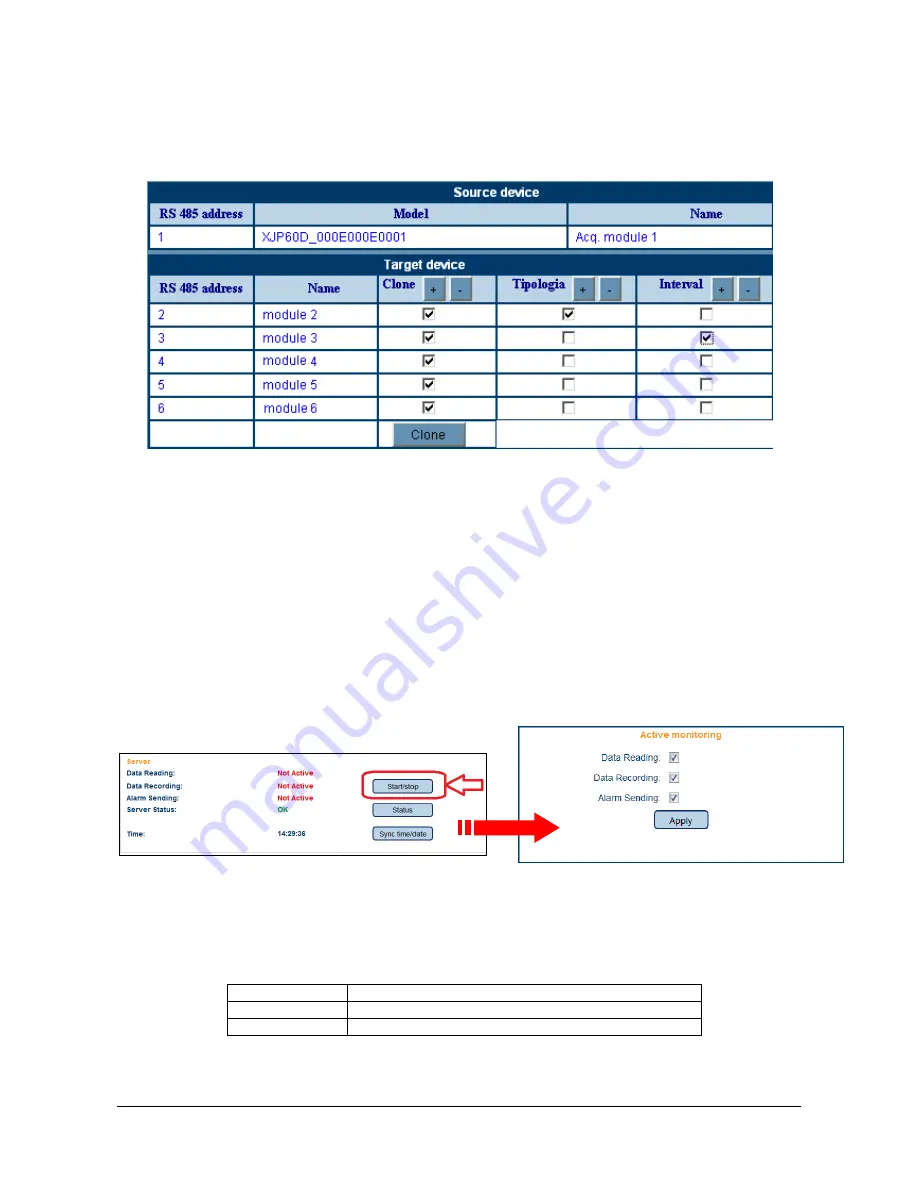
3.4 STARTING MONITORING DATA
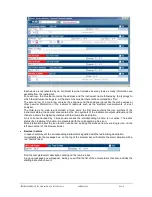
At this point it is possible to start the server. Click on “Modify”. This new window will appear
Check/uncheck the proper action and push “Apply”.
Data reading:
XWEB will only read data coming from RS 485.
Recording:
XWEB will record data coming from RS 485.
Alarms TX:
XWEB will send alarms coming from controllers.
Summary of Contents for Dixell XWEB300
Page 1: ...OPERATION MANUAL v 2 2 0 ...
Page 2: ...1592028000 XWEB300D_500_500D opr GB r2 2 0 2013 08 01 docx XWEB500 300 2 114 ...
Page 80: ...1592028000 XWEB300D_500_500D opr GB r2 2 0 2013 08 01 docx XWEB500 300 80 114 ...
Page 96: ...1592028000 XWEB300D_500_500D opr GB r2 2 0 2013 08 01 docx XWEB500 300 96 114 ...