December 2020
Installation, Operation and Maintenance Manual
VA-DC-000-1878 Rev. 0
24
Section 3: Actuator Reassembly
Actuator Reassembly
3.3.20
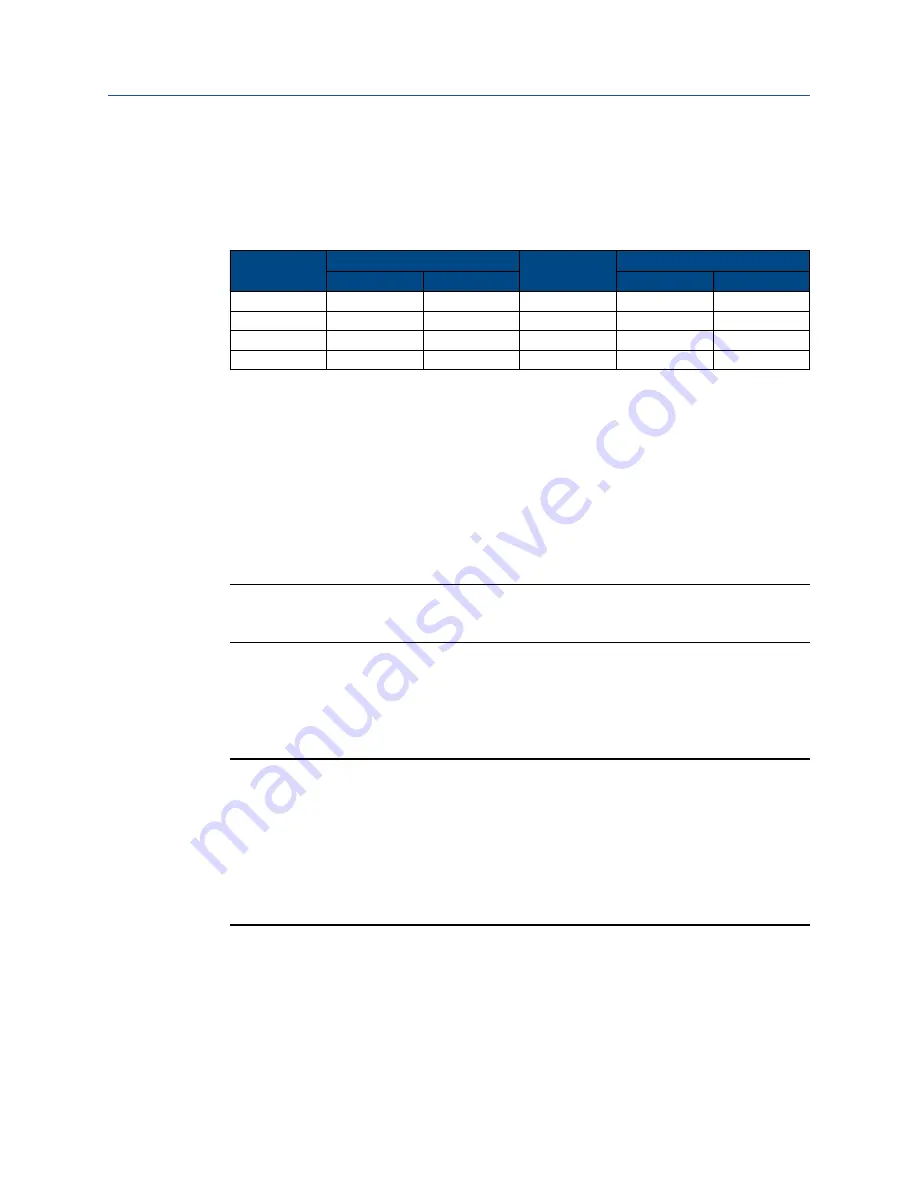
Install tie bar nuts (3 - 90) onto tie bars (3 - 20). Torque tighten tie bar nuts,
alternately in 100 lb-ft / Nm increments, until a final lubricated torque, as listed in
Table 4, has been achieved.
Table 4.
Tie Bar Nuts
Housing
Model
Torque (±5%)
Housing
Model
Torque (±5%)
lb-ft
Nm
lb-ft
Nm
G01
120
163
G5
400
542
G2
120
163
G7
500
678
G3
150
203
G8
500
678
G4
150
203
G10
1,200
1,627
3.3.21
Install lock washers (3 - 140) onto socket cap screws (3 - 130).
3.3.22
Install and tighten socket cap screws (3 - 130), with lock washers (3 - 140),
into outer end cap (3 - 80).
3.3.23
If removed, using pipe dope, install pipe plug (3 - 120) into outer end cap (3 - 80).
3.3.24
Apply sufficient pneumatic pressure to outer end cap (3 - 80) pressure inlet port to
move the piston to its full inboard position (next to inner end cap).
3.3.25
Remove pneumatic pressure from outer end cap (3 - 80).
3.3.26
Install breather assembly (12) in outer end cap (3 - 80).
NOTE:
Individual actuators may not have reducer bushing (14) depending on port and breather size.
3.4
G2 and G3 Early Model Pneumatic Power
Module Reassembly
NOTE:
1.
Early G2 and G3 pneumatic power modules where equipped with tie bars that had
nuts on both ends of the tie bars (3 - 20) – double nuts.
2.
Refer to Section 2, step 2.1.4 for the correct installation location for piston rod (3 - 40).
3.
THE ACTUATOR MUST BE IN THE APPROPRIATE OVERTRAVEL POSITION. Confirm
over-travel position by observing the guide block (1 - 30) is against the inner wall
of housing (1 - 10).
4.
Refer to drawing VA121410 for details.
3.4.1
Refer to assembly drawing page 2 of 2 Detail "C". Install one rod wiper (4 - 10) into
inner end cap (3 - 10).
3.4.2
Install one rod bushing (4 - 20) into inner end cap (3 - 10).
3.4.3
Coat one Polypak seal (4 - 30) with lubricant and install, lip first, into inner end
cap (3 - 10).


