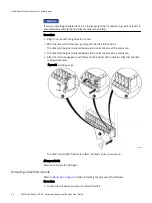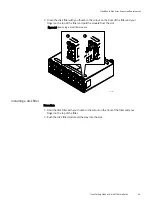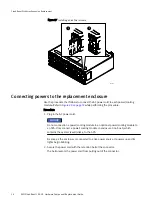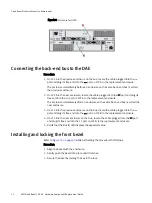
Figure 31 Installing the front bezel
CL4562
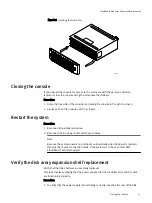
Closing the console
If you opened the console for access to the enclosure with the part you added or
replaced, close the console using the procedure that follows.
Procedure
1. Grasp the free side of the console, and swing the console to the right to close it
2. Gently push on the console until it is closed.
Restart the system
Procedure
1. Reconnect all peripheral devices.
2. Reconnect the AC power cords and the wire bales.
Note
Because the system powers on and boots automatically when AC power is restored,
this must be the last connection made. If the system won't boot, contact EMC
CloudBoost Technical Support.
Verify the disk array expansion shelf replacement
Verify that the DAE shelf was successfully replaced.
This task involves verifying that the power supply, the link controller card, and the disk
are functioning correctly.
Procedure
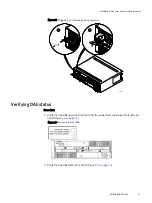
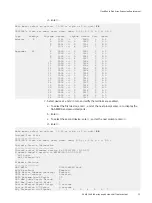
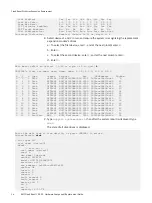
1. To verify that the power supply is functioning correctly, examine the rear of the DAE.
CloudBoost Disk Array Expansion Replacement
Closing the console
53
Summary of Contents for CloudBoost 100
Page 1: ...EMC CloudBoost 100 Version 2 0 Hardware Component Replacement Guide P N 302 002 471 REV 02 ...
Page 6: ...FIGURES 6 EMC CloudBoost 100 2 0 Hardware Component Replacement Guide ...
Page 8: ...TABLES 8 EMC CloudBoost 100 2 0 Hardware Component Replacement Guide ...
Page 14: ...CloudBoost 100 Overview 14 EMC CloudBoost 100 2 0 Hardware Component Replacement Guide ...
Page 20: ...Disk Drive Replacement 20 EMC CloudBoost 100 2 0 Hardware Component Replacement Guide ...


