- 10 -
REMOVING THE USB DRIVE
Make sure to stop the playback and turn the unit off before removing the USB drive to avoid damage to the
USB and the system.
PLAYING IN MP3 MODE(UNDER CD/USB OPERATION)
1. Press PLAY/PAUSE button to start or pause playback of the selected track in
the CD/USB mode.
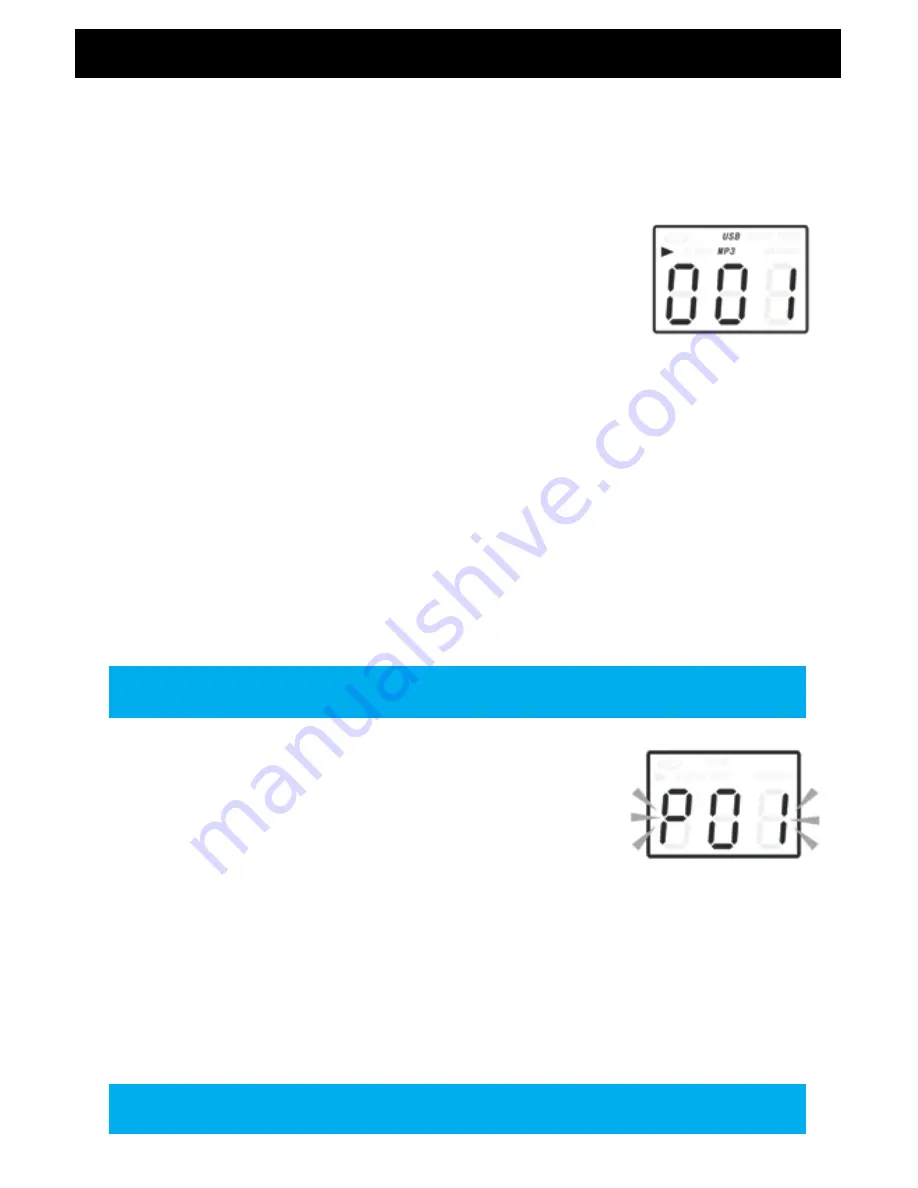
2. While playing the song, the song number and folder number of your
selected track will be shown on the screen. The MP3 icon and
►
icon will
be shown.
3. You can stop the playback at any time by pressing the STOP button.
TRACK SKIP AND HIGH SPEED TRACK SEARCH IN CD/USB MODE
During CD/USB playback, pressing the UP/F.F (Fast Forward) or the DN/F.R (Fast
Reverse) button repeatedly will skip to higher or lower tracks. Release the button
when the desired track number is shown. The disc will begin to play from your
selected track.
Press the DN/F.R or the UP/F.F button to select a track from a folder. Both "ALBUM" and "001", "002"
(folder name and song name) will flash. Press the PLAY.MODE four times or press the RANDOM button on
the remote control and you will see RANDOM on the LED screen. Press the DN/F.R or the UP/F.F button to
manually select tracks randomly.
OPERATION
Folders are only available when a USB is detected, not during CD playback.
You can store a total of 99 MP3 tracks and 20 CD tracks.
OPERATION
MEMORY FUNCTION IN CD/MP3 MODE
1. Press STOP then press PLAY.MODE on the unit or PROGRAM on the
remote control to program your tracks. Both "PROG" (flashing) and
"P01" will appear on the screen. Press the UP/F.F or DN/F.R button to
select your track then press the PLAY.MODE or PROGRAM button to
confirm your selection.
2. Press the PLAY.MODE or PROGRAM button to program the next track.
Repeat for all of your selected tracks.
3. To set the memory while in MP3 mode (CD/USB), repeat steps 1 and 2.
4. Press the PLAY/PAUSE button to play the stored tracks, press UP/F.F or DN/F.B to select a track in the
sequence saved.
5. Press the STOP button twice to exit the program mode. This will clear the memory of your previous
selections.
Summary of Contents for EANOS700
Page 17: ... 17 NOTES ...
Page 18: ... 18 NOTES ...
Page 19: ... 19 NOTES ...
Page 20: ... 20 NOTES 17 ...


