32
HD/RGB Section Operations
Selecting the Bus Input (HD/RGB)
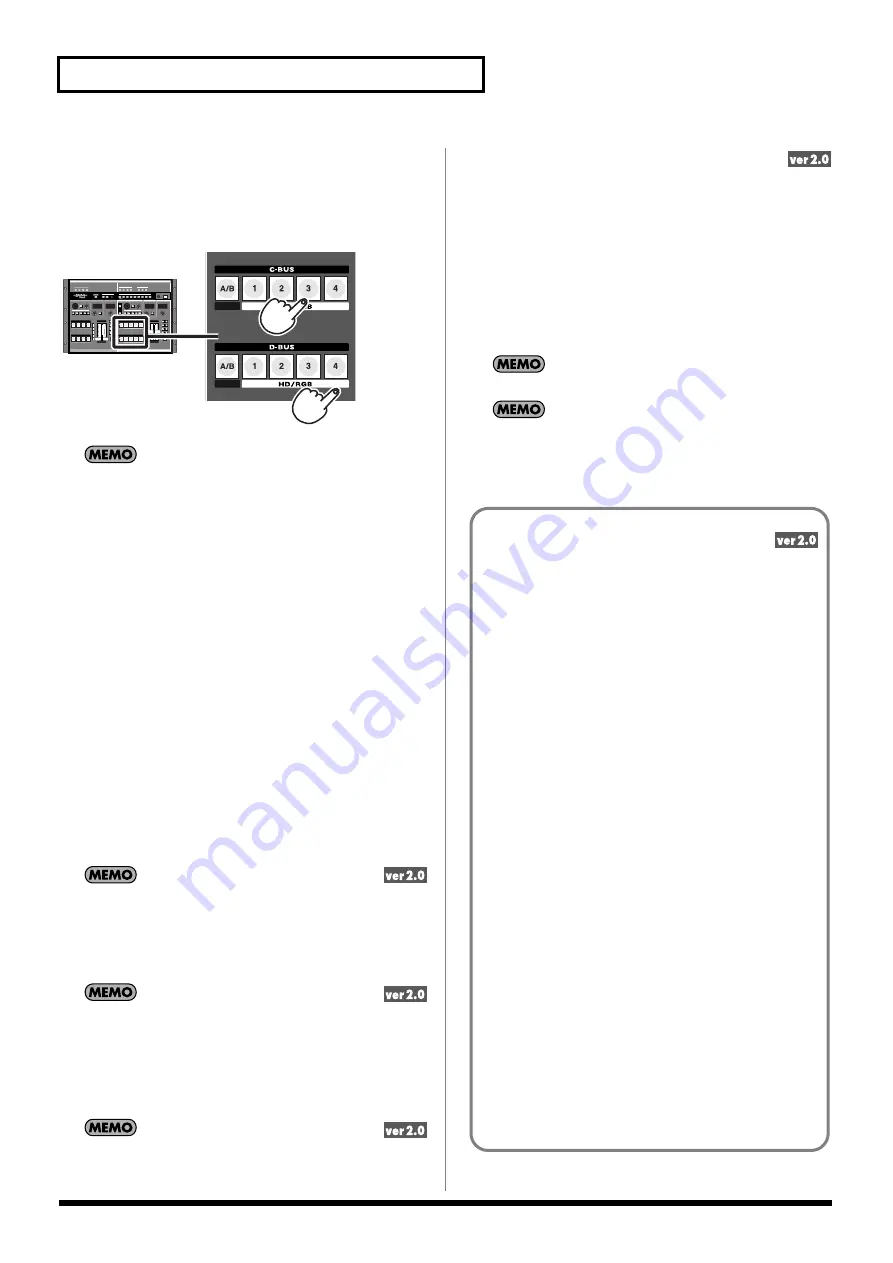
The video used on the C-BUS is selected by pressing the C-BUS
channel buttons (HD/RGB) 1–4 and A/B button. In the same
manner, the video used on the D-BUS is selected by pressing the
D-BUS channel buttons (HD/RGB) 1–4 and A/B button.
When video is switched using the C-BUS channel buttons (HD/
RGB) or D-BUS channel buttons (HD/RGB), a period of time
corresponding to several frames is required to switch the video
in each bus. This is due to the time required to lock the video
signals when the formats for the video input in each channel are
switched. To reduce the length of time taken, adjust the
following items from the menu.
*
When you want to switch channels rapidly, use the video
fader (HD/RGB) (p. 30).
*
Depending on the settings for the following menu items,
noise may be generated when the video is switched. Set the
values to provide ample leeway to avoid this problem.
•
“HD/RGB Input” - (Each channel)
[1. Format Auto Detect]
If “Auto” is set, set this to “Manual” and then select the
format for the video being input.
[2. Input Format]
Select the format for the video being input.
•
“13. System”
[9. HD Seamless Delay Time]
Keep the time setting somewhat short. The unit of time is the
field.
As programmed at the factory, the V-440HD’s C-BUS channel
buttons (D-BUS channel buttons) light yellow for PGM output
and green for preview output. You can change these colors with
the “15. InputSw LED Color” setting under “13. SYSTEM” in
the menu.
If you hold down one C-BUS channel button while you press a
different C-BUS channel button, the output image switches to
that of the button pressed later. If you release the button
pressed later, the output image returns to that of the button you
are holding down. The same operation is possible with the
channel buttons of D-BUS.
You can disable the operation of any desired button by setting
“18. Sw Enable” under “2. HD/RGB Input” in the menu.
Changing the Switching Method
Version 2.0 of V-440HD provides the PGM-PST (flip-flop) method of
operation employed by many professional-grade switchers.
Use the following procedure to switch the method of operation.
1.
Press the MENU button.
2.
Select “13. System.”
3.
Press the ENTER button.
4.
Select “14. Panel Operation Mode.”
5.
Press the ENTER button.
6.
Select “PGM-PST Mode.”
The “A/B Mode” is also referred to as the “butterfly” method.
When “PGM/PST” is selected, then even if “Change” is selected
as the “Operation when the AUTO Button Is Pressed” (p. 30),
operation will in fact be the same as if “Continue” were
selected.
Flip-Flop Operational Method
C-BUS Channel Buttons (HD/RGB) (p. 32)
These select the PGM output from the HD/RGB section.
D-BUS Channel Buttons (HD/RGB) (p. 32)
These select the Preview output from the HD/RGB section.
*
This may be referred to as the “preset” with other manufacturer’s
equipment.
This switches the video selected with the C-BUS and D-BUS
channel buttons.
*
This performs the same function as the “TAKE” button on other
manufacturer’s devices.
*
When a wipe switch is selected, the wipe is fixed in one direction.
This switches the video selected with the C-BUS and D-BUS
channel buttons, regardless of the direction in which the fader is
tilted.
*
When a wipe switch is selected, the wipe is fixed in one direction.
P in P PATTERN Button (HD/RGB) (p. 33)
This places the video selected with the D-BUS channel buttons
in the sub screen, regardless of the direction in which the fader
is tilted.
KEY ON Button (HD/RGB) (p. 36)
This applies key composite effects to the video selected with the
D-BUS channel buttons, regardless of the direction in which the
fader is tilted.


