3.
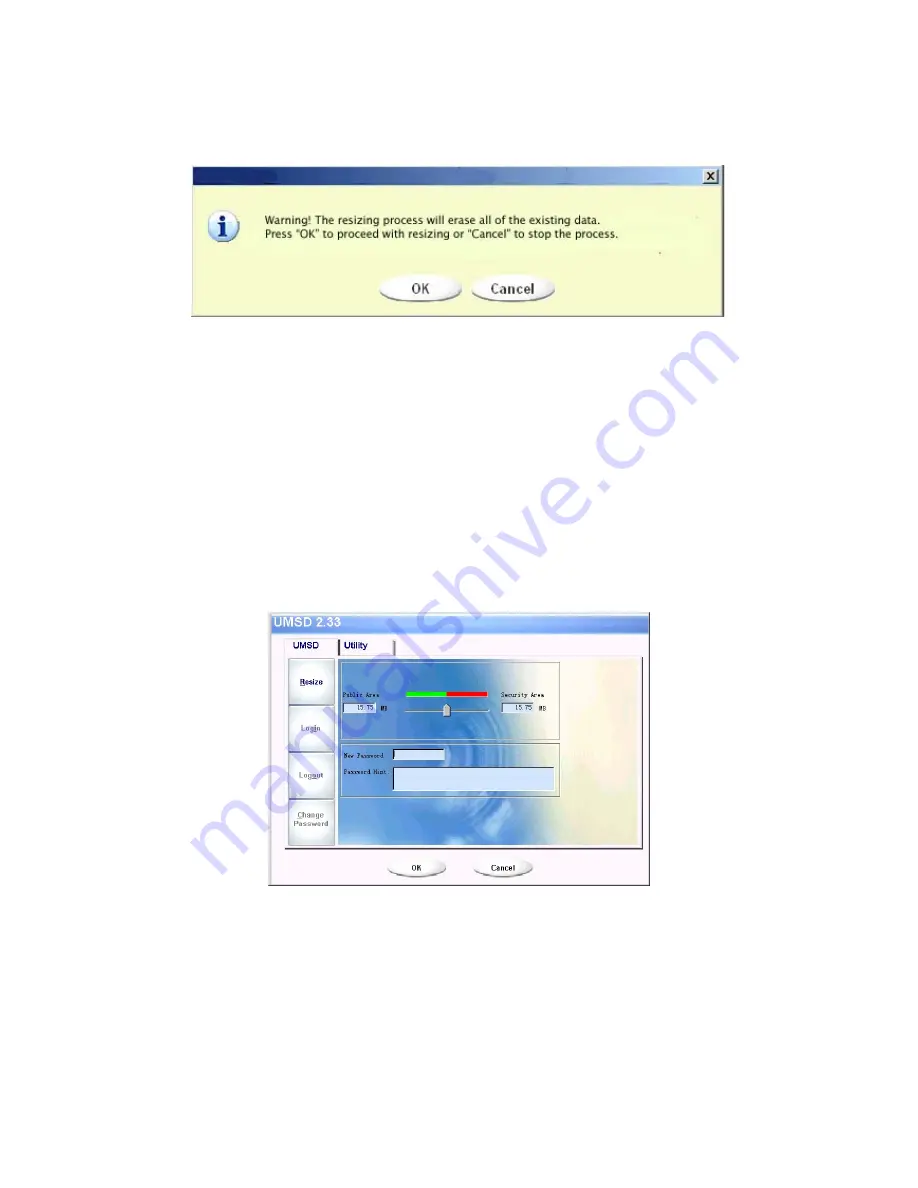
If you select “Public Area Only”, then click the [OK] button. The “Confirmation” window will pop up.
Please make sure you have already backed up any important files or data on the DiskGO! Watch.
4.
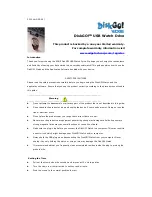
If you select “Security Area”, you will next see the “Security Area Resize” window pop up. You can
drag the scroll bar in the middle of the window to set the size of the “Public Area” and “Security
Area”, or you can type in the size of each Zone you want in the “Size” window. You can set the
password for accessing the security area in the “New Password” window. The maximum size of the
password is 8 characters. You can also type in a hint for your new password in the “Password Hint”
window. This hint will be displayed when you click the “Hint” button in the “Unlock Protect” window.
The maximum size of the hint is 32 characters. After you have finished, click the [OK] button. The
“Confirmation” window will pop up. Please make sure you have already backed up any important
files or data on the DiskGO! Watch.
5.
If you select the “Public Area + Security Area”, then the following “Public/Security Area Resize”
window will pop up. You can drag the scroll bar in the window to set the size of each area. First, set
the size of the “Public Area” of LUN1. The minimum size for each area is 1MB. Once the size of the
“Public Area” of LUN1 is set, the scroll bar of the “Public Area” and “Security Data Zone” of LUN0 will
automatically be set in the middle”, or you can type in the size of each Zone you want in the “Size”
window. You can set the password for accessing the security area in the “New Password” window.
The maximum size of the password is 8 characters. You can also type in a hint for your new


