19
Programming the Water Softener
SETTING TIME FORMAT
Use this feature to select a 12-hour (AM/PM) or 24-hour
clock.
1
. From any of the rolling status screens, press the
SELECT (
¡
) button to display the
Main menu
.
2
. Press the DOWN (
6
) button to scroll through the
menu options until
User preferences
is highlighted.
3
. Press the SELECT (
¡
) button to display the User
preferences menu.
4
. Press the DOWN (
6
) button to scroll through the
menu options until
Time format
is highlighted.
5
. Press the SELECT (
¡
) button to display the Time
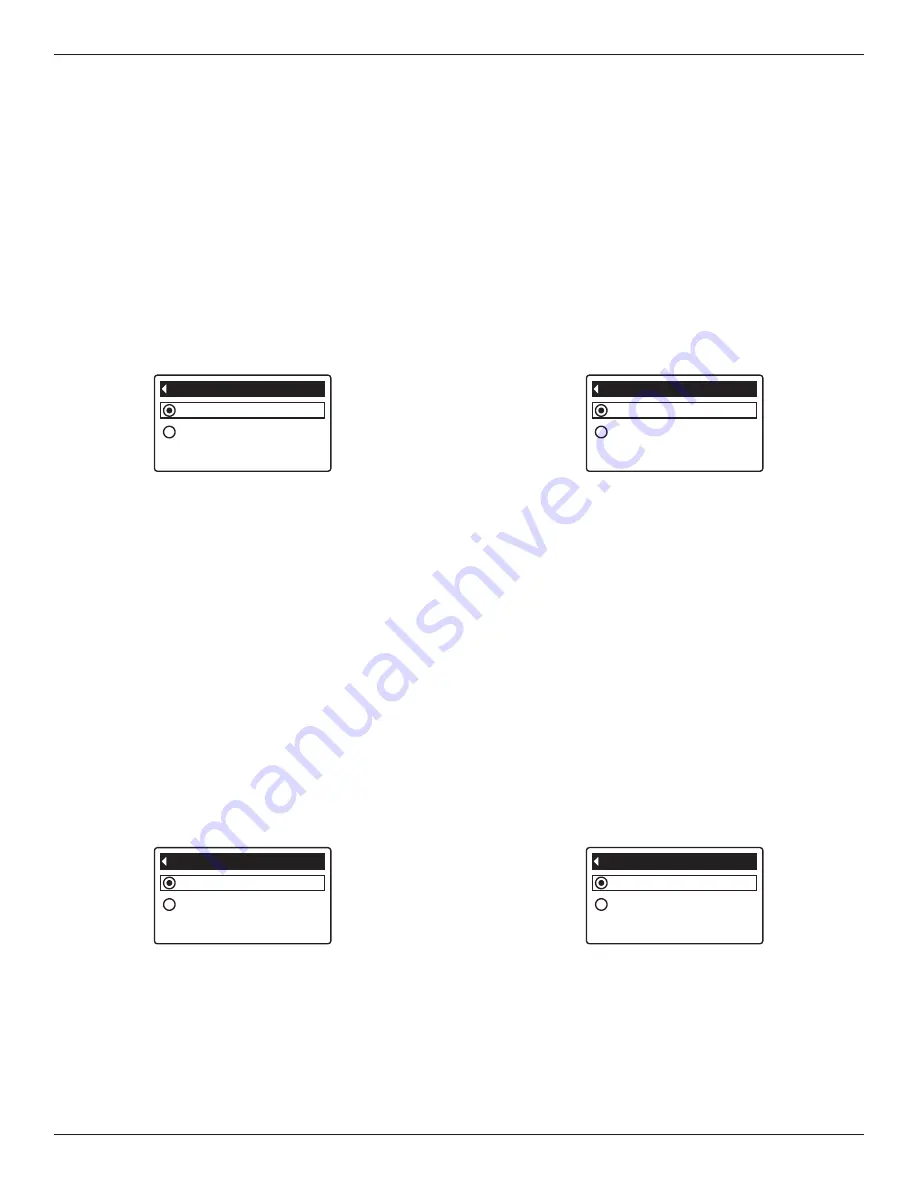
format menu (See Figure 51).
12-hour AM/PM
24-hour
Time format
FIG. 51
6
. If the desired time format already has a black dot
next to it (See Figure 51), go to Step 7. Otherwise,
press the DOWN (
6
) or UP (
5
) buttons to scroll to
the other time format, then press SELECT (
¡
) to
choose it.
7
. Press the SELECT (
¡
) button. The display will go
back to the User preferences menu.
8
. Press the LEFT (
3
) button twice to return to the
rolling status screens.
SETTING VOLUME UNITS
Use this feature to select gallons or liters as volume
units.
1-3
. Go to the
User preferences
menu by following
Steps 1-3 in “Setting Time Format” above.
4
. Press the DOWN (
6
) button to scroll through the
menu options until
Volume units
is highlighted.
5
. Press the SELECT (
¡
) button to display the Volume
units menu (See Figure 52).
gallons
liters
Volume units
FIG. 52
6
. If the desired volume unit already has a black dot
next to it (See Figure 52), go to Step 7. Otherwise,
press the DOWN (
6
) or UP (
5
) buttons to scroll to
the other volume unit, then press SELECT (
¡
) to
choose it.
7
. Press the SELECT (
¡
) button. The display will go
back to the User preferences menu.
8
. Press the LEFT (
3
) button twice to return to the
rolling status screens.
SETTING HARDNESS UNITS
Use this feature to select grains or parts per million
(ppm) as hardness units.
1
. From any of the rolling status screens, press the
SELECT (
¡
) button to display the
Main menu
.
2
. Press the DOWN (
6
) button to scroll through the
menu options until
User preferences
is highlighted.
3
. Press the SELECT (
¡
) button to display the User
preferences menu.
4
. Press the DOWN (
6
) button to scroll through the
menu options until
Hardness units
is highlighted.
5
. Press the SELECT (
¡
) button to display the
Hardness units menu (See Figure 53).
grains
PPM
Hardness units
FIG. 53
6
. If the desired hardness unit already has a black dot
next to it (See Figure 53), go to Step 7. Otherwise,
press the DOWN (
6
) or UP (
5
) buttons to scroll to
the other hardness unit, then press SELECT (
¡
) to
choose it.
7
. Press the SELECT (
¡
) button. The display will go
back to the User preferences menu.
8
. Press the LEFT (
3
) button twice to return to the
rolling status screens.
SETTING WEIGHT UNITS
Use this feature to select pounds or kilograms as
weight units.
1-3
. Go to the
User preferences
menu by following
Steps 1-3 in “Setting Hardness Units” above.
4
. Press the DOWN (
6
) button to scroll through the
menu options until
Weight units
is highlighted.
5
. Press the SELECT (
¡
) button to display the Weight
units menu (See Figure 54).
pounds
kilograms
Weight units
FIG. 54
6
. If the desired weight unit already has a black dot next
to it (See Figure 54), go to Step 7. Otherwise, press
the DOWN (
6
) or UP (
5
) buttons to scroll to the
other weight unit, then press SELECT (
¡
) to choose
it.
7
. Press the SELECT (
¡
) button. The display will go
back to the User preferences menu.
8
. Press the LEFT (
3
) button twice to return to the
rolling status screens.


