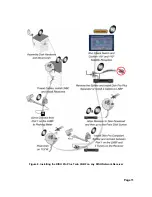
Page 9
-
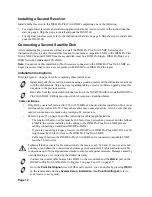
If you are connecting a Legacy receiver (no DISH Pro or DISH Pro Plus label), RG-6 cable
length must be 150 feet or less to the DISH Pro Plus Twin LNBF.
-
Cable length between the DISH Pro Plus Twin LNBF and a connected compatible LNBF must
be 80 feet or less.
Tighten all indoor coaxial cable connections to the receiver
only
by hand. If you use a
wrench, you may over-tighten the connections and damage your equipment. Tighten
all outdoor cable connections up to 30 inch/pounds maximum to ensure seal against
moisture. Damage caused by over-tightening is
not
covered by the limited warranty.
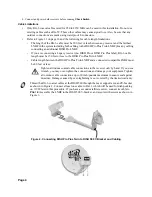
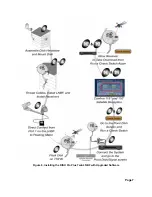
Thread the RG-6 coaxial cables at the DISH 500 through the mast, support arm, and Y-bracket
while referring to Figure 2 on page 4. Connect at least one cable to
P
ORT
1
, which will be used
for dish peaking on 119W later in this procedure. If you have a second satellite receiver,
connect its cable to
P
ORT
2
. Assemble the LNBFs to the DISH 500 Y-bracket, and secure with
screws as shown in Figure 3 on page 4.
Install the satellite receiver(s) using the user's guide that came with your receiver(s).
Direct connect the RG-6 coaxial cable from the LNBF’s
P
ORT
1
to a peaking meter.
Peak the dish for the strongest possible signal on the 119W satellite signal.
Connect a single cable from the DISH Pro Plus Twin LNBF
P
ORT
1
to the
LNB
port on a
DISH Pro compliant splitter (not a DISH Pro Plus Separator). Then connect two cables from
the receiver ports on the DISH Pro compliant splitter to
S
ATELLITE
I
N
1
and
2
ports on the
receiver.
This DISH Pro splitter in this installation is used only temporarily for upgrading
receiver software. This splitter must be removed and replaced with a DISH Pro Plus
Separator following software upgrade or else the system will not work properly.
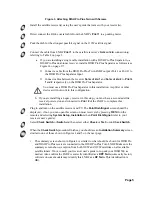
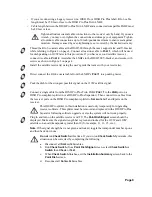
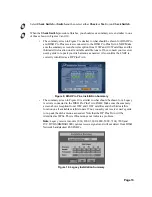
Plug in and turn on the satellite receiver and TV. The
Point Dish/Signal
screen should be
displayed. Make sure the signal strength bar is green and locked for the 119W and 110W
satellites on an odd transponder greater than 10 (for example, 11, 13, 15, etc.).
Note
: If the signal strength bar is not green and locked, toggle the transponder number up one
and then back down one.
Do not
run
Check Switch
at this time. If you do run
Check Switch
by mistake, this
situation can be corrected by completing the following:
a.
Disconnect all
S
ATELLITE
I
N
cables.
b.
Run
Check Switch
(from
Point Dish/Signal
screen, select
Check Switch
or
Switch
then
Check
or
Test
.
c.
When
Check Switch
finishes, exit the
Installation Summary
screen back to the
Point Dish
screen.
d.
Reconnect all
S
ATELLITE
I
N
cables.
Summary of Contents for DISH Pro Plus Twin LNBF
Page 2: ...DISH Pro Plus Twin LNBF Installation Instructions ...
Page 10: ...Page7 Figure 6 Installing the DISH Pro Plus Twin LNBF with Upgraded Software ...
Page 14: ...Page11 Figure 8 Installing the DISH Pro Plus Twin LNBF on any DISH Network Receiver ...
Page 17: ...Page 14 Figure 11 Connecting a Second Satellite Dish ...
Page 25: ......


