Page 5
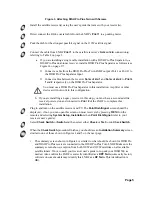
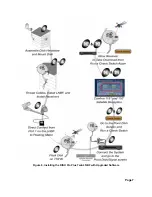
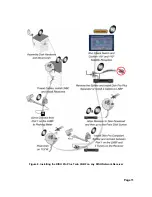
Figure 3. Attaching DISH Pro Plus Twin with Screws
Install the satellite receiver(s) using the user's guide that came with your receiver(s).
Direct connect the RG-6 coaxial cable from the LNBF’s
P
ORT
1
to a peaking meter.
Peak the dish for the strongest possible signal on the 119W satellite signal.
Connect the cable from LNBF
P
ORT
1
to the satellite receiver’s
S
ATELLITE
I
N
connection(s)
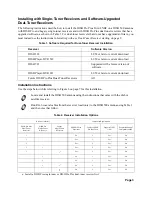
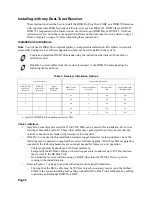
referring to Table 2 on page 3.
a.
If you are installing a single cable installation with a DISH Pro Plus Separator to a
DISH Pro Plus dual-tuner receiver, install a DISH Pro Plus Separator as follows (see
Figure 14 on page 17):
1) Connect a cable from the DISH Pro Plus Twin LNBF output (Port 1 or Port 2) to
the DISH Pro Plus Separator Input.
2) Connect cables between the receiver
S
ATELLITE
I
N
1
and
S
ATELLITE
I
N
2
to
P
ORTS
1
and
2
respectively on the DISH Pro Plus Separator.
You must use a DISH Pro Plus Separator in this installation. A splitter or other
devices will not work in this configuration.
b. If you are installing a Legacy receiver in this step, you must have a second satellite
receiver powered on and connected to
P
ORT
2
of the LNBF to complete this
installation.
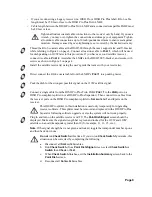
Plug in and turn on the satellite receiver and TV. The
Point Dish/Signal
screen should be
displayed - if not, you can open this screen on most receivers by pressing
MENU
on the
remote and selecting
System Setup
,
Installation
, then
Point Dish/Signal
(refer to your
receivers user’s guide).
Select
Check Switch
or
Switch
and then select either
Check
or
Test
to run
Check Switch
.
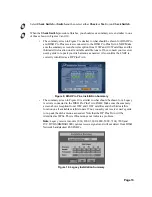
When the
Check Switch
procedure finishes, you should see an
Installation Summary
screen
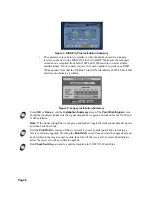
similar to one of those shown in Figures 4 and 5 on the next page.
•
The summary screen shown in Figure 4 is similar to what should be shown for DISH Pro
and DISH Pro Plus receivers connected to the DISH Pro Plus Twin LNBF. Make sure the
summary screen shows reception from both 110W and 119W satellites on all available
satellite tuners. If not, consult your receiver user's guide to re-peak your DISH 500 as
needed. Also confirm the LNBF is correctly identified as a
DPP Twin
(some early factory
software on some models may identify this LNBF as a
DP Twin
. This identification is
OK).
Summary of Contents for DISH Pro Plus Twin LNBF
Page 2: ...DISH Pro Plus Twin LNBF Installation Instructions ...
Page 10: ...Page7 Figure 6 Installing the DISH Pro Plus Twin LNBF with Upgraded Software ...
Page 14: ...Page11 Figure 8 Installing the DISH Pro Plus Twin LNBF on any DISH Network Receiver ...
Page 17: ...Page 14 Figure 11 Connecting a Second Satellite Dish ...
Page 25: ......


