12
EATON CORPORATION www.eaton.com
Instruction Leaflet IL 33-LGH-3
Effective September 2010
Digitrip Retrofit System for the ITE
LG-3000 (Frameless) Circuit Breaker
Step 7:
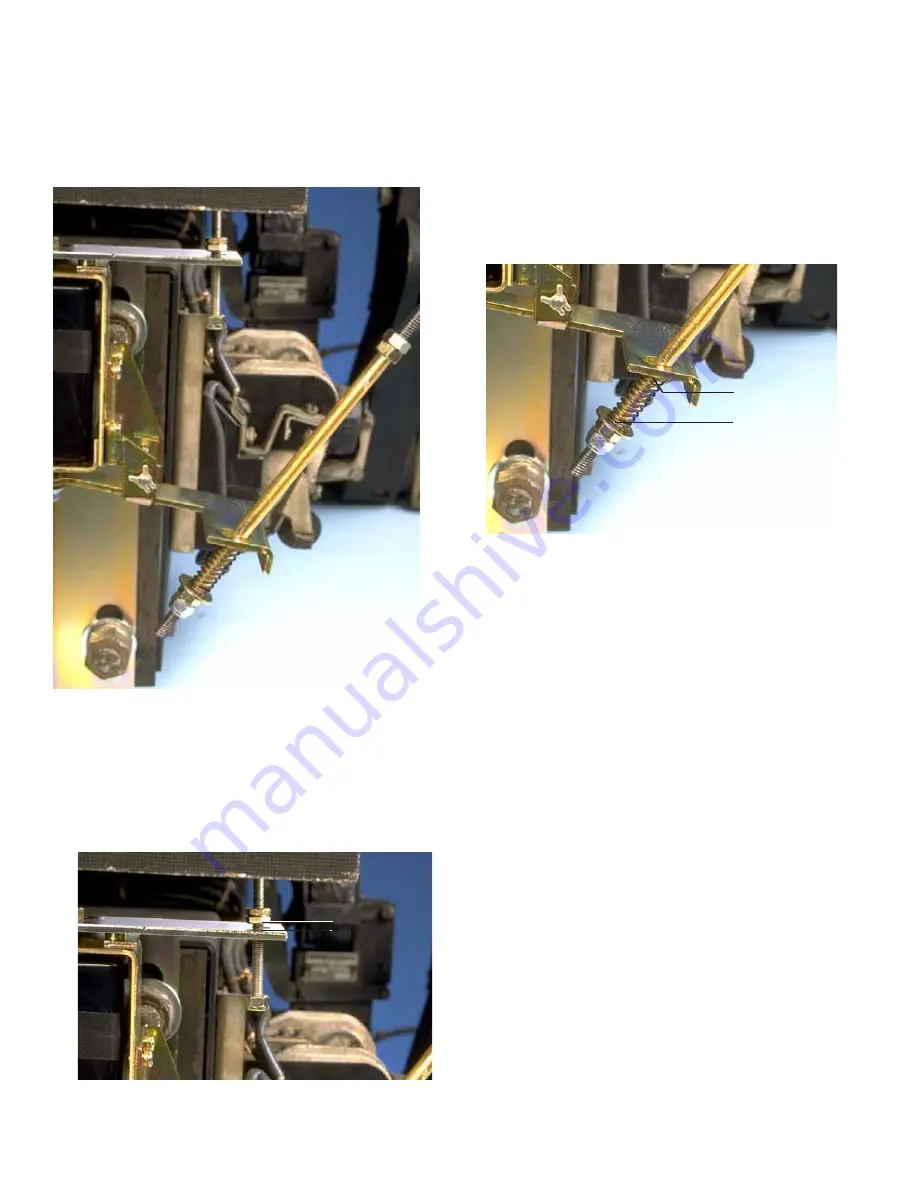
Setting the Gap and Cage Height
A. With the Breaker in the Open position, loosen
the lock nut (top nut) on the Trip Shaft. Turn the
adjusting nut until a gap of .009" to .011" is
achieved between the adjusting nut and the Trip
Finger with the Trip Finger and Trip Assembly at
rest. Tighten the lock nut.
B. Loosen the lock nuts on the Reset Shaft, below
and above the brass spacer. Turn the adjusting
nuts until a cage height of approximately .73"
to .77" at the center line of the Reset Shaft.
Tighten the lock nuts.
Note:
The Reset Shaft must not contact the
“floor” when the Breaker is in the Closed
position. Close the Breaker and check for a
clearance of .50" between the end of the Reset
Shaft and the “floor”. If this clearance is not
present, loosen and adjust the nuts on the top
of the Reset Shaft until the .50" clearance is
achieved. If this adjustment is required, the
correct cage height must be verified and reset if
necessary.
C. Connect a 24 VDC power supply to the DTA
terminals; positive to positive and negative to
negative. Close the Breaker manually.
Energize the DTA to trip the Breaker; de-
energize when the Breaker trips. Make certain
that the DTA resets. If the Breaker fails to
properly trip or reset, it may be necessary to
readjust the cage height. Make the necessary
adjustments until the trips and resets are sure
and positive each time.
GAP
CAGE
HEIGHT


