2-111
Getting Started
H
Ho
osstt LLiinnkka
ag
ge
e
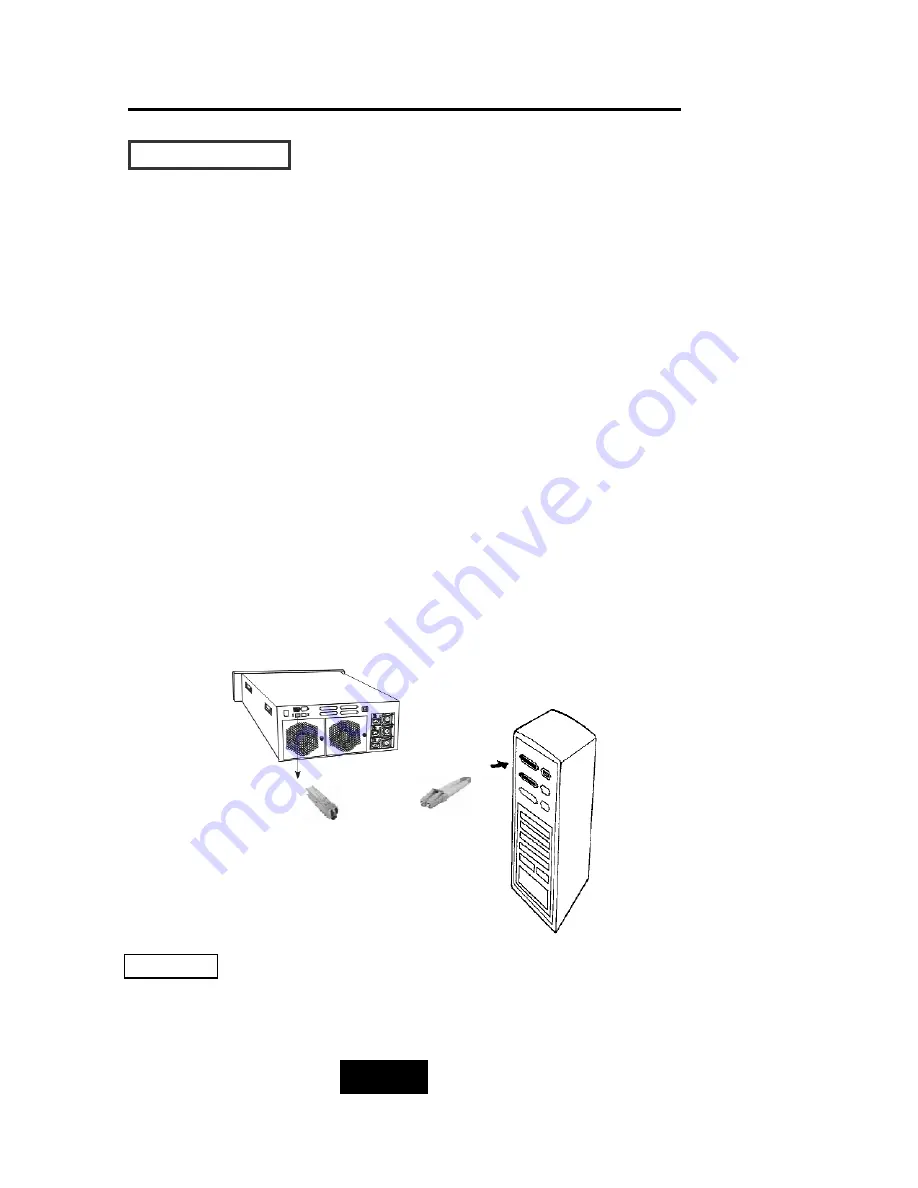
With the HDD(s) installed correctly, you are ready to connect the
Disk Array to your Host computer or Fibre Switch.
The SFP connectors used on the 2Gb Fibre systems require SFP
Transceivers installed before connecting to the cables. There are
currently two types of SFP Transceivers available -
HSSDC2 Copper
or
LC Optical
. The disk array is feasible for Optical solution.
1. Connect the SFP transceiver to the SFP connector located on
rear site of the disk array. (LC Optical)
2. Insure to connect to the SFP Tranceiver the proper cables are
used - LC Optical (here is for the connection to the SFP
Transceiver on the disk array. There are also different connectors
which you should choose the proper cables based on your host
or switch configuration.)
For safety reasons, make sure the Disk Array and Host Computer
are turned off when you plug-iin the Transceiver and cable.
Caution !
Figure : Host linkage
Disk Array
SFP Transceiver
LC optical Cable
Host Computer or Fibre Switch
Summary of Contents for X12P F2R4
Page 60: ...4 8 8 Advanced Information Step 2 ...
Page 61: ...4 9 9 Advanced Information Step 3 Enter a name for your Terminal ...
Page 62: ...4 1 10 Advanced Information Step 4 Select a connecting port in your Terminal ...
Page 63: ...4 1 11 Advanced Information Step 5 Port parameter setting ...
Page 64: ...4 1 12 Advanced Information Step 6 ...
Page 68: ...4 1 16 Advanced Information 3 Select transfer Send Text File and press Enter ...
Page 69: ...4 1 17 Advanced Information 4 Locate the new Firmware file on your PC ...
Page 70: ...4 1 18 Advanced Information 5 Press Go to confirm to download the new firmware ...
Page 104: ...5 3 3 Hot Swap b Gently pull o out the HDD tray ...
Page 105: ...5 4 4 Hot Swap c Unscrew and unplug the cables Figure Swap HDD Unplug cables ...


