M500 USER MANUAL AND PROGRAMMER SDK
Page 13
6.3.1
S
MALL
I
MAGE
P
REVIEW
P
ANE
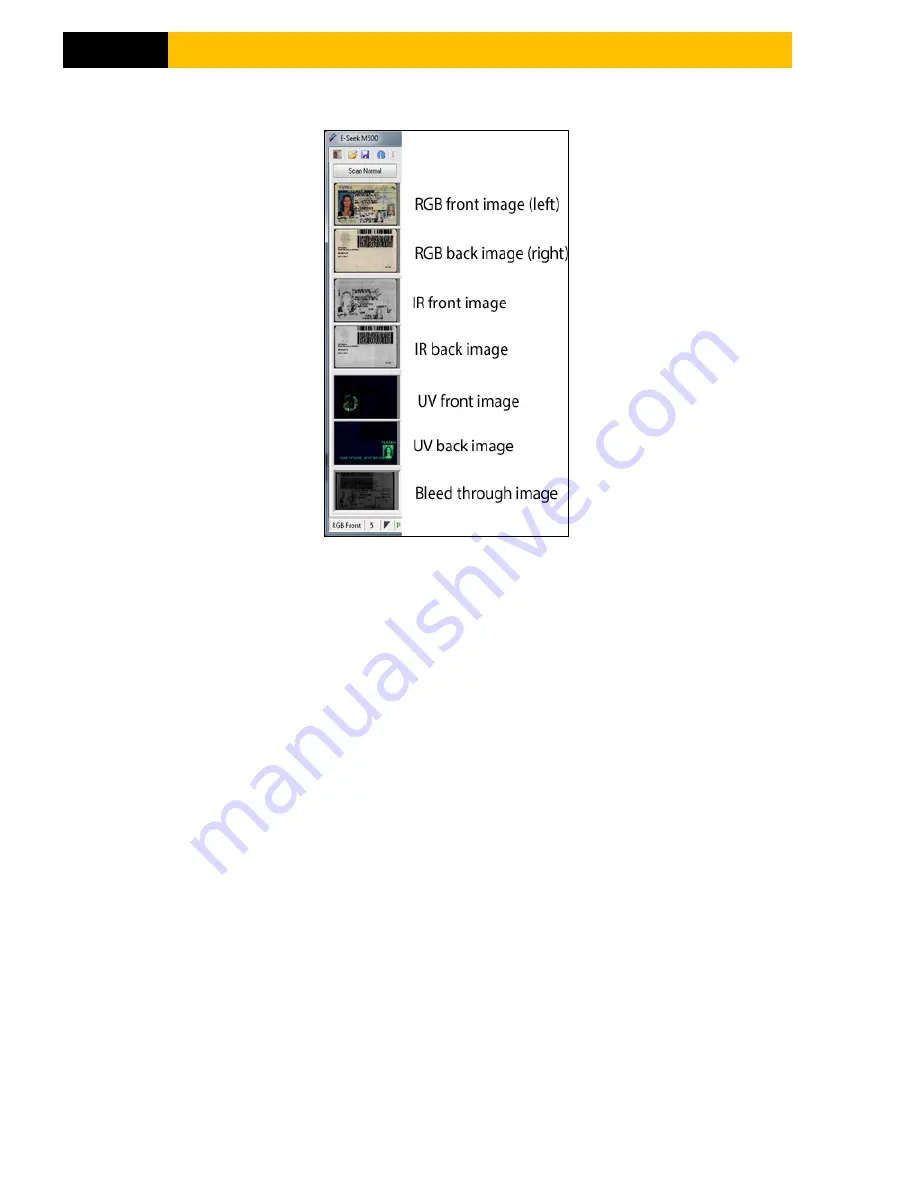
Figure 10
There are seven small panes which display the scanned card using different lighting.
The first two images are the front (right) and back (left) images using white light.
The next two images were captured using IR light.
The next two images after that were captured using UV light.
Finally, the last image is a low resolution image with the right side illuminate using IR light and
detected on the left side which is not illuminated. The intensity of the “bleed through” image is
an indication of the card’s opacity.
The big image displays the RGB front (right) image by default but the user can select the image
to display by clicking on one of the seven small preview panes on the left.
Double clicking on a small preview image will create bitmap file and then open it using the
program that is set by windows to view .bmp files. (Note: for this to work the demo application
should be run from a directory that has write privileges)


