


11
Access Switch via Local Configuration
To configure your DYNAMIX DH - 114/DYNAMIX DH - 114 M switch system by local console, do the following:
1. Connect ‘Console Cable’ to front panel Console ‘IN’ connector and then connect the cable to PC's serial port,
as COM1.
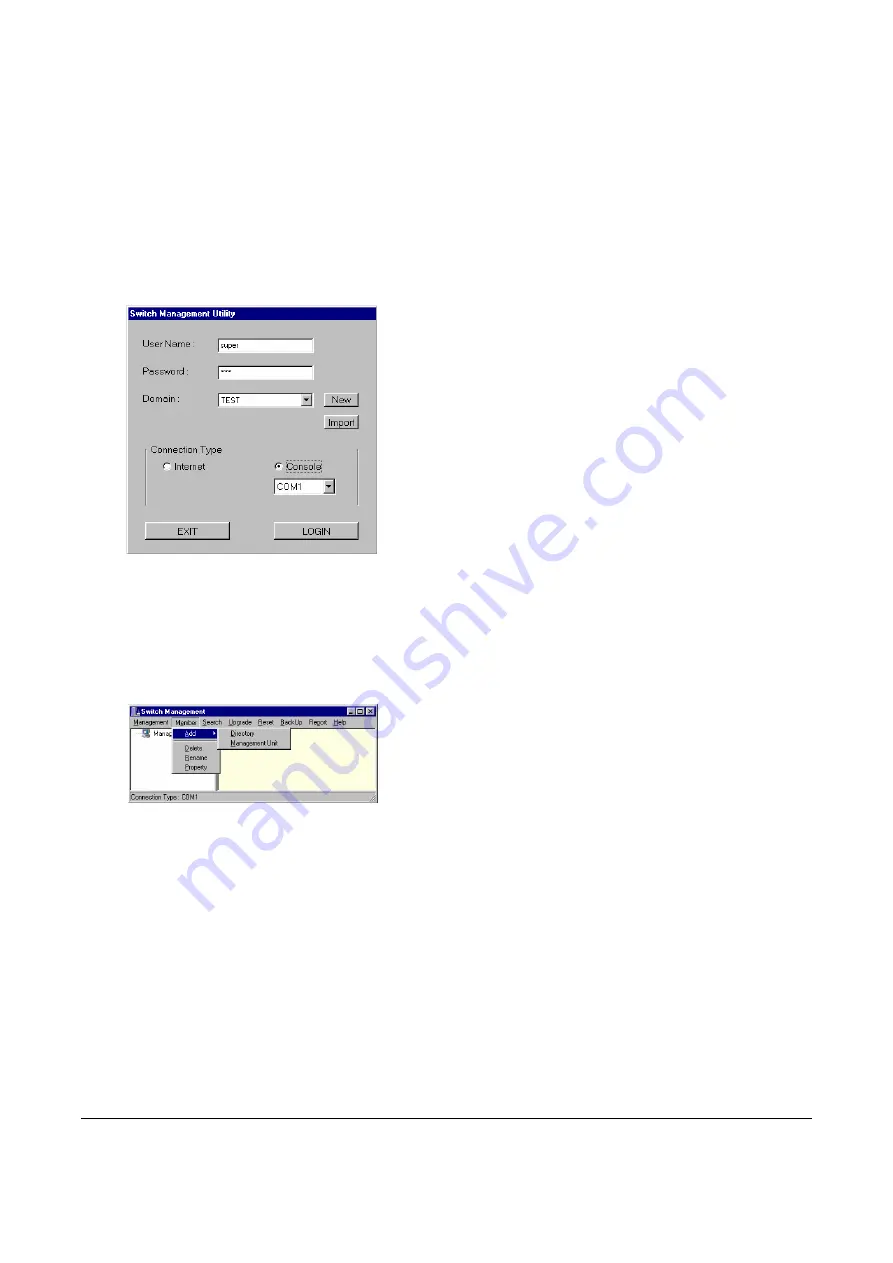
2. Execute the configuration utility on PC, choose ‘
Console
’ and the correct COM port in the field ‘Connection
Type’.
3. Login the domain as the supervisor. For example, login the domain ‘
TEST
’ with username ‘
super
’ and
password ‘
test
’ as the following figure,
4. You can now access the main menu of the configuration utility after login.
NOTE:
Always connects to ‘
#1
’ switch for local configuration in a cascaded switch system. The ‘
#1
’ switch is the
configuration master for all other switches in a switch system.
Add Switch
Click ‘
Member
’ and choose ‘
Add
’ function in the main menu of configuration utility,
You may click ‘
Directory
’ to extend one connection level as general tree-layer file structure, or click
‘
Management Unit
’ to add one switch or cascaded switch system attached on current level as the file (node, leaf)
to be managed. In the ‘
TEST
’ domain example, we try to add a directory ‘
Location-A
’ and a switch DYNAMIX
DH - 114 M ‘
SW-1
’ as a member. Typically the directory name joins the member name defines the
name string
which gives the identification of the switch. And this
ID
should be unique inside current domain. Add one switch
will pop up the switch property window and you need to fill in the blank fields as the next figure.


