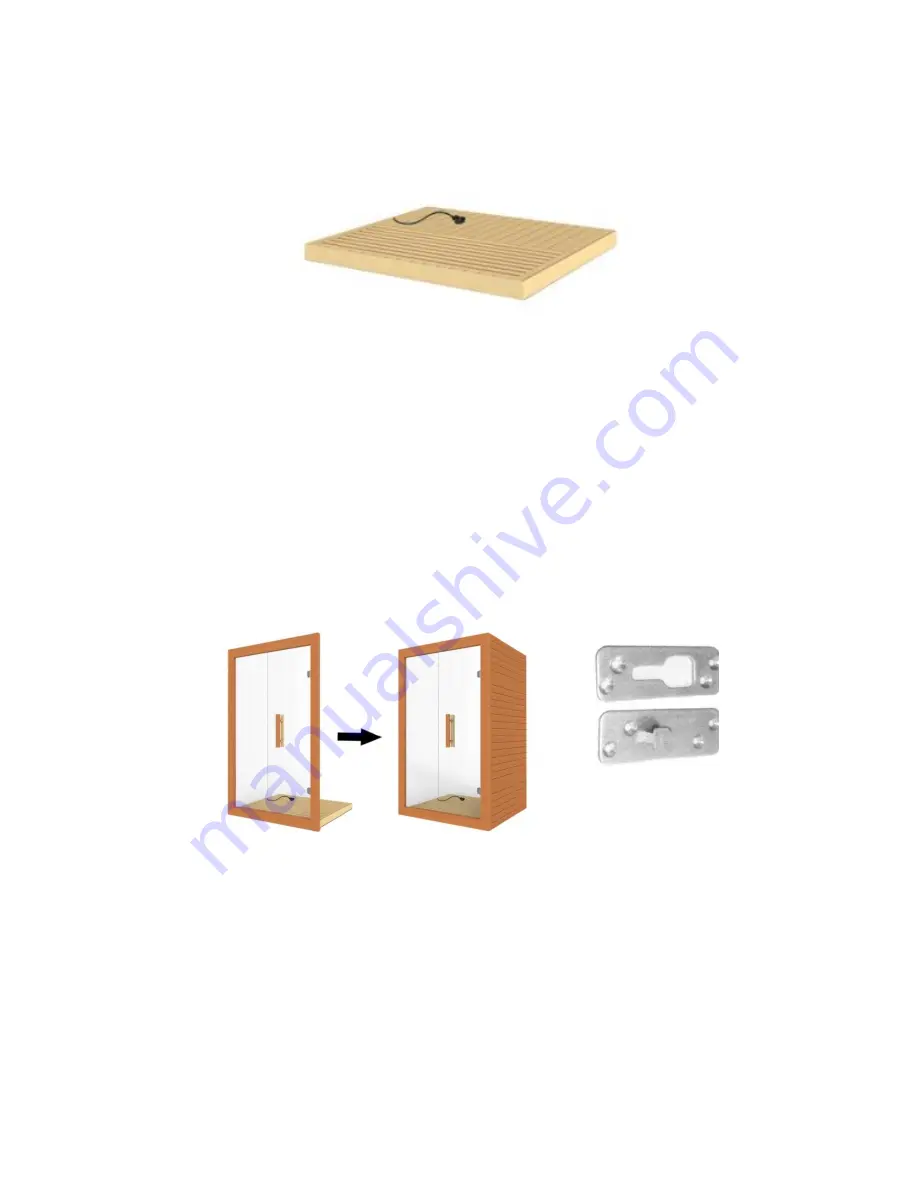
2. Installing the FLOOR PANEL
A.
Place the FLOOR PANEL onto your floor where the sauna is to be
assembled. The side with the floor heat emitter panel will be facing up and
the floor heat emitter cord will be towards the left rear of the sauna. (see
Figure 7)
Figure 7
3. Installing the FRONT PANEL with the RIGHT SIDE PANEL with GLASS DOOR
A.
Place the FRONT PANEL up against the FLOOR PANEL as seen in Figure
8. One adult will need to hold the FRONT PANEL stationary up against the
FLOOR PANEL. The second adult will need to lift the RIGHT SIDE PANEL
up and onto the FRONT WALL PANEL. Once the guide and guide insert
brackets are engaged, the RIGHT SIDE PANEL will need to be pulled
downward until the top of both wall panels is flush. Please see Figure 9.
Figure 10 shows the guide and guide insert brackets. Please note that the
“U” bracket that adheres to the door glass magnet (magnet is located on the
door jamb) will need to be moved to the top of the glass door.
Figure 10
Figure 8
Figure 9
4. Installing the LEFT SIDE PANEL
A.
One adult will need to hold the FRONT WALL PANEL stationary while the
second adult places the LEFT SIDE PANEL up against the FLOOR PANEL.
Next, the second adult will need to lift the LEFT SIDE PANEL up and onto
the FRONT WALL PANEL. Once the guide and guide insert brackets are
engaged, the LEFT SIDE PANEL will need to be pulled downward until the
top of both wall panels is flush. (see Figure 11)
Page 15


