background image

5

Setting the Current Date

The default date format depends upon the 
language selection for the labelmaker. You can 
change the default date format by following the 
instructions in 

Changing the Date Format

 on 

page 10.

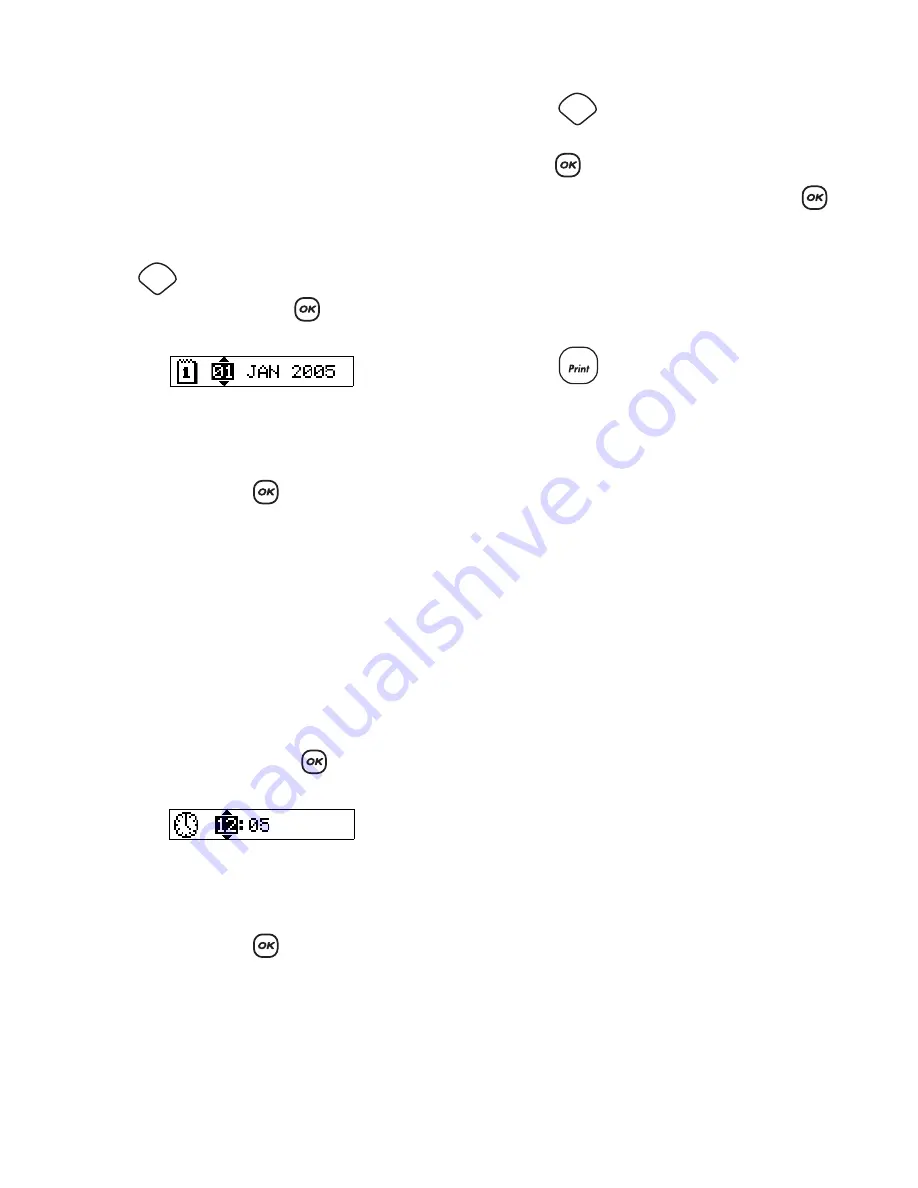
To set the date 

1. Press .
2. Select 

Set Date, 

and press 

. The default date 

is displayed.

3. Move the cursor over each setting (month, day, 

and year) and use the arrow keys to increase or 
decrease the value.

4. When finished, press 

.

Setting the Current Time

The default time format depends upon the 
language selection for the labelmaker. You can 
change the default time format by following the 
instructions in 

Changing the Time Format

 on 

page 10.

To set the time 

1. Press 

Settings

2. Select 

Set Time, 

and press 

. The default 

time is displayed.

3. Move the cursor over each setting (hours and 

minutes) and use the arrow keys to increase or 
decrease the value.

4. When finished, press 

.

Selecting Units of Measure

You can choose to show measurements in inches 
or millimeters. The default units of measure 
depends upon the language chosen.

To set the units of measure

1. Press . 
2. Use the arrow keys to select 

Set Units

 and 

press .

3. Select inches or millimeters and press 

.

Printing Your First Label

You are now ready to print your first label.

To print a label

1. Enter text to create a simple label.
2. Press 

. The label is automatically cut. 

The Auto Cut feature is turned on by default. To 
disable the Auto Cut feature, see 

Changing the 

Cutting Option

 on page 12.

3. Remove the label.

Congratulations! 

You have printed your first label. 

Continue reading to learn more about the options 
available for creating labels.

Getting to Know the Labelmaker

The following sections describe each feature in 
detail. Become familiar with the location of the 
feature and function keys on your labelmaker. See 
Figure 1 on the inside front cover.. 

Power 

The 

A

 button turns the power on and off. After 

two minutes of no activity, the power is switched off 
automatically. The last label created is 
remembered and displayed when the power is 
turned back on. The previously selected style 
settings are also restored.

LCD Display

The labelmaker’s LCD display shows a row of up to 
sixteen characters. However, you can enter up to 
99 characters and spaces. 

Settings

Settings

1,2...n

Summary of Contents for LabelMANAGER 450

Page 1: ...G B V F T C D R E S A X Z W Q CAPS SPACE Shift Shift 0 9 8 7 6 5 4 3 2 1 www dymo com Print Navigation Arrows OK Currency Return Enter Tab CAPS Backspace Clear Power Tape Exit AC Power Connector LCD D...

Page 2: ...r The labelmaker can operate on AC or battery power To save power the labelmaker will automatically turn off after two minutes of inactivity Inserting the Batteries The labelmaker uses six 1 5 volt hi...

Page 3: ...e Figure 5 Figure 5 4 Press firmly until cassette clicks into place Make sure the tape and ribbon are positioned correctly 5 Close the tape cassette cover and press A to turn on the power The Tape Set...

Page 4: ...nguage chosen To set the units of measure 1 Press 2 Use the arrow keys to select Set Units and press 3 Select inches or millimeters and press Printing Your First Label You are now ready to print your...

Page 5: ...the display is ready for you to type a new label Space Bar The Vkey inserts one or more blank spaces in your text Backspace The key removes the character to the left of the cursor clears all label te...

Page 6: ...font and then press Adding Font Styles You can choose from six different font styles to apply to your text Only one style can be used at a time Styles can be used with alphanumeric characters and sym...

Page 7: ...will not print on the label 2 Type the text for the second line The display shows the line on which you are currently entering text The example below indicates that the second line is the current line...

Page 8: ...ded Latin character set using RACE technology Similar to using a mobile phone keypad if you type a letter multiple times within a very short time you will scroll through variations on that letter For...

Page 9: ...cally updated with the current date when the label is actually printed To add the date 1 Press 2 Select Insert Date and press 3 Select FIXED DATE or AUTOM UPDATED and press When Autom Updated is selec...

Page 10: ...nctuation will be serialized For example abc123 will print as abc123 abc124 abc125 and 123 998 will print as 123 998 123 999 123 1000 and so on To serialize your labels 1 Enter the text for your label...

Page 11: ...arcode and press 4 Enter any text you wish to appear after the barcode Optional 5 Press Previewing Your Label You can preview the text or format of your label prior to printing A two line label is pre...

Page 12: ...lect a memory location and press Your label text is saved and you are returned to the label Storing Formats In addition to label text you can store up to ten specific label formats you use frequently...

Page 13: ...ill move into view in small steps 4 When you are able to access both sides of the blade release the keys 5 Use a cotton ball and alcohol to clean both sides of the cutter blade 6 After cleaning the bl...

Page 14: ...ing No action required Message disappears when printing is finished Too many characters Exceeded maximum number of characters in buffer Delete some or all of the buffer text Too many lines Exceeded ma...

Page 15: ...like to see covered in the documentation Send email messages to documentation dymo com Please keep in mind that this email address is only for documentation feedback If you have a technical question p...

Page 16: ...17...

Reviews: