Controlling Print Options
19
3
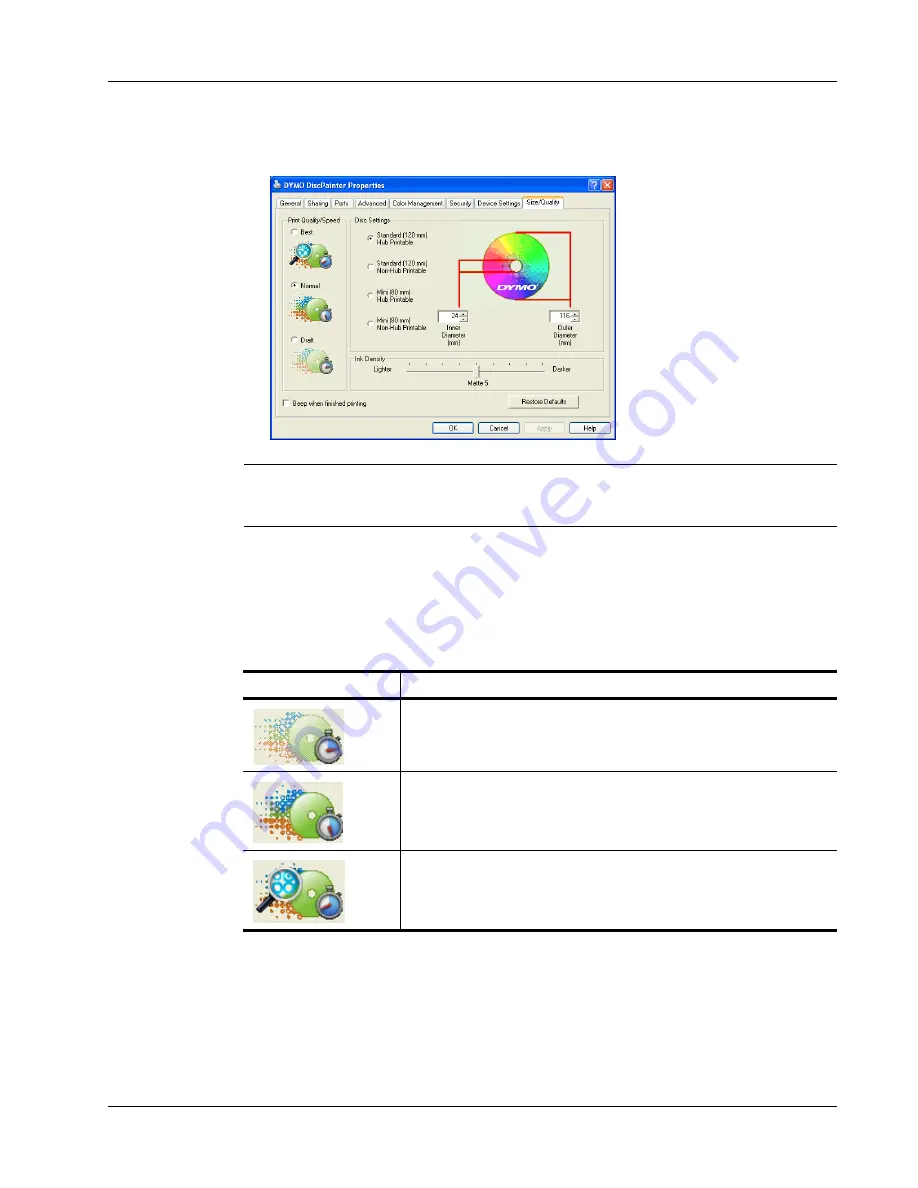
Click the
Size/Quality
tab.
The Size/Quality pane is displayed.
Note
The settings you define as described above are saved until you change them. However, if
you change the print options from within an application (such as Adobe Photoshop), the settings
you define are not saved.
Controlling Print Quality
The Print Quality setting you choose is determined by the complexity of your design and the type
of disc you are using. Generally, to obtain the most vibrant color and highest quality print results,
choose
Best
as the print quality and use a glossy-surfaced disc.
The Print Quality/Speed settings are described below.
In general, higher quality print requires longer print times. Print speed depends on many factors:
the amount of computer memory you have, the complexity of your design, the number of colors in
your design, and so on.
To select a Print Quality/Speed setting
♦
Select the print quality setting you want.
Print Quality Setting
Description
Draft
Uses image smoothing and halftoning to produce full-color print quality.
Draft is best for designs without intense colors or solid backgrounds, or
designs that are mostly text.
Normal
Produces full-color print quality superior to Draft mode; the resulting image
is suitable for most applications. Images require about twice as long to print
as in Draft mode.
Best
Produces the best full-color print quality available. Best quality is
recommended for designs with vibrant colors. Images require about twice as
long to print as in Normal mode.
Summary of Contents for DiscPainter
Page 1: ...CD DVD Printer User Guide ...
Page 8: ...Introduction 4 ...
Page 12: ...Working with Discs 8 ...
Page 20: ...Printing from Mac OS 16 ...
Page 28: ...Printing From Windows 24 ...
Page 36: ...Caring for Your Printer 32 ...
Page 44: ...Frequently Asked Questions 40 ...
Page 50: ...Troubleshooting 46 ...
Page 54: ...Printer Specifications 50 ...


