8
1. DIGITAL OUTPUT (DVI )
Connect the digital video output from the processor to the projector using
DWIN’s DVI-D cable.
Special Note about In-Wall Installations and Cable Lengths:
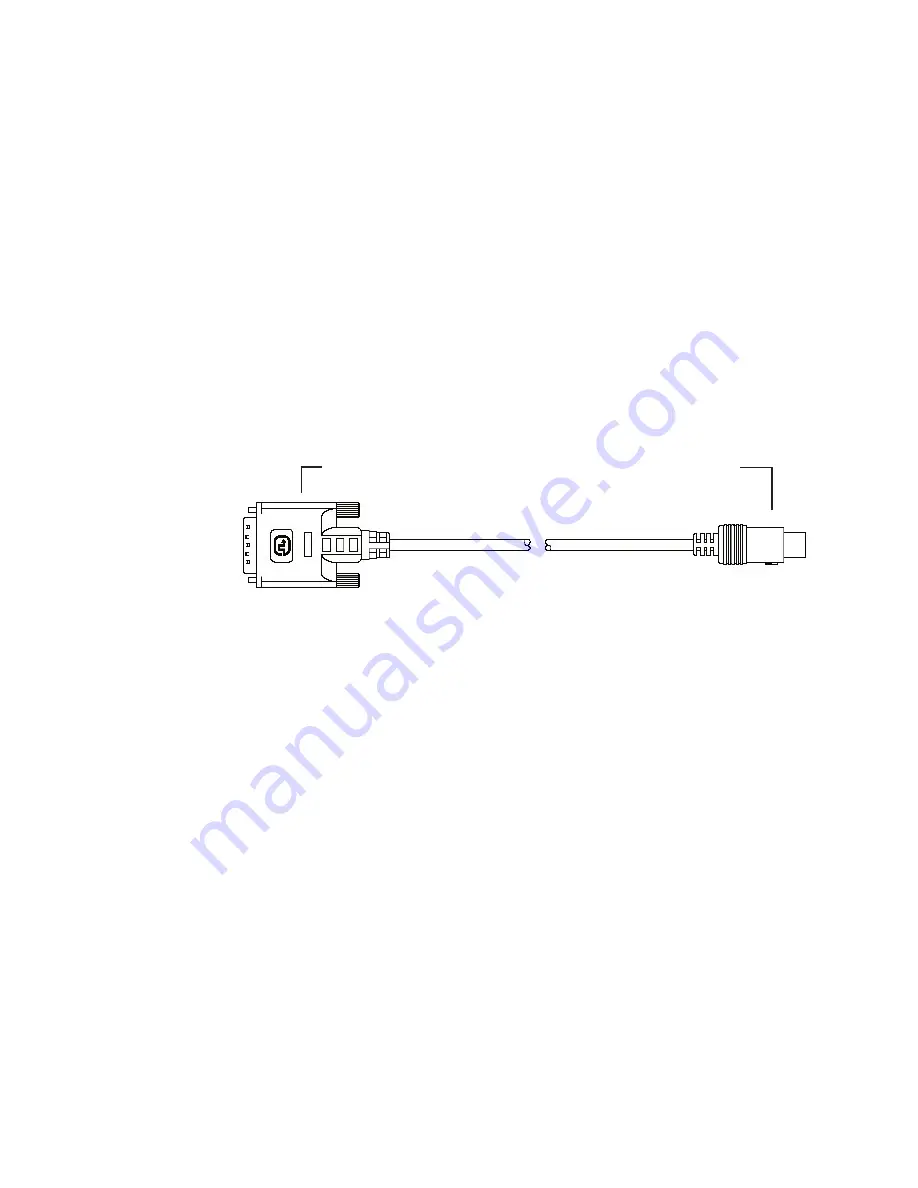
A standard rectangular DVI connector is fairly large in size (approximately 2”
wide) making it difficult to run through the walls. DWIN’s solution is to termi-
nate one end of the DVI cable with a .75” circular connector that can easily run
through a 1” conduit (figure 1).
DWIN offers a series of unique (DVI-D-xx) cables in six different lengths: 25,
30, 35, 40, 45, and 50 feet. Part numbers for these cables are DVI-D-xx, the “xx”
refers to the length of the cable. Part numbers for these cables are DVI-D-xx,
the “xx” refers to the length of the cable. For cable lengths longer than 50 feet,
use DWIN’s Cable Extender. The cable extender operates with DVI-R-xx cables
and are available in 25, 35, and 50 Feet lengths
Fig. 1: DVI Cable with Circular Connector
2. DVI-D INPUTS
The DVI 1 and DVI 2 inputs are HDCP compliant for High-Definition (480p,
580p, 720p, 1080i) sources or computer graphics with VGA, SVGA, XGA, and
WXGA resolutions. For computer graphics with VGA, SVGA, XGA, or WXGA
it is recommended to set the computer to 60 Hz vertical frequency.
If your computer video card has DVI output, connect the DVI cable to the DVI
1 or DVI 2 inputs of the Digital Processor. Select the corresponding DVI input by
pressing “9” or “0” on the remote control, then activate the DVI output from
the computer by using computer’s display set-up menu.
Connects to the Processor
Connects to the Projector
Summary of Contents for TransVision 4
Page 1: ...TransVision 4 TransVision 4 1 0 Printed in USA ...
Page 2: ......


