19
RMO10T RMOWin-T2M Software
7.3 Starting RMOWin-T2M
Connect the USB port of the RMO10T Winding Ohmmeter and the PC, using a serial cable.
Turn RMO10T on.
Start RMOWin-T2M:
- Click on ”Start”,
- Click on ”Programs”,
- Click on ''RMOWin-T2M’’,
or duble click at icon on the desktop.
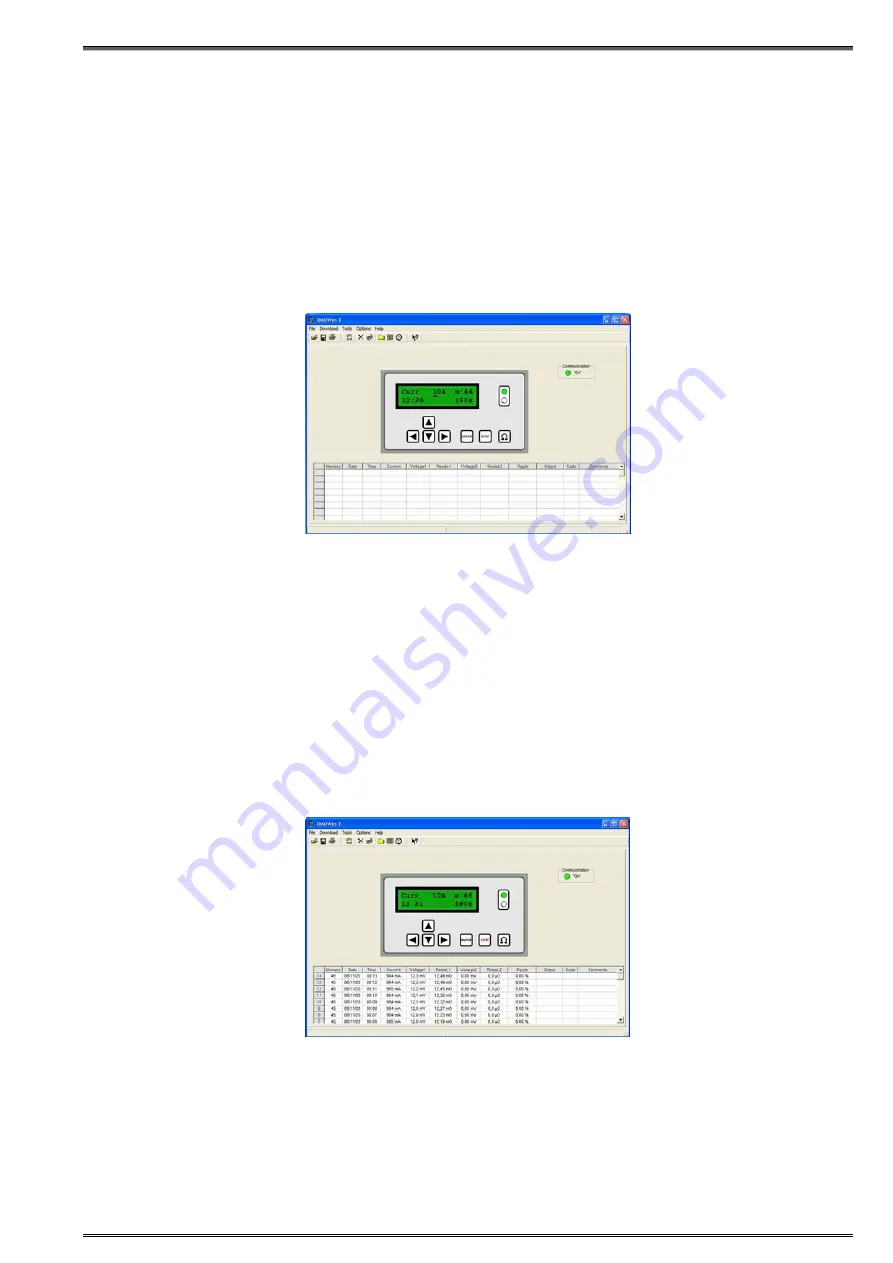
The look of the RMOWin-T2M main menu is shown in the following illustration.
If the ”Communication” field displays the green led-diode and the sign ”ON” is lit, the communication has
been established and the program is ready to be used.
Now the RMO10T can be controlled from the PC.
Clicking with the mouse on any key of the keyboard has the same effect as pressing the keys on the
RMO10T.
In case that the green led diode is not lit in the “Communication” window, i.e. the red led diode is lit, it is
necessary to check the following:
- Is the green led diode on the RMO10T lit?
- Is the RMO10T signaling any error?
- Is the serial cable connected tightly?
It is strongly recommended to write the information in the columns ”Object”, ”Code” and ”Comments” for
better systemization of the saved results.
The new test moves previous test results down so the first line represents the last performed test.
The way to measure the resistance is described in details in the RMO10T Manual.
If a user wants to analyze these results later, it should be saved on the hard disk. The table is going to
be saved as an Excel file, so it can be later used with all Excel functions.


