ph: 519-923-9813 | [email protected]| web: www.dundalkleisurecraft.com
Fig 2a
Fig 2b
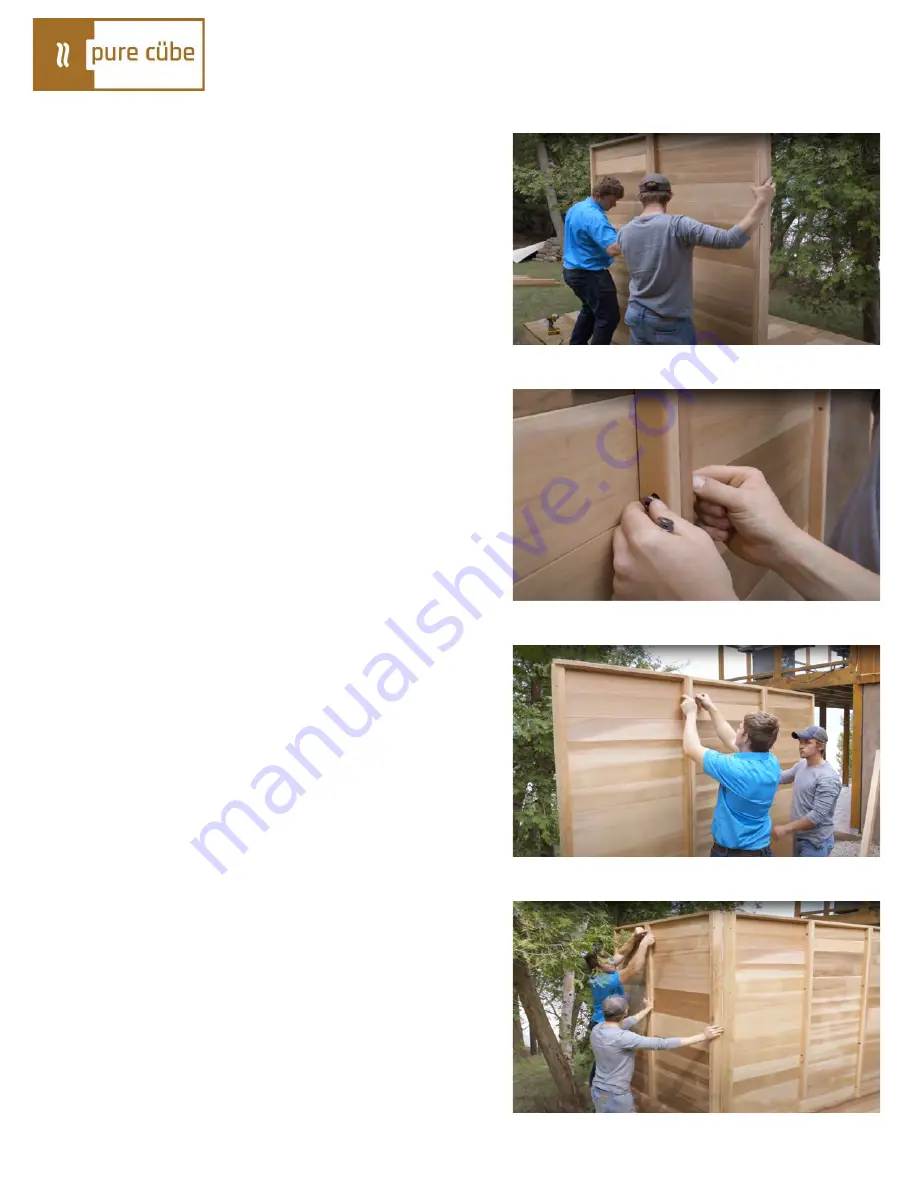
(In this example we started the assembly of the sauna at the side
wall. You can start at a corner to make panels free standing,
following the same steps in this manual.)
To start the assembly of the walls, bring 2 of the back
wall panels together.
5
Outdoor Pure Cube Sauna
Assembly Instructions
Connect the wall panels together using 2 ¾” (70mm)
connector bolts and a connector cap nut.
Using the provided hex keys, snug up all the bolts.
* Note that the walls should be assembled so the bolts
should be on the outside of the sauna.
Bring in the other wall panel and repeat the process.
Bring a wide panel and thinner panel in to make the end
wall.
Assemble the walls together using the same procedure as
the back wall.
Note placement of the narrow panel will be towards the
front of the sauna as it will be where the electric heater
is mounted.


