


10
orange
green
Mode operation
To assist with programming the LCD screen is
backlit and will stay illuminated for approximately
10 seconds after the last button is pressed.
When the radiator is operational and the room
temperature is lower than the set temperature the
heating symbol will be shown indicating that
the radiator is producing heat. When the room
temperature equals or is above the set temperature
the heating symbol will not be present indicating
the radiator is not producing heat.
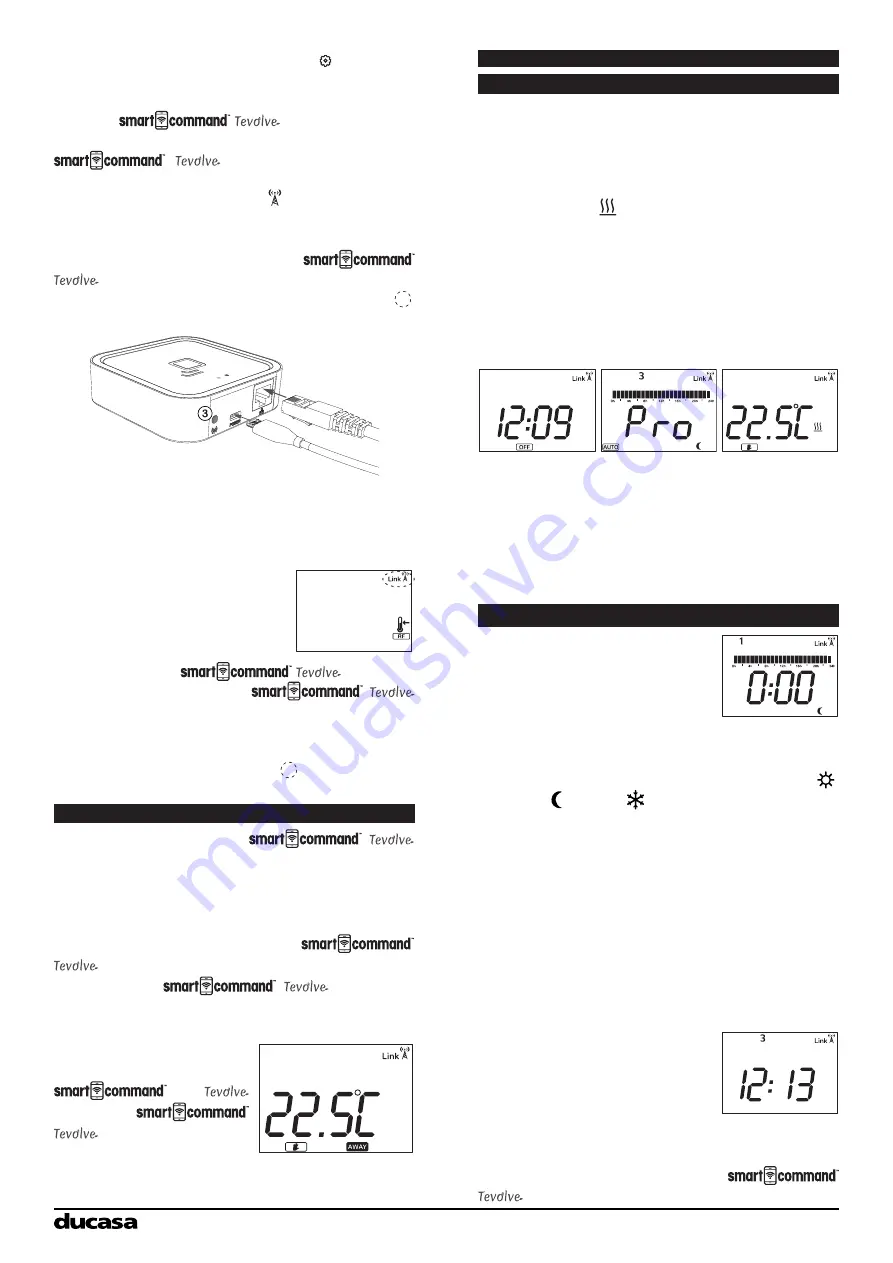
The following screens show
OFF
,
AUTO
and
MANUAL
modes. To chose diferent modes press
MODE/OK
button.
When the radiator is in
AUTO
mode the
temperature can be changed by pressing the +/-
buttons. This change will remain active until the
next programmed change or until midnight when
the temperature will revert to the preset value.
When in MANUAL mode, use the +/- buttons to
adjust the temperature
radiator and press the settings icon where you
can rename it.
Your Avant DGi+ is now ready to be controlled
from the
App.
If the Avant DGi+ has been linked to the
Gateway and for some
reason communication is lost, the Link icon
disappears and the antenna starts flashing on
the Avant DGi+ screen. It will continue to operate
in the mode it was in prior to losing communication.
If you don’t have the access to the
App or are unable to pair using the method
above , press the Link button on the Gateway
3
for 3 seconds.
Once the orange LED starts to flash, press the
CONFIG button on the Avant DGi+ and press the
+/- button until the RF icon flashes. Then press
OK
Geolocation
This mode allows your
system to reduce the set temperature by a number
of degrees that is configured for each device from
the App when you are away from home. The
default is 2 degrees.
Geolocation is activated from the
App within the Homes setting. If activated,
all connected
devices in
the house will use this feature and AWAY will be
shown on the Avant DGi+ display.
If any button is pressed
on
any
connected
device, all
devices in the
house will exit Geolocation
mode for 2 hours, unless
it’s turned back on again.
USING WITHOUT SMARTCOMMAND TEVOLVE APP
‘Link’ together with an
antenna icon will appear in the
top right of the screen.
Your Avant DGi+ is now
connected to the
Gateway.
Please Note
: Once the
Gateway’s link button is pressed you have one
minute to add a heater. When the heater has
been added, you have one minute to add a further
heater without pressing button
3
Setting Programme and Clock
To start programming press
and hold
CONFIG/PROG
button for 3 seconds and the
following screen will appear:
Programming
starts
on
Monday at 00:00 and is set by choosing the
required Mode for each hour of the week. Use
the
OK
button to choose between Comfort ,
Economy or Frost Protection modes. On the
screen programme hours will show two blocks for
Comfort, one block for Economy and no blocks
for frost protection). After choosing the mode
press the +/- buttons to select the next hour to
be programmed. When a full day has been
programmed the screen moves to the next day.
Once each day of the week has been
programmed the clock must be set.
Press the
CONFIG
button to exit from
programming screen and enter the time setting
screen.
To select the day of the
week (1=Mon, 7=Sun) press
+/- buttons and confirm with
the
OK
button. Next select the
hour, confirm with
OK
and then
select the minutes and confirm
pressing
OK
once more.
If a radiator is paired with a
Gateway, time setting is not required as it
Summary of Contents for AVANT-DGi+ 1000
Page 14: ...14 Installation Notes...


