10
Recording to a miniSD
TM
Card
Each of the ten selected channels on the T-2350 can have the recording feature
turned on or off independently from each other. This is accomplished by
clicking the ‘recording on’ or ‘recording off’ button for each channel in the DTC
Universal Programming Software (refer to Figure 3 page 19 for details). To
make a recording, the desired channel must have the ‘recording on’ button
checked, and a properly formatted miniSD card with some available space
must be installed in the T-2350 miniSD slot. For the purposes of this tutorial,
the ‘recording messages’ radio button should be set to ON via the DTC
Universal Programmer.
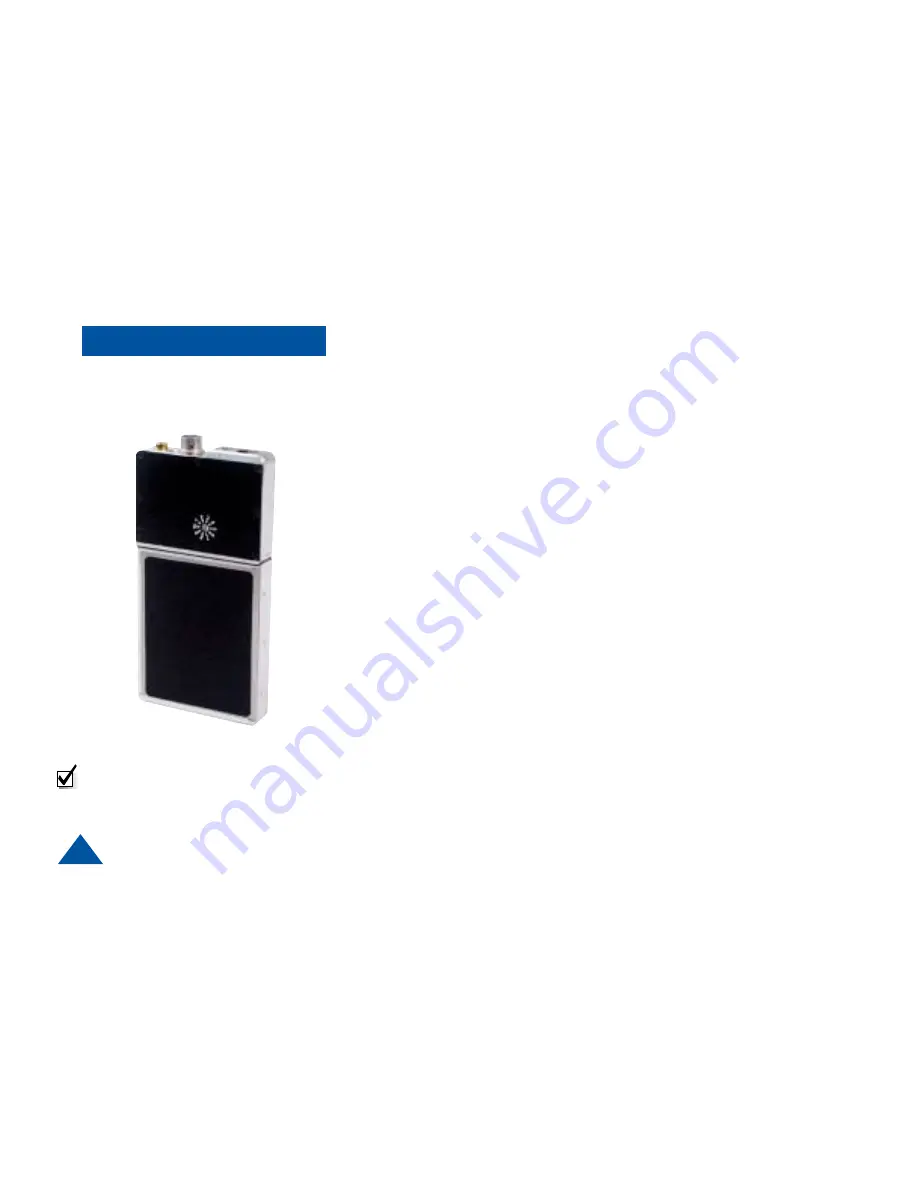
1. Install a properly formatted miniSD
TM
card with some available space into
the T-2350, gold connectors facing the side with the channel switch, and
slide the door closed.
2. Set the channel switch to a channel with recording enabled.
3. Turn on a radio reciever tuned to a matching frequency.
4. Turn on the T-2350. First, a message broadcasting “Media Present With
More Than Four Hours Of Recording Time” will be heard on the receiver, then
a few seconds later you will hear the message “Recording Start”.
5. Speak into whichever microphone is enabled, allowing for the recording to
progress for a few moments
6. Set the power switch to the OFF position.
7. Ensure that the red LED in the card slot is NOT on, then push the card in to
remove.
8. Insert the card into the miniSD-SD adaptor, then insert the adaptor into the
reader.
9. Using Windows Explorer, open the SD card and double click on the newly
created .wav file. This should launch the application that plays audio files.
10. Ensure the PC speakers are turned on and at a comfortable listening level.
The recording you just made should now be playing.
NOTE: Pre-recorded messages are
broadcast but not recorded.
Recording


