SECTION 3
GETTING STARTED
PAGE 59
9711-26400-0001
EXPORT CONTROLLED – SEE PAGE 3
Rev A
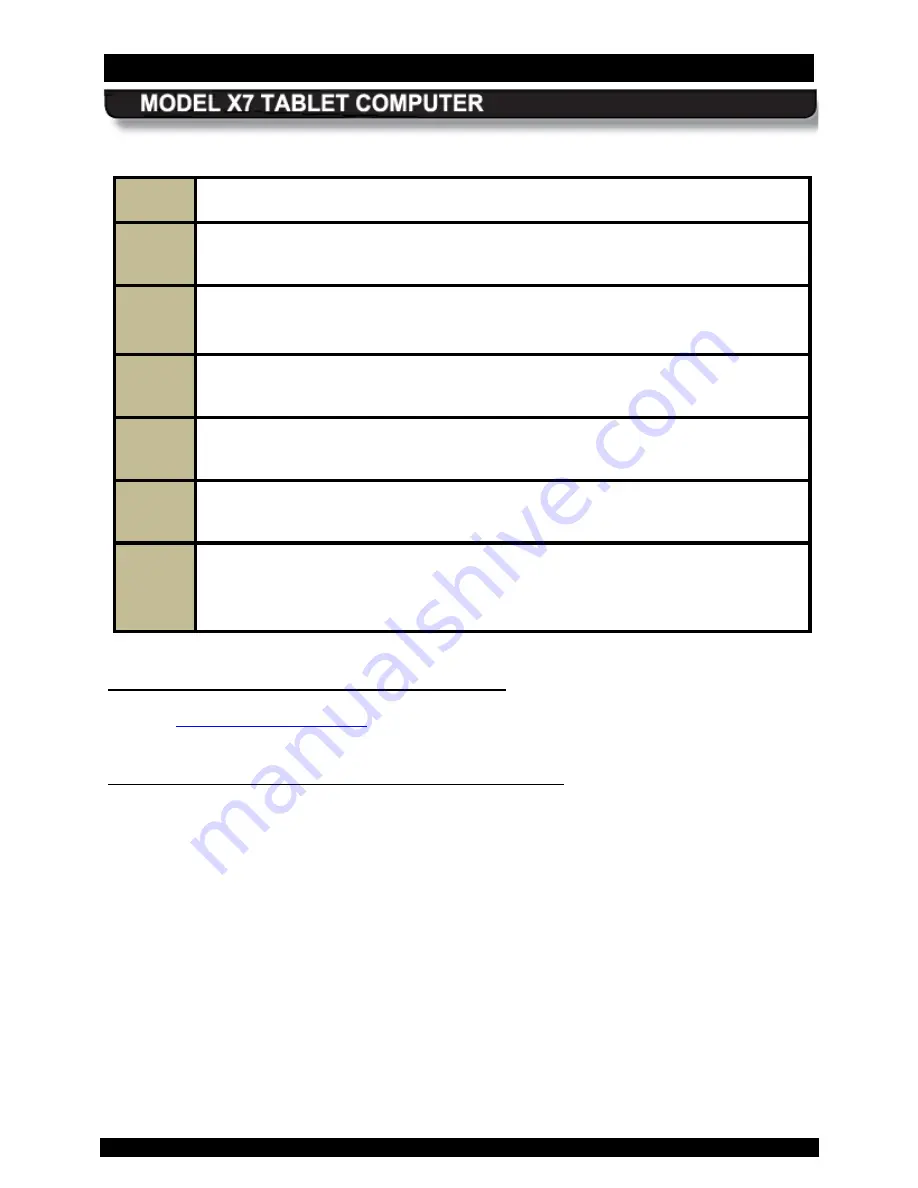
Table 2. Installing the X7 Batteries
STEP
ACTION
1.
Place the flat surface of the first battery on the left side compartment tray with the
locking slots facing toward the computer.
2.
Push and hold the battery latch and slide the battery toward the computer until
the locking bar engages and the battery is flush against the compartment wall.
Rock the battery slightly if necessary to engage the locking bar.
3.
Release the battery latch to lock the battery in place.
4.
Perform steps 1-3 to install the second battery.
5.
Connect the AC adapter to the DC power input jack on the bottom of the X7 and
plug the adapter power cord into an AC outlet.
6.
Allow the batteries to charge until the Charge/Fault indicator turns off. This could
take anywhere from 2 to 5 hours depending on the type of battery and the current
level of charge of the batteries. You can work with your X7 while the batteries
charge.
Monitoring Ins talled B atter y C harge L evels
Refer to
for information on how to check your battery status when
installed in the computer.
C hec k ing the C harge L evel of R emoved B atteries
A multi-LED battery charge indicator, or “fuel gauge”, is built into each battery, as illustrated in
Figure 26. Each LED array consists of 5 LEDs and each LED represents 20% of the total
charge of the battery as follows:
LED #5 - 81-100% (far right LED)
LED #4 - 61-80%
LED #3 - 41-60%
LED #2 - 21-40%
LED #1 - 03-20% (far left LED)
The fuel gauge indicators are not visible when the battery is installed. Press the
Fuel Gauge
button to activate the fuel gauge LEDs and check the current charge level.


