5-28
Monitoring at a Specified Time and Date
Monitoring at a Specified Time and Date
Schedule
monitoring
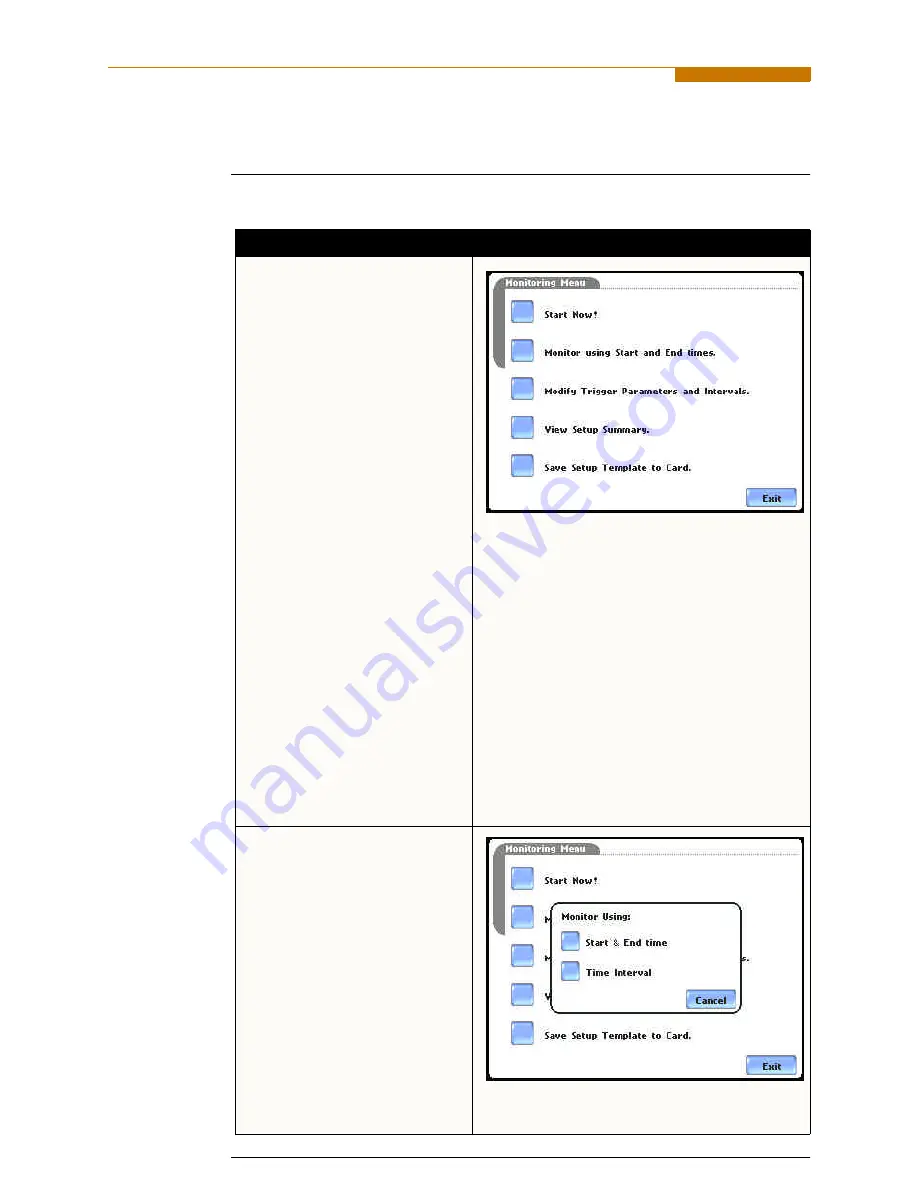
Follow these steps to set monitoring at a specified time and date.
Action...
Result...
STEP 1: From the Automatic Setup
screen, press OK to start
monitoring (see page 5-3). The
Monitoring Menu screen will be
displayed.
OR
STEP 1: From the Start Menu
screen (see page 5-2), press
Monitor Same Circuit.
NOTE: The Monitoring Menu
screen will only be available after
setting up the instrument or from
reading a setup template from the
memory card.
OR
STEP 1: At the end of the Wizard
Setup, the Site Name/Memory Card
screen prompts users to press
Finish so as to start monitoring (see
page 5-21). The Monitoring Menu
screen will be displayed.
• To set monitoring at a specified
date and time, press
Monitor
using Start and End times
.
Proceed to Step 2.
For functional descriptions of the
other buttons, refer to Section C
Monitor Same Circuit - Turning
Monitoring On/Off on page 5-25.
MARK121
STEP 2: The PowerVisa will
monitor and collect data using
either of the following monitoring
schedules:
• Press
Start & End time
to
specify the date/time when the
unit will begin and end
monitoring. See page 5-29.
• Press
Time Interval
to specify
the length of the recording
interval for each file, and the
time/date to start monitoring
interval. See page 5-32.
• Press
Cancel
to quit and return
to the monitoring menu.
MARK125a
Summary of Contents for PowerVisa
Page 1: ...PowerVisaTM USER S GUIDE DRANETZ BMI 1000 New Durham Road Edison New Jersey 08818 4019...
Page 13: ...xiii Dranetz BMI PowerVisaTM...
Page 14: ......
Page 78: ...4 16...
Page 136: ...6 22...
Page 158: ...7 22...
Page 204: ...A 10...
Page 221: ...C 5 APPENDIX C Battery Specifications and Replacement Procedure Battery removal diagram...
Page 222: ...C 6...
Page 224: ...D 2...
Page 248: ...F 4...
Page 259: ...MARK201 LEVEL 200 Scope Mode MARK202 MARK205 G 9...
Page 269: ...MARK112b LEVEL 112_701 Advanced Options EN50160 Options MARK112c G 19...


