BL600 LED Operation & Maintenance Manual
10
•
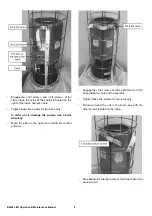
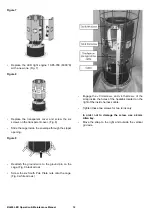
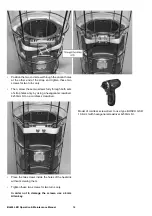
Tighten the 12 screws using the cordless screwdriver
set to « torque 15 » (= about 4 Nm).
If you do not have this type of screwdriver, adjust the
torque setting of the available tool to 4 Nm.
Too high a torque setting may result in a twisted
strap.
Too low a torque setting may result in the strap being
too loose.
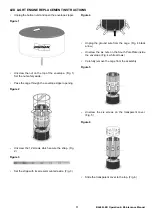
Figure 7
•
Loosely replace the nut on the top of the envelope. Do
not tighten until after the envelope is fully inflated.
(Fig. 7)
•
Close the zipper.
•
Inflate the envelope.
•
Tighten the nut on the top of the envelope. (Fig. 7)
Summary of Contents for BALLOON LIGHT LED 6x100W
Page 2: ......
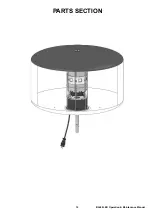
Page 19: ...19 BL600 LED Operation Maintenance Manual PARTS SECTION ...
Page 20: ...BL600 LED Operation Maintenance Manual 20 FRAME AND ENVELOPE ...
Page 22: ...BL600 LED Operation Maintenance Manual 22 LEDs AND FAN ...
Page 24: ...BL600 LED Operation Maintenance Manual 24 HOUSING AND BASEPLATE ASSEMBLY ...
Page 26: ...BL600 LED Operation Maintenance Manual 26 CIRCUIT BOARD ASSEMBLY ...
Page 28: ...BL600 LED Operation Maintenance Manual 28 ELECTRICAL PLUGS VARIANTS ...
Page 30: ...BL600 LED Operation Maintenance Manual 30 ACCESSORIES ...
Page 32: ...BL600 LED Operation Maintenance Manual 32 TELESCOPIC STAND OPTIONAL ...
Page 34: ......
Page 35: ......
Page 36: ......

