INSTALLING THE DISPLAY PANEL
Smart Touch Cabin Control Installation & Operations Manual
4
L-3380 ENGLISH
INSTALLING THE DISPLAY PANEL
C
HOOSING
THE
L
OCATION
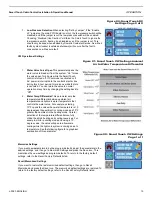
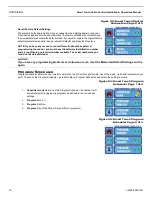
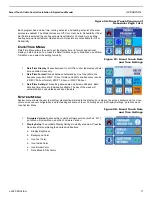
Figure 3: Smart Touch Display Front Panel
Before mounting the control panel, consider the location. The display panel’s built-in air sensor provides excellent room-air
temperature sensing when properly located and installed. For air sensor location see Figure 3. Mount the display panel on an
inside wall, slightly higher than mid-height of the cabin, in a location with freely circulating air where it can best sense average
temperature. Its distance from the air conditioner must be within the 15 ft (4.5 m) length of the display cable (custom lengths
available).
Do not mount the display in direct sunlight, near any heat-producing appliances or in a bulkhead where temperatures radiating
from behind the panel may affect performance.
Do not mount the display in the supply-air stream.
Do not mount the display
above or below a supply-air or return-air grille. Do not mount the display behind a door, in a corner, under a stairwell or any
place where there is no freely circulating air. If you cannot mount the display in a suitable location for accurately sensing room
temperature, install the optional remote air sensor.
M
OUNTING
THE
D
ISPLAY
1.
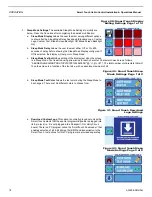
Make the cut-out for the display panel. Cut-out size is 2.900" (7.36 cm) wide by 2.165" (5.50 cm) high.
2.
Plug one end of the display cable (8-pin connector) into the upper-right socket on the circuit board in the electric box
and the other end into the back of the display panel.
Figure 4: Smart Touch Display Mounting Dimensions
(Drawing not to scale – not a template)


