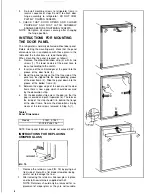
2.
3.
4.
5.
6.
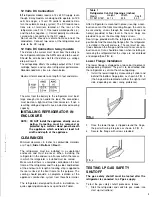
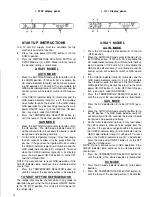
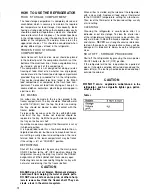
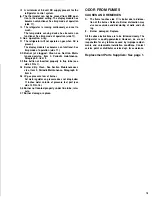
Check that the gas flame is lit and the gas mode in-
dicator lamp (C) is on.
Close the gas valve at the back of the refrigerator.
Wait for one minute. The check indicator lamp (E)
should now be lit and the gas mode indicator lamp
should be off.
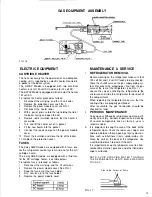
Remove protection cover (see FIG. 1) and open the
gas valve. Test that no gas comes through the
burner jet. Use soupy water, rinse afterwords with
fresh water. Be careful not to damage the burner jet,
replace cover.
Make an ON-OFF operation with the main switch.
Normal gas operation should now return, operate
for at least five minutes.
VENTILATION REQUIREMENTS
When installing the refrigerator in the enclosure, all areas
at the front (sides, bottom and top) and within the recess
in which the refrigerator is installed must be sealed so
the resultant installation will isolate the appliance com-
bustion system from the vehicle interior.
Certified installation requires that one lower combustion
air intake and one upper exhaust vent be used. The
specified vent kit for this refrigerator must be installed as
directed by this manual without modification. Any devia-
tion or substitution other than the specified vent kit will
void this certification and the factory warranty of the
refrigerator.
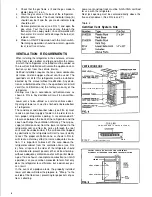
Venting must be in accordance with dimensions as
shown in FIG. 6. Any deviation will result in non-certifica-
tion.
Lower vent is to be utilized as a service entrance door.
Opening of lower vent must be flushed or below bottom
of refrigerator.
The condenser and absorber tubes (see FIG. 6) must
receive a continual supply of cooler air in order to main-
tain proper refrigerator cooling. A recommended 0”
clearance between the back of the refrigerator and the
coach wall helps the ventilation efficiency. The air pas-
sage (ventilation zone) from the lower vent door to the
refrigerator coils and from the coils up through the roof
vent must be unobstructed. If the air becomes trapped
by obstructions, the refrigerator will start to lose its ability
to cool. The proper ventilation zone, as shown in FIG. 8,
will create a chimney effect to incure adequate circula-
tion. It is important to block off the area above the
refrigerator cabinet from this ventilation zone (see FIG.
8). Also, air space at the sides of the refrigerator should
be minimized to prevent pockets of hot air from forming.
without adequate ventilation and/or with partial block-
age of flue exhaust, incomplete combustion (on GAS
operation) can cause carbon monoxide to form. Not only
does the refrigerator lose efficiency, but a poisonous gas
can result.
In the event of a prdpane leak, the properly installed
lower vent door will allow the propane to " Weep " to the
outside of the floor level, preventing large pockets of gas
from collecting.
Lower vent and roof jack must be A.G.A./CGA certified
for use with the refrigerator.
Roof jack opening must be centered directly above the
flue and condenser. (See FIG. 6 and 7.)
Table 2
Certified Vent System Kits
VENTILATION ZONE
VENTILATION ZONE
TOP VIEW
(LOOKING DOWN THROUGH OPENING)
FIG. 7
CUTOUT FOR ROOF JACK
F
L
UE
POCKETS SHOULD BE BAFFLED FOR PERFORMANCE
EFFICIENCY ALTHOUGH NOT REQUIRED FOR CERTIFICATION.
SEALED
SEAL STRIPS
SEAL STRIPS
6
Summary of Contents for Silhouette S1521
Page 14: ......

