17
Installing Your Camera
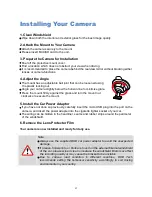
1. Clean Windshield
Wipe down both the interior and exterior glass for the best image quality.
2. Attach the Mount to Your Camera
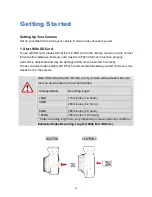
Attach the camera securely to the mount
Please insert MicroSD card to the unit.
3. Prepare the Camera for Installation
Peel off the protective mount cover.
Find a location which does not obstruct your view when driving.
It is recommended to place the camera behind the rearview mirror without blocking either
lenses or camera functions.
4. Adjust the Angle
The mount has an adjustable ball joint that can be loosened using
the plastic locking nut.
Angle your camera slightly below the horizon line to minimize glare.
Press the mount firmly against the glass and turn the mount nut
clockwise to secure the mount.
5. Install the Car Power Adaptor
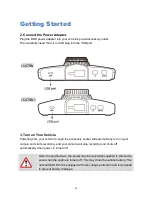
If you have not done so previously, carefully insert the micro USB plug into the port on the
camera, and insert the power adapter into the cigarette lighter socket of your car.
The wiring can be hidden in the headliner, seams and rubber strips around the perimeter
of the windshield.
6. Remove the Lens Protector Film
Your camera is now installed and ready for daily use.
Note:
Always use the supplied DOD car power adaptor to avoid the unexpected
damage.
If grease, fingerprints, or blots are found on the external/internal windshield
of the car, please wipe it clean or replace the windshield. Blots may affect
the recording quality or may cause the bracket to be unstable.
Due to various road condition in different countries, DOD Tech
recommends setting the G-Sensor sensitivity accordingly to suit driving
environments in your country.
Summary of Contents for LS475W
Page 1: ...LS475W LS475W User Manual...
Page 10: ...9 Camera Controls 5 Speaker LS475W LS475W...
Page 17: ...16 Installing Your Camera...

