22
Before Using the Handset
SH-05F_E_02.fm
[22/32]
■
Inputting with voices
You can enter characters with voices.
1
In the character entry screen, [
T
]
/
[Change
input UI]
/
[Set Voice Input]
:
Alternatively, slide the setting key to the right while the
QWERTY keyboard is used or slide the setting key down
while the 12 keyboard is used to switch to the voice input.
2
Speak to the microphone
■
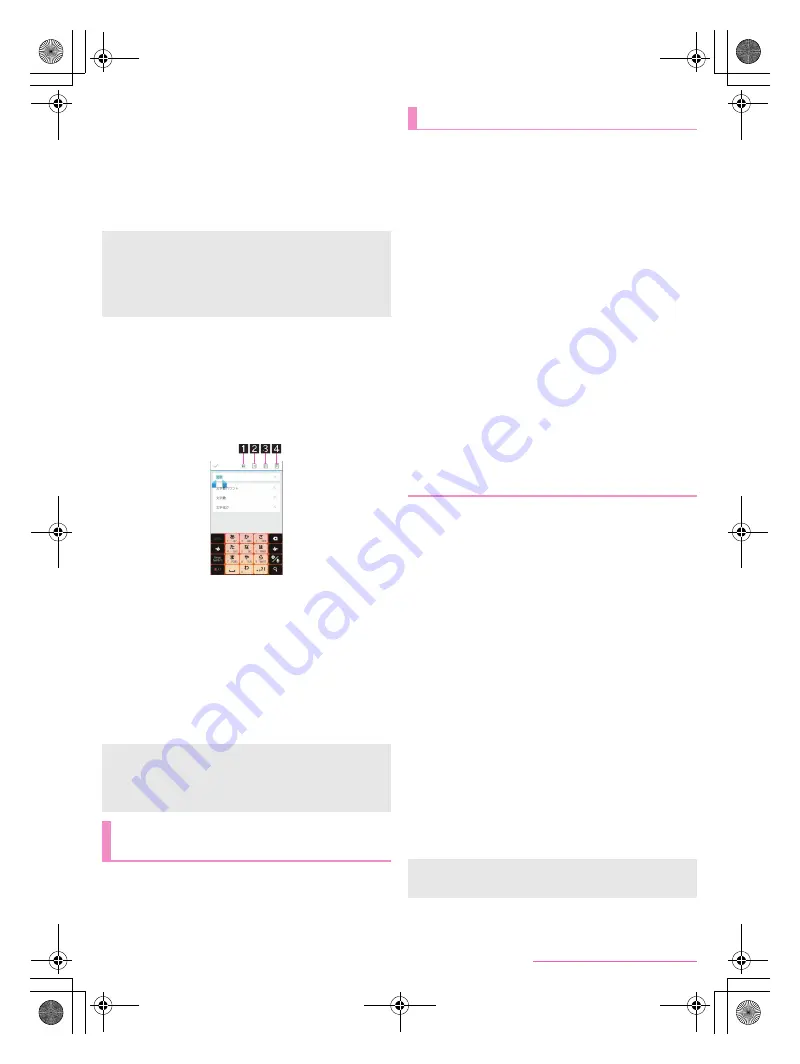
Editing characters
You can perform operations such as cutting, copying or pasting by
selecting the entered characters.
1
Touch and hold the entered characters
2
Edit the characters
:
To specify the selection range: Drag [
d
]/[
e
]
:
To display the history of cut and copied characters: [
T
]
/
[Quote apps (Mushroom)]
/
[Copy History SH]
1
Select all
Select all the entered characters.
2
Cut
Cut the selected characters.
3
Copy
Copy the selected characters.
4
Paste
Paste the cut or copied characters.
Alternatively, touch and hold the character entry field
/
[PASTE] to paste them.
Touch and hold the character entry field
/
[CLIPBOARD]
/
select characters to enter to paste them
from the history.
1
In the home screen, [
アプリ
] (APPS)
/
[
設定
]
(Settings)
/
[
言語と文字入力
] (Language &
input)
/
[
言語
(Language)
を選択
] (Select
language)
/
[English]
When you turn the power on for the first time, the initial
settings screen is displayed. Follow the instructions on the
screen and operate.
The following items can be set. However, items to be displayed
may differ depending on the Google account settings.
Language setting
Wi-Fi settings (
n
P. 23 “Wi-Fi settings”)
Google account settings (
n
P. 24 “Setting up Google account
etc.”)
Google & location
Owner’s information of the handset
Google services
Google Wallet
■
Initial settings for docomo service
1
When the initial settings screen for docomo
service is displayed, [Next]
2
Make the initial settings
:
Follow the instructions on the screen and operate after this
step. The following items can be set.
docomo ID setting
Set docomo apps password and Remote Initialization
Service setting
docomo cloud settings
Install all apps
Location providing setting
An access point (sp-mode) for Internet connection is
registered by default. You can add other access points and
change them if necessary.
If you want to use mopera U or Business mopera Internet, add
an access point of either provider manually.
For details on mopera U, refer to the mopera U website.
■
Checking an access point in use
1
In the home screen, [APPS]
/
[Settings]
/
[More...]
/
[Mobile networks]
/
[Access Point
Names]
■
Setting additional access points
Never set the MCC to a figure other than 440 or the MNC to a
figure other than 10. Otherwise the added access point
disappears from the screen.
1
In the home screen, [APPS]
/
[Settings]
/
[More...]
/
[Mobile networks]
/
[Access Point
Names]
/
[
z
]
/
[New APN]
2
[Name]
/
enter the name of the network profile
to create
/
[OK]
3
[APN]
/
enter the access point name
/
[OK]
4
Enter other items required by network
operators
/
[
z
]
/
[Save]
In the following cases, the voice input may not work properly.
When the voice is too loud
When the surrounding noise is big
When the phonation is not clear
When the phonation is not natural
When the pronunciation is too fast
When any key is pressed or the microphone is touched
Up to ten history items of cut and copied characters can be
saved.
If the number of history items of cut and copied characters
exceeds the maximum number to be saved, they are deleted
from the oldest one.
Changing screen display to
English
Initial settings
Setting an access point
If the settings of MCC and MNC are changed and the added
access point disappears from the screen, reset the settings or
set the access point manually.
SH-05F_E.book 22 ページ 2014年6月5日 木曜日 午後4時15分