USING THE D-VHS FEATURES
P
AGE
8-3
time displayed in the upper right corner are associated with the time that the program was recorded,
rather than the current date and time.
The
INFORMATION BANNER
can be displayed by pressing the
key while the
CHANNEL
BANNER
is displayed.
The
OneLine Guide
appears when you press the and keys. The full program guide is not available
during D-VHS playback, so only the playing program’s information is available.
The
ALTERNATE SERVICES
pop-up panel is accessible by pressing the
key.
You should be aware that initiating any of these displays while a program is being recorded digitally
will not interfere with your recording. Superimposed displays are not recorded in D-VHS mode,
however would be recorded if you are recording in analog mode.
Lockout Warnings
During D-VHS recording or playback some features of the digital satellite receiver are disabled to
prevent interruption. When you request access to one of the locked out features, a warning message is
displayed. If you do not heed the warning and press the
key to continue, recording or playback
stops and returns control of the digital satellite receiver to you. If you do not interrupt the recording or
playback, press
, or wait several seconds for the warning to disappear.
Scheduling to Record
Scheduling for unattended recording is very much the same whether you have a D-VHS VCR or not.
With a D-VHS VCR, however, you are given additional options as to whether you want to record in
digital or analog mode.
Just as before, you can schedule future programs to be recorded simply by highlighting the desired
program in the guide and pressing the
key.
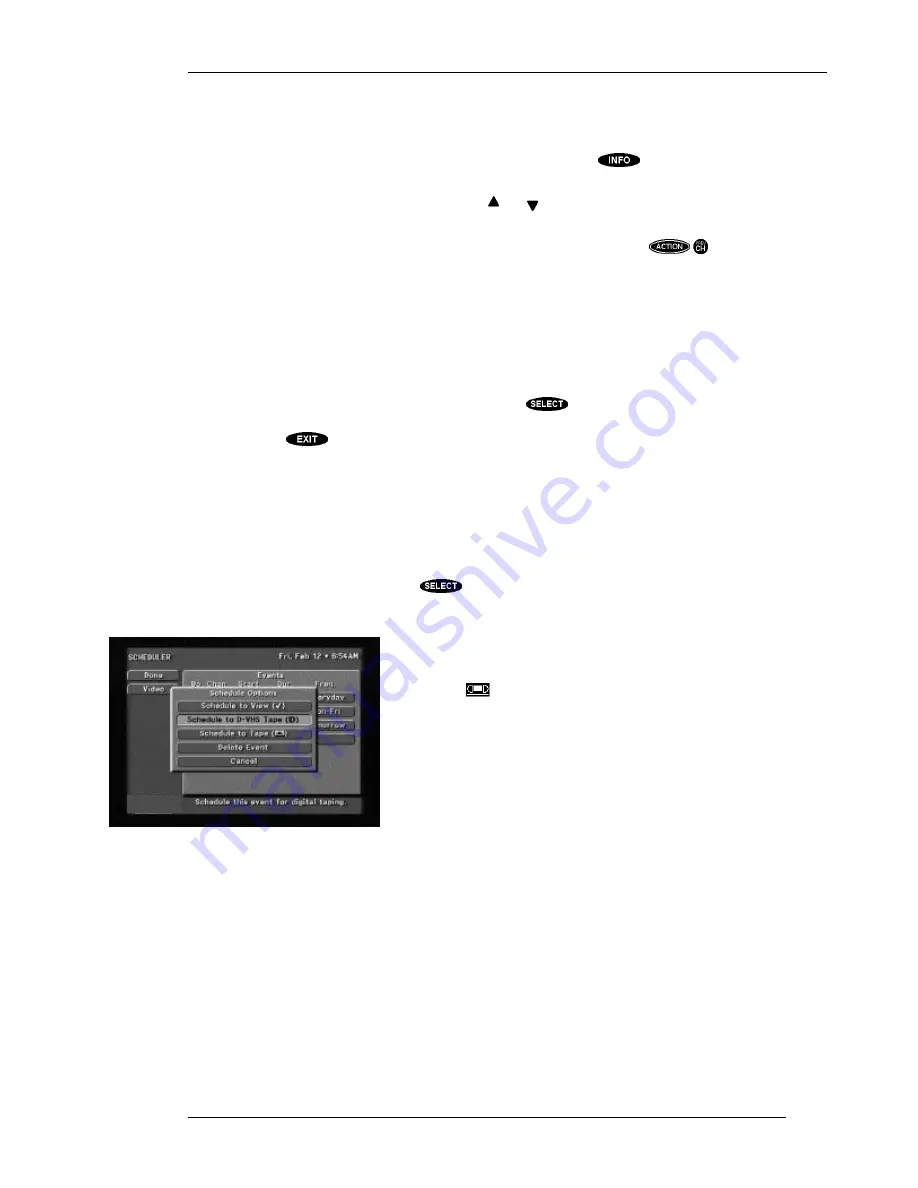
When editing an event on the
SCHEDULER
screen you are prompted in the Schedule Options pop-up
menu as to the type of recording you wish to do: digital or analog.
Programs and events that are scheduled to be recorded are marked
with a video tape icon. The analog tape icon simply looks like a
video tape (
), while the digital tape is indicated by the D-VHS
“D” symbol. These icons are used on the on-screen guides and on
the
SCHEDULER
screen.
NOTE: For all scheduled recording events, the D-VHS VCR
must be in the power “off” mode and have a recordable tape of
the correct type and length inserted.
Controlling Your D-VHS VCR with
Your Remote Control
This procedure assumes you are using a Hughes Network Systems brand D-VHS VCR.
While holding down the “VCR” key, press the “Mute” key, and simultaneously release both keys. The
“VCR” key will light and stay lit.
You are now in code entry mode. Simply use the remote control keypad to enter “
0 1 3”
. Press the
“VCR” key to lock the code in. The remote will remember the code until you reprogram it.
D-VHS Schedule Options
Summary of Contents for HIRD-E4
Page 44: ......
Page 48: ......
Page 60: ......
Page 86: ......
Page 90: ...Part 1028324 0001 Revision B ...


