CONNECTION
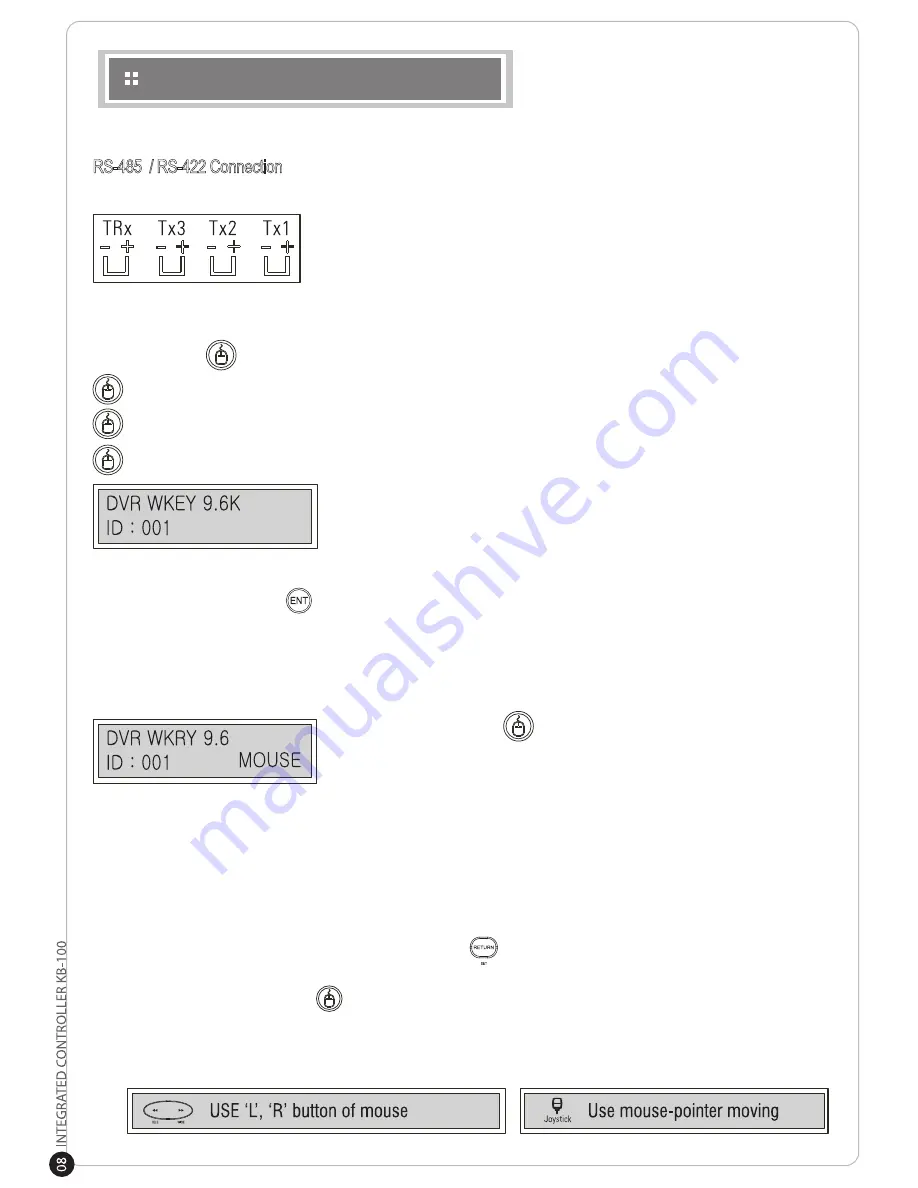
RS-485 / RS-422 Connection
Using an RS-485/RS-422 cable, connect an external device to the RS-485/RS-422 Terminal Block of the KB-100.
When connecting, make sure the polarity (+, -) is not changed.
Remember to check to see if the device you wish to control supports
RS-485 / RS-422.
DVR Connection
Connect the USB cable to the desired Digital Video Recorder.
Press the Mouse button.
If you briefly press the button, the keyboard alternates from DVR to Camera Control Mode.
If you press and hold, mouse function is activated through the USB Port.
If you press, the following information will be displayed on the LCD Display.
Transfer speed is 9600bps.
Control ID is 001.
Display ID is DVR ID.
If you want to control another DVR ID, push Number Key and ENT. ID will change.
(Example: Press and hold 3 + .)
* Constant value for each COMMAND has been set. (This function is only available after you setup a
value for each command. See page 11.)
KB-100 and DVR Mouse Function Use
Make sure the following steps are complete before using KB-100 on your DVR.
1. DVR must be PC compatible. A device driver is required. Review your DVR’s manual for further
information.
2. Power ON the DVR.
3. Power ON the KB-100.
4. Setup the Mouse Speed in the Main Setup. (KB-100 2 + )
5. Connect the KB-100 and the DVR.
6. If you press and hold the Mouse button, you will see the word“MOUSE” flashing on the screen.
7. Check to see if there is a mouse pointer on the screen.
8. Use the joystick to control the mouse. Use the L/R buttons as the mouse buttons.
Press and hold the Mouse button to start the feature.
Mouse function will begin when the word “MOUSE” begins flashing on the
LCD screen.
Summary of Contents for KB-100
Page 1: ...Distributed By ...
Page 20: ...DIMENSIONS 180mm 7 09 in 280mm 11 0 in 100mm 3 94 in ...
Page 21: ...MEMO ...
Page 22: ...MEMO ...


