Mbox 2 Getting Started Guide
60
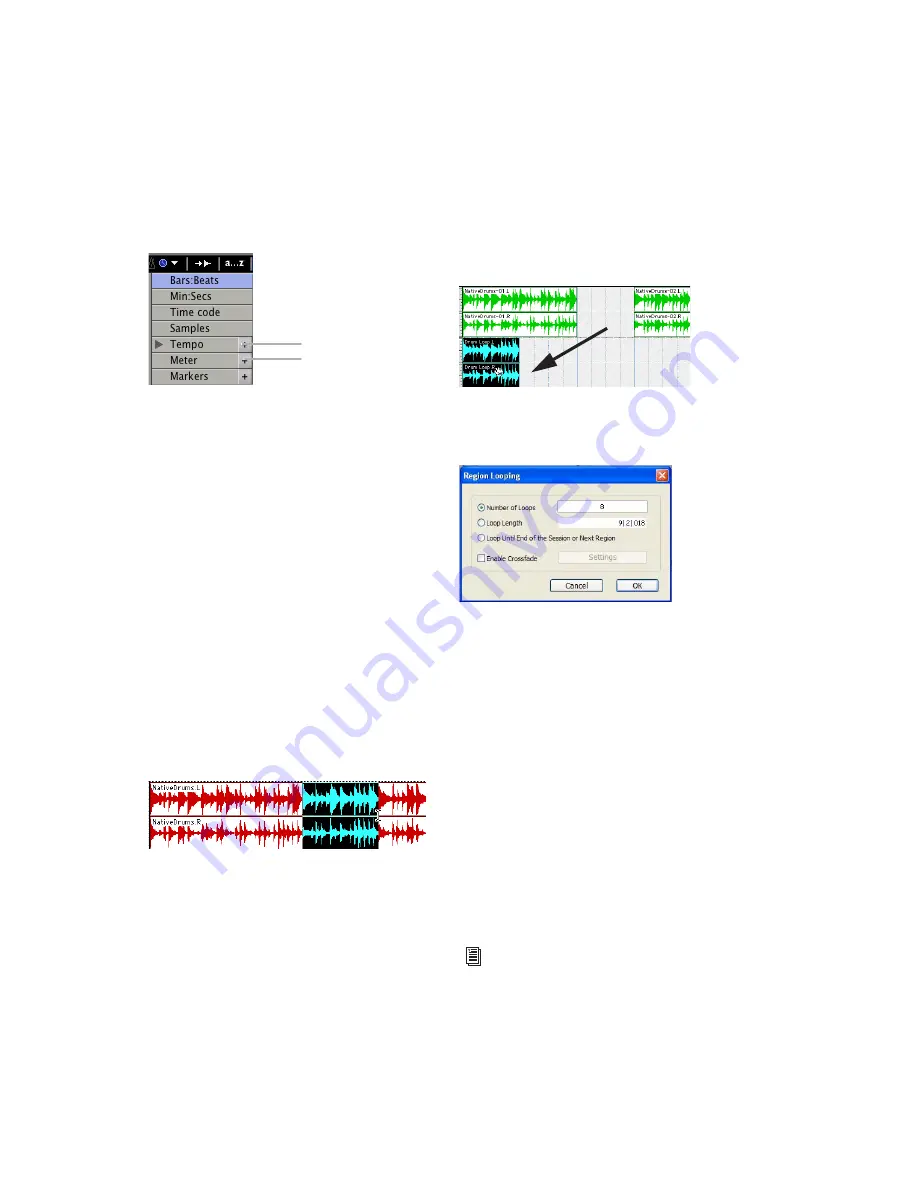
• Click the Add Meter Change button and
specify the meter.
3
Click the Grid mode button to put Pro Tools
in Grid mode.
4
Prepare to record using a click (see “Using the
Click Plug-In” on page 41 or “Using an External
MIDI Click” on page 42).
5
Record a drum track (see “Recording an Audio
Track” on page 54) keeping in mind that you
want to use only the best bar (measure). Your re-
cording should fit the grid at the specified
tempo and meter.
– or –
Import an existing audio file, such as a drum
loop from a sample library, and place it on an
audio track (see “Importing Audio” on page 51).
6
Click the Selector tool, and drag on the wave-
form to make a one-bar selection. Note that the
selection snaps to the specified grid.
7
Choose Track > New and create a new Stereo
Audio track.
8
Click the Grabber tool and select the Separa-
tion Grabber tool.
9
With the Separation Grabber tool, drag the se-
lection to the beginning of the new audio track.
A new region is created and appears at the be-
ginning of the new track.
10
With the new region still selected, choose
Region > Loop.
11
In the Region Looping dialog, enter the
number times you want to loop the region, and
click OK.
You now have a new rhythm track with a
“looped” (repeated) phrase.
You can use these editing tools and Beat Detec-
tive to do much more advanced editing of re-
gions.
Grouping Regions
The Region Groups feature in Pro Tools lets you
group regions on multiple adjacent audio,
MIDI, and Instrument tracks. Region Groups are
useful for groove and tempo manipulation, ed-
iting, and arranging.
Add Tempo Change and Add Meter Change buttons
Making a selection in Grid mode
Add Tempo Change
Add Meter Change
Dragging a selection with the Separation Grabber tool
Region Looping dialog
For more information on Region Groups, see
the Pro Tools Reference Guide.
Summary of Contents for Mbox 2
Page 1: ...Getting Started Mbox 2 Version 7 0 ...
Page 4: ......
Page 84: ...Mbox 2 Getting Started Guide 78 ...
Page 89: ......
Page 90: ......


