
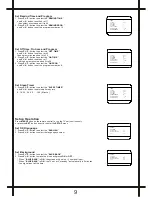

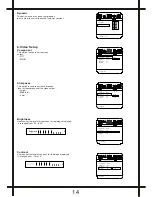
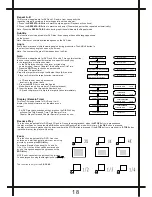
Press the DISPLAY button
Press the DISPLAY button
Press the DISPLAY button
Press the DISPLAY button
Press the DISPLAY button
TITLE ELAPSED
TT 01/04 CH 01/012 0:02:03
TT 01/04 CH 01/012 1:33:30
TITLE REMAIN
CHAPTER ELAPSED
TT 01/04 CH 01/012 0:02:15
CHAPTER REMAIN
TT 01/04 CH 01/012 0:02:18
DISPLAY OFF
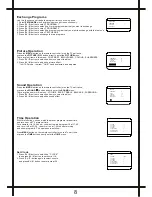
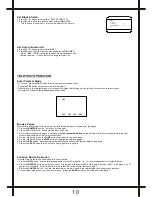
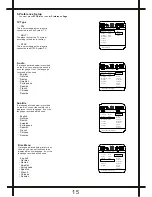
Press the GOTO button
Press "0" as the hour input
Press "1"and then "5" as the minute input
TITLE 01/02 TIME : :
Press "0" and then "8" as the second intput
(playback starts at 0:15:08 of Title 1)
TITLE 01/02 TIME 0 : :
TITLE 01/02 TIME 0:15 :
TITLE 01/02 TIME 0 :15:08
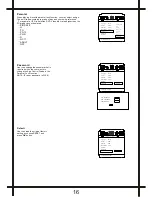
Repeat A-B
This function is applicable for DVD and CD audio. User can specify the
repeating interval by marking the starting point and the end point.
1. Press the
REPEAT A
-
B
Button to mark the starting point (Playback will continue).
2. Press the
REPEAT A
-
B
Button to mark the end point.(The marked part will be repeated automatically)
Note : Press the
REPEAT A
-
B
Button during repetition will disable the Repeat mode.
Subtitle
This function is only applicable for DVD disc. It can change the subtitle language shown
on the screen.
Note : Number of subtitle available depends on the DVD disc.
Angle
Some discs may have multiple viewing angles during production. The ANGLE button is
to select the viewing angle shown on the screen.
Note : The number of Angle of View depends on the Disc.
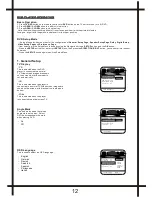
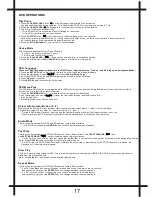
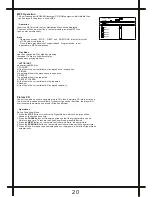
Goto
This function is applicable for DVD. and CD audio. Through this function,
the user can access a specific location or a specific track by key
In the target time or the track number.
In the DVD playback mode, the player provides two
search modes : Search Chapter Time and Search Title Time.
1.Press the
GOTO
key to choose a search mode
(Title time / Chapter time).
2.Input the target time through the Number keys (0-9) and the
Player will jump to the target location immediately.
In CD audio, user can only access the
location in the current track.
1. Press the
GOTO
key to enter the Search
Mode (there is only one mode in CD audio playback).
2. Input the target time through the Number keys
(0-9) and the player will jump to the target location immediately.
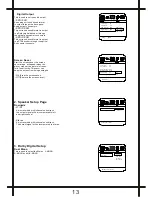
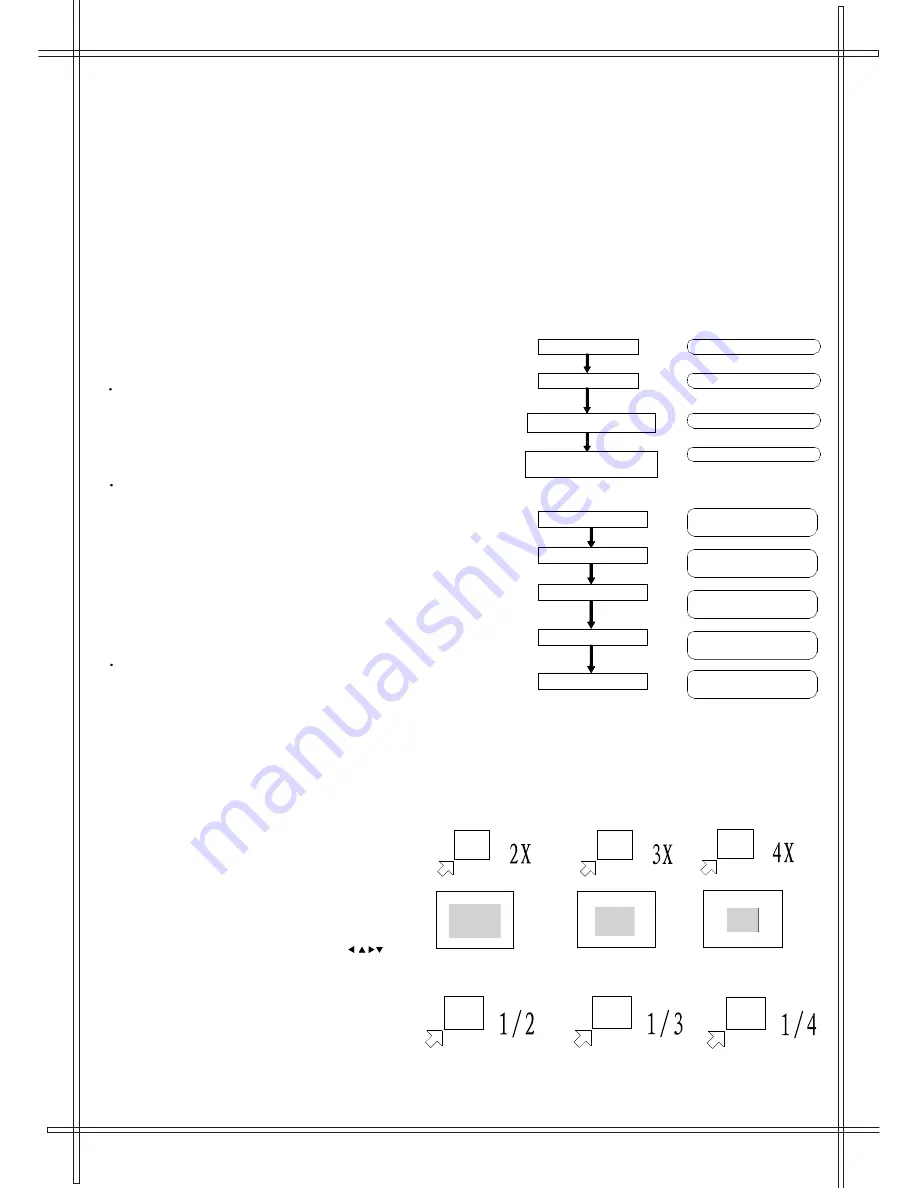
Display (Remain Time)
This function is applicable for DVD only. It will
display the timing information of the playback on
screen.
For DVD playback, subsequent key press on the DISPLAY key
will show the Title Elapsed Time, Title Remain Time,
Chapter Elapse Time and Chapter Remain Time one by one.
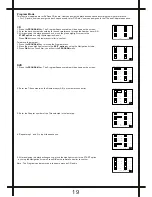
Resume Play
This function is applicable for DVD and CD audio. During the disc playback, when the
STOP
Button is pressed once,
the player will pause, then press the
OK
button enter the Resume Play mode. At this time, if the
OK
Button is pressed,
the player will resume playback at the location where the STOP Button is pressed. If the
STOP
button is pressed (i.e.
STOP
Button
is pressed twice), the player will be stop.
Zoom
This function is applicable for DVD . User can
enlarge and diminish a static picture or a moving
picture by pressing the
ZOOM
key.
There are 6 levels of zooming (2x, 3x and 4x,
1/2x, 1/3x,1/4x ) and they can be achieved one
by one through subsequent key presses on the
ZOOM
key.
NOTE: user can select the portion of the picture
to be enlarged by using the Navigation keys ( ).
18
The function is only for the
2X
,
3X
,
4X


