eZNT-Wi Programmable Wi-Fi Thermostat Application Guide
Edition 1.4
Page 101 of 126
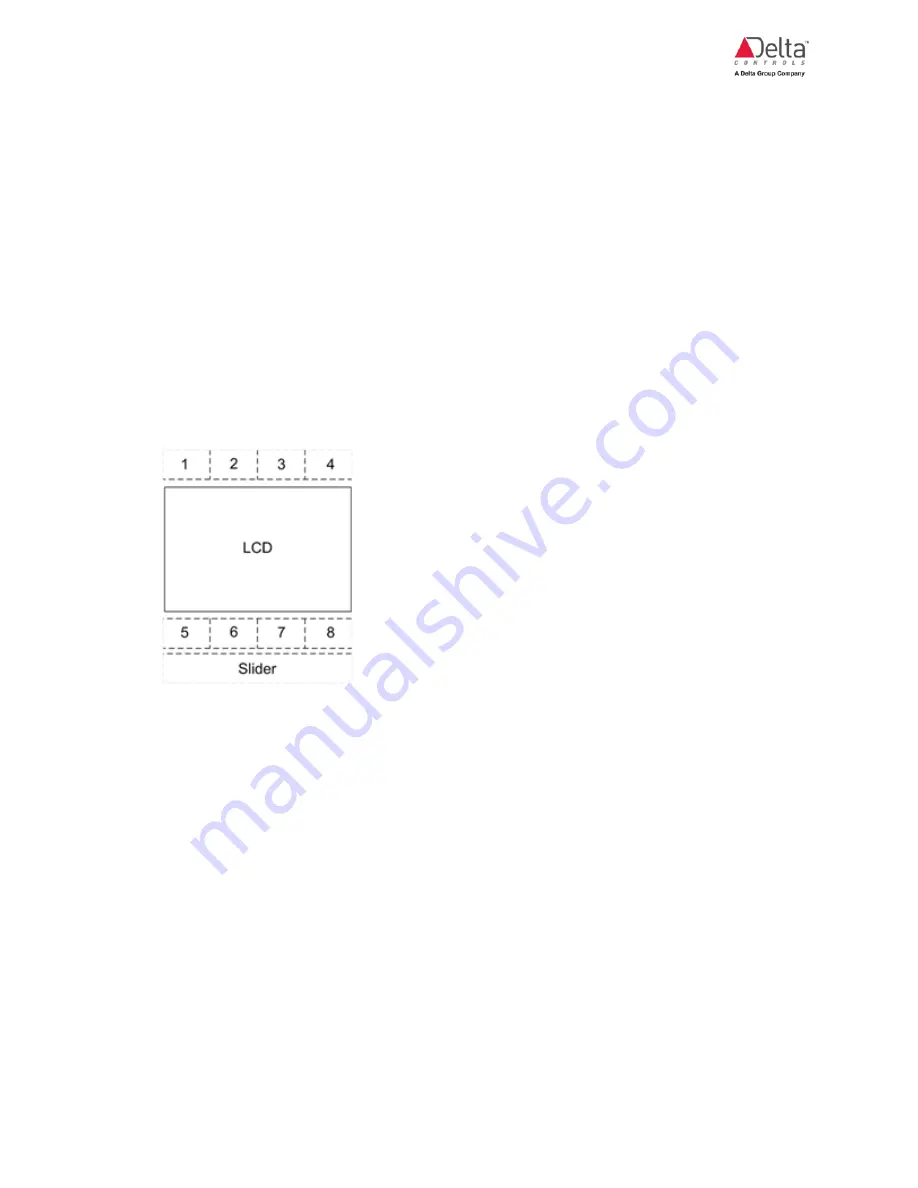
2. From the On-Screen menu, touch the button 4 area to move through the
options until you reach CLb. Set the calibration mode to manual calibration
mode by selecting the Yes option. You leave this setting in the manual
calibration mode when the calibration is done.
3. Using button 4, move to the next CLb item. This menu item shows the current
real time value. Monitor this value and when stable (after about 2 mins, use
the Up (button 8) and Down (button 4) to set the value to the known certified
concentration of the standard CO2 gas. For example, you could set a value of
940 PPM.
4. To save the changes, press button areas 6+7 together for a few seconds and
then release. The screen flashes three times to indicate that the new value
was saved. An entry is written to the AV512 C02CalibrationValue description
field (AV512.description) and it includes the manual calibration value and a
timestamp, overwriting any previous description.
5. When all changes are done, navigate to the End item in the menu and select
Yes to save the changes. An internal algorithm in the CO2 sensor uses the
single point manual calibration value to apply compensation across the entire
range in a non-linear manner.
Method II: Manual single point calibration using enteliWEB/ ORCAview
It is also possible to connect with the thermostat using enteliWEB/ORCAview and
then to do a manual calibration.
1. Adjust the gas regulator to send a low flow of CO2 gas at a known
concentration flowing into the sensor enclosure. A typical flow rate might be
around 0.3 meters per second.
2. Set up a 5 sec polling Trend Log to monitor the AI4 (CO2 Sensor) which initially
shows the current CO2 value output from the sensor.


